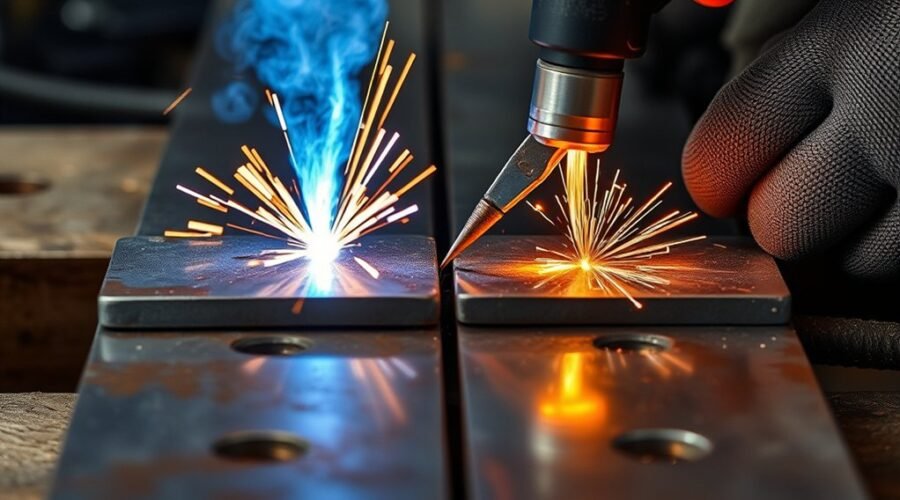
In MIG welding, pushing and pulling the gun can change the bead shape, penetration, visibility, and puddle behavior. For conventional solid-wire MIG on steel, pushing usually creates a wider, flatter bead with less penetration, while pulling or dragging generally creates a narrower bead with more buildup and deeper penetration. The right technique depends on the material, thickness, weld position, joint geometry, machine settings, and the result you need.
Quick Answer
For solid-wire MIG welding on steel, push when you want a flatter, wider bead, good joint visibility, and less penetration. Pull or drag when you want a narrower bead with more buildup and generally deeper penetration. Aluminum MIG should normally be pushed, while slag-producing flux-core wire should be dragged.
Key Takeaways
- Push MIG welding generally produces a wider, flatter bead with lower penetration and a clearer view of the joint.
- Pull or drag MIG welding generally produces a narrower bead with more reinforcement and deeper penetration.
- A travel angle of about 5 to 15 degrees is a common starting point; excessive gun angle can increase spatter and destabilize the arc.
- Thin sheet often benefits from pushing because it reduces penetration, while thicker steel may benefit from pulling when additional penetration is needed.
- For aluminum MIG, use a push angle rather than dragging. For slag-producing flux-core welding, drag the gun.
- Push versus pull is only one variable. Voltage, wire-feed speed, travel speed, stickout, joint preparation, shielding gas, and weld position can matter just as much.
What’s the Difference Between Push and Pull MIG Welding?
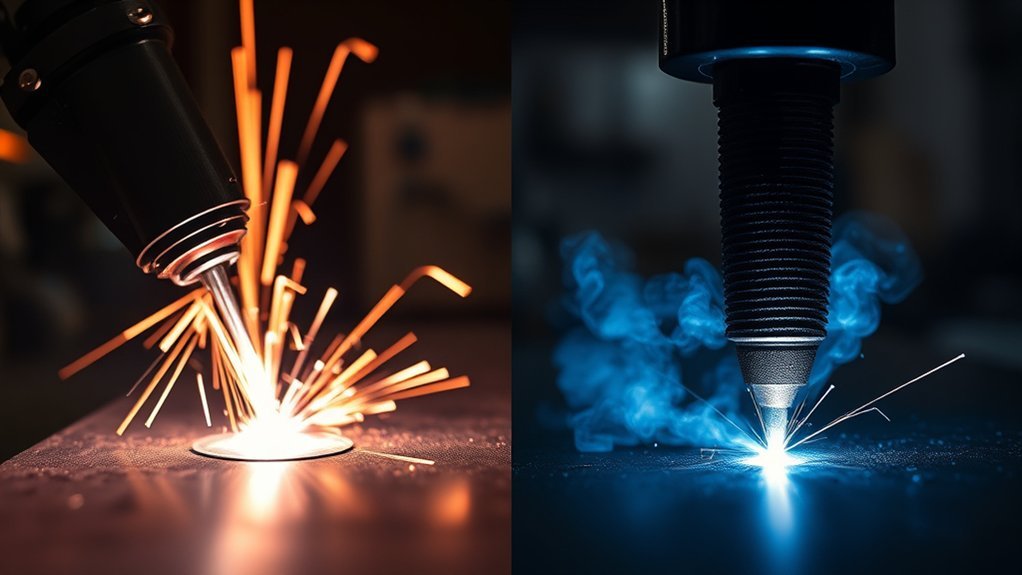
In MIG welding, also called gas metal arc welding or GMAW, the terms push and pull describe the gun’s travel angle relative to the direction of welding.
With the push technique, also called forehand welding, the gun is angled so the wire points generally in the direction of travel and the gun moves ahead of the weld puddle. With the pull technique, also called drag, backhand, or trailing technique, the gun points back toward the puddle as it travels.
According to Miller’s MIG welding guidance, pulling typically creates deeper penetration and a narrower bead with more buildup. Pushing normally creates lower penetration and a wider, flatter bead while giving the welder a better view of the joint.
A simple starting rule for solid-wire steel MIG is: push for a flatter bead and better joint visibility; pull when you need a narrower bead and greater penetration.
| Characteristic | Push / Forehand | Pull / Drag / Backhand |
| Typical penetration | Lower | Deeper |
| Bead profile | Wider and flatter | Narrower with more buildup |
| Joint visibility | Usually better | Usually less direct |
| Common steel use | Thin sheet, flatter cosmetic bead, good joint tracking | Thicker steel or situations needing more penetration |
| Aluminum MIG | Preferred | Generally avoid |
| Slag-producing flux core | Generally avoid | Preferred |
These are general tendencies rather than guarantees. Actual penetration and bead shape also depend on voltage, wire-feed speed, wire diameter, shielding gas, transfer mode, stickout, travel speed, joint preparation, and base-metal thickness. The capabilities and settings available from your welding machine therefore matter as much as travel direction.
When Should You Use Push MIG Welding?
Push MIG welding is a strong starting choice when you want a flatter bead profile, lower penetration, good visibility of the joint, and easy control of where the wire enters the joint. It is especially useful on thin sheet and is the standard travel direction for MIG welding aluminum.
Push for a Flatter, Cleaner-Looking Bead
A modest push angle spreads the arc force ahead of the puddle. On steel, this typically produces a wider, flatter bead with less buildup than dragging. The improved view of the joint also helps the operator keep the wire positioned accurately at the leading edge of the puddle.
A push technique can therefore be useful where bead appearance, joint tracking, and controlled penetration matter. Stable machine settings and consistent arc control remain essential.
Can You Push MIG on Thicker Metal?
Yes. Pushing is not limited to thin material, and a properly prepared joint can be welded successfully with a push technique on thicker steel. However, pushing should not be chosen because it supposedly creates deeper penetration; under otherwise similar conditions, a pull technique usually penetrates more.
On thicker material, joint preparation, machine output, wire size, transfer mode, and procedure requirements may be more important than the push-versus-pull decision. Beveling a butt joint, maintaining the correct root opening where required, and setting adequate voltage and wire feed can determine whether full fusion is achieved.
- Start with the machine or wire manufacturer’s recommended settings for the material thickness.
- Prepare thick butt joints correctly rather than relying on torch direction to create penetration.
- Use a modest 5- to 15-degree travel angle as a general starting point.
- Watch the leading edge of the puddle and verify fusion at both toes of the weld.
Push for Gas-Shielded Welding and Aluminum
For gas-shielded MIG, the nozzle must maintain an intact shielding envelope around the arc and molten weld pool. Excessive gun angle, drafts, a clogged nozzle, an incorrect flow rate, or holding the nozzle too far from the work can all interfere with shielding.
Push technique is especially important for aluminum MIG welding. Miller recommends a 10- to 15-degree push travel angle for aluminum and advises against dragging because it can contribute to porous, dirty welds.
Pro Tip: Do not confuse travel angle with work angle. Travel angle determines whether you are pushing or pulling. Work angle points the gun across the joint—for example, approximately 45 degrees into a basic T-joint. You must control both angles at the same time.
When Does Pull MIG Welding Work Better?
Pull or drag technique becomes useful when you want more penetration and a narrower bead with more reinforcement. On steel, this can be helpful on thicker material or on joints where additional penetration is desirable and the welding procedure permits a drag angle.
The gun points back toward the puddle as it travels. This tends to concentrate the arc force into the weld area rather than directing it ahead of the puddle.
Pulling is not automatically better for vertical or overhead welding. Weld position changes puddle behavior enough that progression, work angle, heat settings, and travel speed must also be considered.
- Thicker steel: dragging may help increase penetration when the rest of the procedure is correctly set.
- Narrower bead requirement: pull typically produces a narrower, more convex bead than push.
- Slag-producing flux-core wire: use a drag technique so the slag stays behind the arc.
- Procedure-specific work: follow the qualified welding procedure rather than substituting a preferred personal technique.
Machine settings remain critical. Choosing the wrong voltage, wire-feed speed, travel speed, or stickout cannot be corrected simply by changing gun direction. Welders who are still developing these skills should practice on matching scrap and understand heat input and machine setup before welding a critical part.
How Material Thickness Affects MIG Welding
Material thickness changes how quickly the work absorbs heat and how much penetration is required, so it should influence both welding parameters and travel technique.
For thin sheet metal, a push technique is commonly useful because it produces lower penetration and helps reduce the risk of burn-through. Miller recommends push travel for common automotive sheet-metal work. Thin material may also require smaller wire, lower heat settings, faster travel, short weld segments, or stitch-welding techniques to control distortion.
For thicker steel, pulling can provide deeper penetration, but gun direction should never substitute for adequate machine output and proper joint preparation. Beveling thicker butt joints may be necessary to obtain fusion through the joint.
A rigid thickness cutoff such as “pull everything below 1/8 inch” is therefore misleading. Instead, use material thickness to establish the correct voltage, wire-feed speed, wire diameter, joint preparation, and travel speed first. Then choose push or pull according to the penetration and bead profile required.
Note: When welding a structural or safety-critical part, use the specified welding procedure, filler metal, joint preparation, and acceptance criteria. A visually attractive bead does not prove that the joint has adequate fusion or penetration.
Which Weld Joints Favor Push or Pull?
Joint geometry affects the required work angle, but it does not create a universal rule that every fillet weld must be pushed or every lap weld must be pulled. On steel GMAW, either travel direction may be workable when the procedure permits it.
The more useful approach is to set the correct work angle for the joint, then choose push or pull according to penetration, bead shape, access, and visibility.
T-Joints and Fillet Welds
For a basic 90-degree T-joint, Miller recommends holding the gun at roughly a 45-degree work angle, directing the wire equally toward both pieces. The travel angle is then added separately.
Pushing can be useful when you want a flatter fillet face and a clear view of the joint. Pulling may be useful when greater penetration and a more built-up profile are required. What matters most is maintaining fusion at both toes and avoiding defects such as undercut, overlap, or lack of fusion.
- Set the work angle to direct the arc into both members.
- Maintain a modest travel angle rather than laying the gun too far over.
- Keep the arc near the leading edge of the puddle.
- Watch both weld toes for consistent tie-in.
Lap Joints
A lap joint also commonly uses a fillet weld, but the correct work angle is different. Miller recommends approximately 60 to 70 degrees for a typical lap joint, with the angle adjusted as material thickness changes.
Push or pull can then be selected according to the weld requirement. Push generally leaves a wider, flatter bead and provides good visibility of the joint. Pull generally produces greater penetration and a narrower, more built-up bead.
Because the edge of the upper sheet can melt quickly, especially on thin lap joints, watch heat input carefully and avoid concentrating the arc excessively on the exposed edge.
How Weld Position Changes Your Technique
Weld position changes how gravity acts on the molten puddle. For that reason, a simple “push for this position, pull for that position” rule is unreliable.
Flat and Horizontal MIG Welding
In flat welding, either push or pull may be used on steel depending on the bead profile and penetration required. In horizontal welding, the work angle may need to be lowered slightly to prevent the molten metal from sagging toward the lower side of the joint.
The normal travel angle remains modest—generally about 5 to 15 degrees. Excessive angle can increase spatter, reduce penetration, and make the arc less stable.
Vertical-Down MIG Welding
Vertical-down welding uses a relatively fast travel speed and is useful on thin material where excessive penetration or burn-through is a concern. Miller notes that vertical-down progression produces less penetration because of the faster travel speed.
Keep the wire near the leading edge of the puddle and maintain a small, controllable weld pool. Vertical-down should not be treated as the preferred method when a thick joint requires deep fusion.
Vertical-Up MIG Welding
Vertical-up progression is slower and can provide greater penetration on thicker material. The puddle requires more control because gravity pulls the molten metal downward. A small weave may help manage the puddle when appropriate, but excessive weaving increases heat input and can create an unnecessarily large bead.
Overhead MIG Welding
For overhead GMAW, push, pull, or a near-perpendicular gun can be used depending on the application. The larger concern is keeping the molten puddle small enough to control safely. Faster travel and lower parameters than an equivalent flat weld may be needed.
The internal material-thickness and machine-output range also matters because a welder must be capable of producing the required weld without operating outside its intended range.
How Push and Pull Affect Gas Coverage
Shielding gas protects the molten weld pool from the surrounding atmosphere. Poor shielding can contribute to porosity, oxidation, contamination, and unstable weld quality.
A moderate push technique is commonly used with solid-wire GMAW because it gives good visibility of the joint and works well with the gas-shielded process. Aluminum MIG is a particularly important case: a push angle is recommended rather than a drag angle.
However, travel direction alone does not guarantee good shielding. Gas coverage can also be damaged by:
- excessive torch angle;
- wind or strong shop drafts;
- incorrect shielding-gas flow;
- a dirty or spatter-blocked nozzle;
- gas leaks;
- holding the gun too far from the work; or
- using the wrong shielding gas composition for the wire and base material.
If porosity appears, check the entire gas system and technique rather than assuming the problem is simply push versus pull.
Travel Angle vs. Work Angle
Two gun angles are involved in MIG welding, and confusing them causes many technique problems.
Travel angle is the forward or backward tilt along the direction of the weld. It determines whether you are pushing or pulling. For ordinary MIG welding, about 5 to 15 degrees is a common starting range.
Work angle points the gun across the joint. A flat butt joint commonly uses a gun positioned around 90 degrees to the work, a T-joint around 45 degrees between the two plates, and a typical lap joint around 60 to 70 degrees.
The correct work angle helps place heat into both sides of the joint. The correct travel angle shapes how the arc and puddle behave as the gun moves forward.
Common MIG Push and Pull Mistakes
Many push-and-pull problems come from excessive gun angle or from trying to use travel direction to compensate for incorrect machine settings.
- Using too much travel angle: laying the gun over too far can increase spatter, reduce penetration, and make the arc unstable.
- Pulling thin sheet when burn-through is already a problem: drag technique generally increases penetration. A push angle and correct low-heat settings are often a better starting point.
- Assuming push increases penetration: under comparable conditions, push normally produces lower penetration than pull.
- Dragging aluminum MIG: use a push travel angle instead to reduce the risk of dirty, porous welds.
- Pushing slag-producing flux-core wire: drag it so the slag remains behind the arc rather than running ahead into the weld.
- Confusing work angle with travel angle: both must be set correctly for the joint.
- Ignoring stickout and travel speed: inconsistent distance and speed can change heat input, penetration, and bead shape.
- Trying to fix poor penetration only by pulling harder: inadequate voltage, wire-feed speed, joint preparation, or machine capacity may be the real problem.
The choice of MIG wire also matters because wire type and diameter must suit the base metal, thickness, machine, and intended transfer mode.
Troubleshooting Push and Pull MIG Welds
| Symptom | Possible Cause | What to Check |
| Burn-through on thin steel | Too much heat, slow travel, excessive penetration | Use recommended settings, consider pushing, increase travel speed, use smaller wire or stitch techniques where appropriate |
| Tall, narrow bead | Drag angle, low voltage, slow travel, or parameter mismatch | Compare with manufacturer settings and try a modest push angle if a flatter bead is wanted |
| Poor penetration | Insufficient heat, excessive travel speed, poor joint preparation, excessive push angle | Correct parameters and preparation; consider a modest drag angle when the procedure permits |
| Excessive spatter | Incorrect voltage/wire-feed relationship, excessive gun angle, poor stickout | Reset parameters and keep travel angle near the recommended range |
| Porosity | Lost shielding, contamination, drafts, gas-system problem | Check gas flow, hoses, nozzle, distance, wind, surface cleanliness, and gun angle |
Warning: Welding produces intense ultraviolet and infrared radiation, sparks, hot metal, electrical hazards, fire hazards, and potentially harmful fumes and gases. Wear appropriate welding PPE, remove or protect combustible materials, and use adequate ventilation or local fume extraction. Keep your head out of the fume plume and follow your machine, filler-metal, and workplace safety instructions. OSHA provides specific requirements for welding ventilation and protection.
Frequently Asked Questions
Why do welders drink milk after welding?
Some welders drink milk because of an old belief that it protects against welding fumes or metal fume fever. There is no scientific evidence that milk prevents these effects. Welding fumes enter through the respiratory system, so protection depends on controlling inhalation with ventilation, local exhaust, suitable respiratory protection when required, and good work practices—not drinking milk.
Which way should you MIG weld?
For solid-wire MIG on steel, pushing is a common starting technique because it gives good joint visibility and creates a wider, flatter bead with lower penetration. Pull when you need a narrower bead and generally deeper penetration. The correct choice still depends on the joint, thickness, position, settings, and welding procedure.
Should you drag or push flux-core wire?
For slag-producing flux-cored welding, drag or pull the gun. Keeping the arc ahead of the slag reduces the chance of trapping slag in the weld. Miller summarizes the rule as “if there’s slag, you drag.” Follow the specific wire manufacturer’s procedure for your electrode and welding position.
What is the push technique in MIG welding?
With the push or forehand technique, the gun is tilted slightly in the direction of travel so it moves ahead of the puddle. A travel angle of about 5 to 15 degrees is a common starting point. On steel, pushing generally creates a wider, flatter bead and less penetration than dragging.
Does pushing or pulling MIG penetrate deeper?
Pulling or dragging generally produces deeper penetration than pushing when the other welding variables are comparable. Pushing directs the arc force ahead of the puddle and normally creates a wider, flatter, lower-penetration bead. Actual penetration still depends heavily on voltage, wire-feed speed, travel speed, joint preparation, gas, wire size, and transfer mode.
Should you push or pull aluminum MIG?
Push aluminum MIG. Miller recommends approximately a 10- to 15-degree push travel angle and advises avoiding a pull or drag angle because pulling can contribute to dirty, porous aluminum welds.
Conclusion
In MIG welding, push and pull techniques produce predictably different tendencies, but neither is universally best. On steel, pushing generally gives a wider, flatter bead with less penetration and good joint visibility. Pulling generally produces a narrower bead with more buildup and deeper penetration.
Thin sheet often benefits from pushing, while thicker steel may benefit from a drag technique when greater penetration is required. Aluminum MIG is a clear exception where pushing is preferred, and slag-producing flux-core wire should normally be dragged.
The best results come from treating gun direction as one part of the full welding procedure. Match the travel angle, work angle, voltage, wire-feed speed, travel speed, stickout, shielding gas, filler wire, joint preparation, and weld position to the job rather than relying on a single push-or-pull rule.
Sources
- Miller — Understanding the Basics of MIG Welding for Mild Steel — push versus pull, travel angles, work angles, joint geometry, and welding positions.
- Miller — MIG Basics for Automotive Welding Repair — thin-sheet technique, penetration, bead profile, and position guidance.
- Miller — How to Successfully MIG Weld Aluminum — recommended aluminum push angle and warning against drag technique.
- Miller — Flux-Cored Welding: The Basics for Mild Steel — drag technique for slag-producing flux-core welding.
- OSHA 29 CFR 1910.252 — Welding, Cutting and Brazing — ventilation, protective equipment, fire prevention, and welding-fume safety requirements.
- NIOSH — Welding Fumes and Manganese — health risks and occupational exposure information for welding fumes.