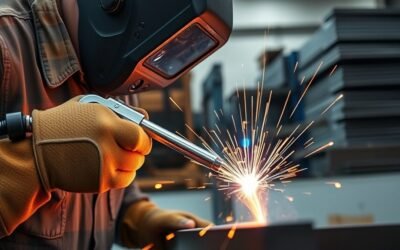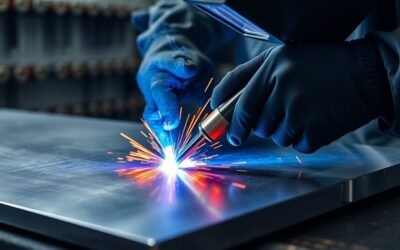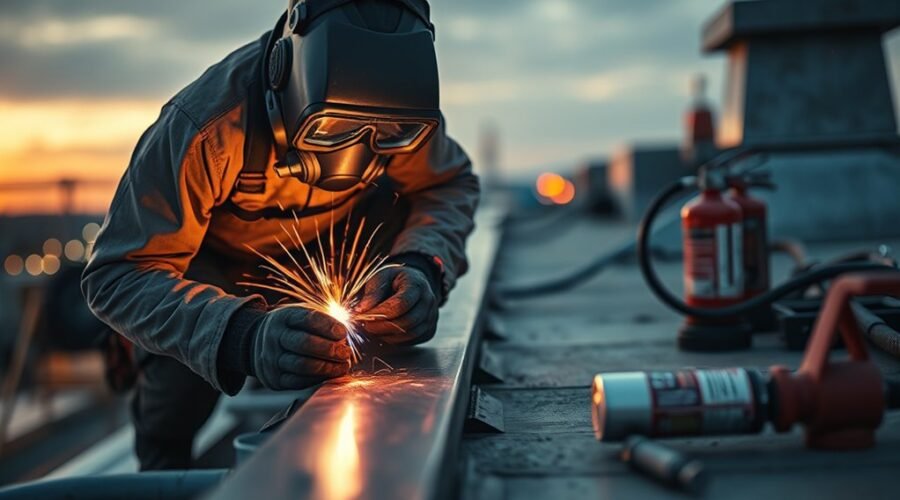
Lead welding, or lead burning, is an autogenous process used to fuse sheet lead into leak-proof seams for roofing, flashing, repairs, and decorative work. It typically uses oxy-acetylene heat with a neutral flame, clean lap or butt joints, and no flux. Surface preparation is critical, with oxidation removed before heating. Because lead fumes and fire hazards are significant, PPE, ventilation, and strict housekeeping are required. The method has further details on tools, technique, and safe application.
Key Takeaways
- Lead welding, or lead burning, joins lead sheets by fusing them with a neutral oxy-acetylene flame, without flux or fasteners.
- Clean, bright surfaces and proper joint fit are essential for strong, leak-proof seams.
- Use PPE, including goggles, gloves, and a helmet, and work in a well-ventilated area.
- Apply heat steadily, add lead filler as needed, and let the joint cool naturally before inspection.
- Lead welding is commonly used for roofing, flashing, waterproof repairs, and decorative leadwork needing durable sealed joints.
What Is Lead Welding and When to Use It
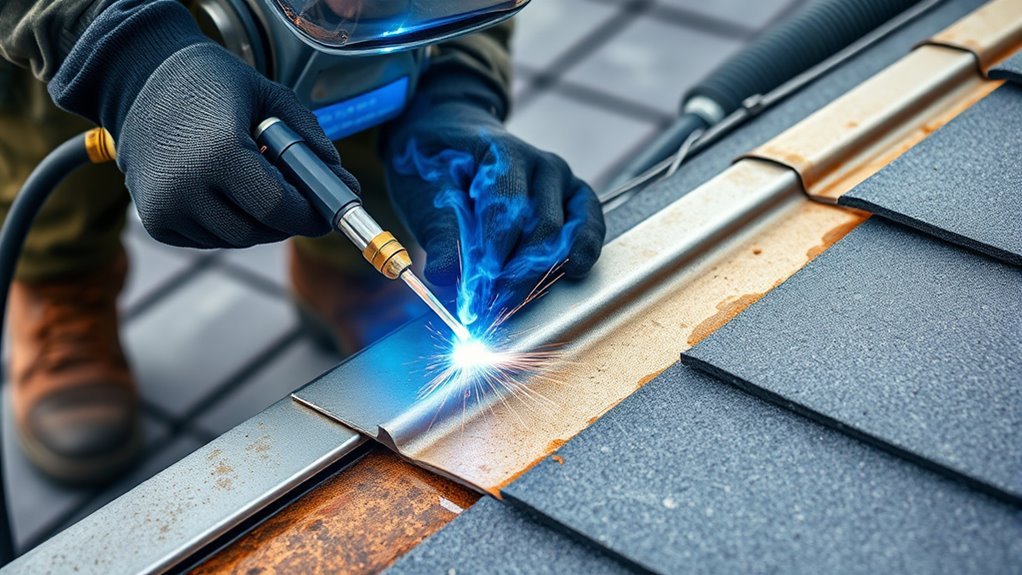
Lead welding, also known as lead burning, is the fusion of lead sheets using an oxy-acetylene or TIG process made feasible by lead’s low melting point. In this welding technique, edges are joined without relying on fasteners, permitting continuous seams that serve roof installations, waterproof joints in planters, and decorative leadwork.
Lead welding is selected when a durable, sealed connection is required across heritage repairs or commercial fabrications, particularly where movement, moisture, or appearance must be controlled. Proper use depends on thorough surface preparation; metal must be cleaned to a bright, shiny condition to reduce oxidation and promote sound fusion.
Lead burning consequently demands disciplined execution and safety measures, because lead exposure and welding fumes create regulated health hazards. When specified and performed correctly, the process supports resilient construction while preserving material continuity and practical autonomy in built environments.
Lead Welding Tools, Torches, and Safety Gear
The selection of equipment for lead welding follows directly from the process requirements and associated exposure controls. Lead welding tools are typically centered on oxy-acetylene equipment, favored for precision, low cost, and compatibility with lead’s low melting point. A small brazing tip supports a concentrated flame, while a neutral flame limits oxidation and promotes clean fusion. Welding rods may be commercial lead welding rods or cut strips matched to the method in use.
| Item | Function | Control |
|---|---|---|
| Torch | Heat delivery | Neutral flame |
| Tip | Flame focus | Small brazing tip |
| Rods | Filler metal | Method compatible |
| PPE | Worker protection | Goggles, helmet, gloves |
| Ventilation | Fume control | Local exhaust |
Personal protective equipment remains mandatory, including safety goggles, welding helmet, gloves, and respiratory protection. Ventilation must be maintained at a high standard, with local exhaust preferred to prevent lead fume accumulation. Such controls preserve worker autonomy through disciplined risk reduction.
How to Prepare Lead for Welding
Preparation begins with a pre-welding inspection of the lead pieces to verify clean surfaces, proper fit, and the absence of contaminants. The operator should clean the lead surfaces with a wire brush or fine-grit sandpaper until a bright, silvery luster appears, indicating reduced oxidation and improved fusion potential.
Joint geometry shall be confirmed before heating; lap joints and square butt joints are preferred when they provide proper fit and minimal gap width. The work area must be stable and well-ventilated to limit exposure to lead fumes and support compliant, controlled handling.
Surface films, grease, and particulate matter should be removed without delay, since contamination weakens the bond and undermines safety. Preparation also includes selecting a small brazing tip on the oxy-acetylene torch so localized heat can be applied efficiently during the burn.
This disciplined setup preserves material integrity, supports worker autonomy, and establishes conditions for reliable lead welding outcomes.
Lead Welding Step by Step
With the surfaces cleaned, fitted, and positioned in a ventilated workspace, the welding sequence may proceed under controlled conditions.
In lead welding, the operator first abrades each joint with a wire brush or fine-grit sandpaper until a bright, oxidation-free finish is obtained. An oxy-acetylene torch fitted with a small brazing tip is then adjusted to a neutral flame, limiting excess heat and supporting controlled fusion.
In lead welding, abrade each joint to a bright finish, then apply a neutral flame for controlled fusion.
The torch is moved in a steady back-and-forth motion while filler metal is introduced continuously into the molten puddle, maintaining uniform bead formation and reducing burn-through risk.
After completion, the joint is left to cool naturally to ambient temperature, then brushed clean for inspection of cracks or lack of fusion.
Throughout the task, proper ventilation is mandatory to reduce health risks from lead fumes, and personal protective equipment, including gloves and goggles, shall remain in place.
Common Lead Welding Problems and Fixes
Poor fusion in lead welding is typically associated with inadequate joint preparation, requiring surfaces to be cleaned to a bright, shiny finish before joining.
Burn-through is generally caused by excessive heat input, so welders must control flame intensity and travel speed to preserve metal thickness.
A small neutral flame and proper heat management are essential to reduce defects and maintain joint integrity.
Poor Fusion
Fusion defects in lead welding commonly originate from contaminated or oxidized joint surfaces, which prevent proper bonding and should be corrected by cleaning the lead to a bright, clean condition before welding.
Poor welding and lack of fusion also arise when the flame is not small and neutral, or when heat is insufficient. Operators shall guarantee proper puddle formation on lead sheets and maintain consistent travel to achieve full penetration.
- Frustration follows weak joints.
- Anxiety rises when defects escape notice.
- Confidence returns with disciplined technique.
- Relief comes after inspection and re-welding.
Excess filler metal indicates deficient control and can mask, rather than resolve, incomplete fusion.
Post-weld inspection is mandatory to identify cracks, voids, or unbonded areas.
Corrective action requires renewed cleaning, adjusted heat, and verified fusion.
Burn-Through Prevention
Burn-through in lead welding occurs when excessive heat is concentrated on the joint, causing the base metal to melt away; consequently, operators shall maintain a small, neutral flame and control heat input throughout the weld.
Burn-through is further prevented by proper joint preparation: edges shall be cleaned to a bright, shiny finish and fitted with minimal gaps.
During welding processes, the torch shall move at a steady travel speed with a controlled back-and-forth motion, avoiding prolonged heat application in any single area.
Filler metal shall be added consistently to support the joint and reduce localized overheating.
Continuous monitoring of heat application is mandatory, since dwell time increases the risk of excessive melting.
These measures preserve joint integrity, improve process reliability, and support safe, disciplined lead welding practice.
Lead Welding Safety: Fumes, Fire, and Exposure
Lead welding presents significant safety hazards that require strict controls for fumes, fire, and exposure. Hazardous fumes can produce respiratory problems, chronic lung disease, kidney damage, and other serious outcomes; consequently, ventilation and safety monitoring are mandatory.
Prolonged exposure to lead dust and vapor may cause heavy metal poisoning, anemia, stomach ulcers, and neurological injury. Protective gear, including approved respirators, is essential to preserve bodily autonomy and minimize absorption.
- Fire from naked flames can ignite nearby materials, demanding a cleared workspace.
- Sparks increase burn risk and require disciplined housekeeping.
- Confined spaces heighten asphyxiation danger without engineered airflow and emergency exit planning.
- Regular symptom surveillance supports early intervention and protects worker freedom from preventable harm.
Compliance with exposure limits, ventilation requirements, and fire-control procedures is not optional. It is the regulatory basis for safe, dignified lead welding practice.
Lead Welding Uses in Roofing and Repairs
Lead welding is routinely applied to sheet lead roofing where waterproof joints are required for durable weather resistance.
It is also used in repair work on existing lead installations to restore sealed junctions and preserve structural integrity, including heritage buildings.
In addition, the process supports decorative leadwork applications and the fabrication of custom rainwater goods where precise, leak-resistant joints are specified.
Sheet Lead Roofing
Sheet lead remains a specified roofing material for flashing, joints, and other areas exposed to water intrusion because of its waterproof performance and durability.
In roofing applications, lead welding joins lead sheets by autogenous heating, producing leak-proof seams without flux or filler. This method preserves the continuity of sheet lead and supports compliant detailing where movement, thermal cycling, and weather exposure are expected.
Its waterproof properties and high density also suit custom rainwater goods and decorative leadworking, especially in heritage work where authenticity is required.
- Freedom from persistent leaks
- Confidence in structural continuity
- Preservation of historic fabric
- Reliability under exposure conditions
Waterproof Joint Repairs
In roofing repair work, the same material continuity that supports sheet lead detailing is also used to restore watertight performance at failed joints and penetrations.
Lead welding, or lead burning, forms waterproof joints by autogenously fusing lead sheets without filler, producing a leakproof bond suited to regulated roofing repair practice. Effective surface preparation is mandatory; the metal shall be cleaned to a bright, shiny finish to secure adhesion and seal integrity.
Lead’s malleability and corrosion resistance permit precise repair of joints subjected to movement and weather exposure. Maintenance must be scheduled at defined intervals to detect fatigue, cracking, or separation before leaks reappear.
Where standards permit, these repairs support durable containment, reduced material waste, and a practical route to service continuity with minimal disruption.
Decorative Leadwork Applications
Decorative leadwork serves both waterproofing and ornamental functions in roofing, with lead burning used to fuse sheets into seamless joints for heritage buildings, planters, and similar installations.
The lead sheet is shaped for decorative applications that preserve structure and express craft. Lead burning joins metal without filler, reducing weak points and supporting longevity under thermal movement.
Skilled artisans are required to maintain compliance with traditional methods and current standards, especially where corrosion resistance and aesthetic continuity are essential.
Implementing safety controls is mandatory to limit exposure and manage heat, fumes, and handling risks.
- Durable seals protect historic fabric.
- Intricate forms enable visual freedom.
- Repairs remain discreet and lawful.
- Proper technique preserves material dignity.
Frequently Asked Questions
What Are the OSHA Requirements for Welding Leads?
OSHA requires employers to control lead exposure risks during welding leads through monitoring, training, and PPE.
They must assess lead welding techniques, account for lead melting point hazards, and maintain welding equipment maintenance schedules.
Welding fume ventilation, preferably local exhaust, must reduce airborne contamination below the 50 µg/m³ limit.
Records, medical surveillance, and hazardous waste disposal are required.
These measures protect workers and support safe, autonomous labor conditions.
What Are the 10 Welding Safety Rules?
The ten welding safety rules emphasize protective gear importance, ventilation systems, and welding equipment maintenance.
They require inspection of tools, fire prevention, safe material handling, proper grounding, and clear work zones.
They also mandate training certifications, hazard communication, and emergency readiness.
For lead work, lead exposure risks demand respiratory controls, hygiene, and regulated disposal.
Compliance preserves bodily autonomy, reduces injury, and supports a liberated, technically disciplined workplace.
Can You Weld Lead to Lead?
Yes, lead can be welded to lead, though the process is as delicate as stitching mercury with fire.
Suitable welding techniques depend on lead properties, with equipment selection favoring controlled oxy-acetylene or TIG systems. Effective joint preparation requires bright, clean surfaces and minimal oxidation.
Filler materials are often unnecessary, but may assist edge building. When executed with steady heat and disciplined motion, the joint fuses cleanly and maintains structural integrity.
What Are the Safety Precautions for Using Welding Leads?
Welding leads require rigorous precautions: proper lead handling, verified equipment maintenance, and personal protective controls including goggles, gloves, helmets, and respirators.
The work area should use ventilation systems with local exhaust to limit lead exposure and capture fumes.
Surfaces and conductors must remain clean, dry, and defect-free, while waste is contained and disposed of per regulation.
Routine inspections and health monitoring support safe, accountable operation and worker autonomy.
Conclusion
Lead welding closes a seam, but not the story. When the torch lifts, the molten edge still hardens, and the repair either holds or fails in silence. A clean joint, proper ventilation, and controlled heat reduce defects and exposure, yet the real test comes later, under weather, load, and time. In roofing and repairs, the final bond remains a visible line of compliance, caution, and consequence, waiting for inspection.