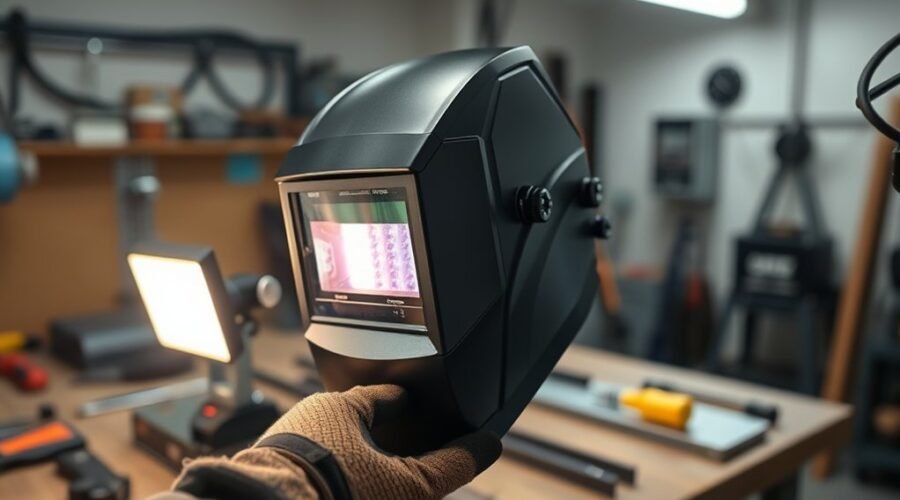
Testing an auto-darkening welding helmet safely starts with a close inspection of the shell, lens, and headgear before any exposure to light. A cracked housing or scratched filter can compromise protection, while a poor fit can reduce reliability. The next step is to confirm the darkening response under controlled conditions and verify the sensitivity settings. A helmet may seem functional at a glance, but the real test often reveals something less obvious.
Key Takeaways
- Inspect the helmet shell, lens, and headgear for cracks, scratches, gaps, or loose parts before testing.
- Test for light leaks in a dark room to confirm the helmet blocks stray light properly.
- Verify auto-darkening response using direct sunlight or an infrared remote control, never an arc.
- Set sensitivity to maximum first, then adjust sensitivity and delay based on the helmet’s response.
- Replace damaged components and troubleshoot sensors, batteries, and temperature issues if the helmet fails to darken correctly.
Why You Should Test Your Welding Helmet
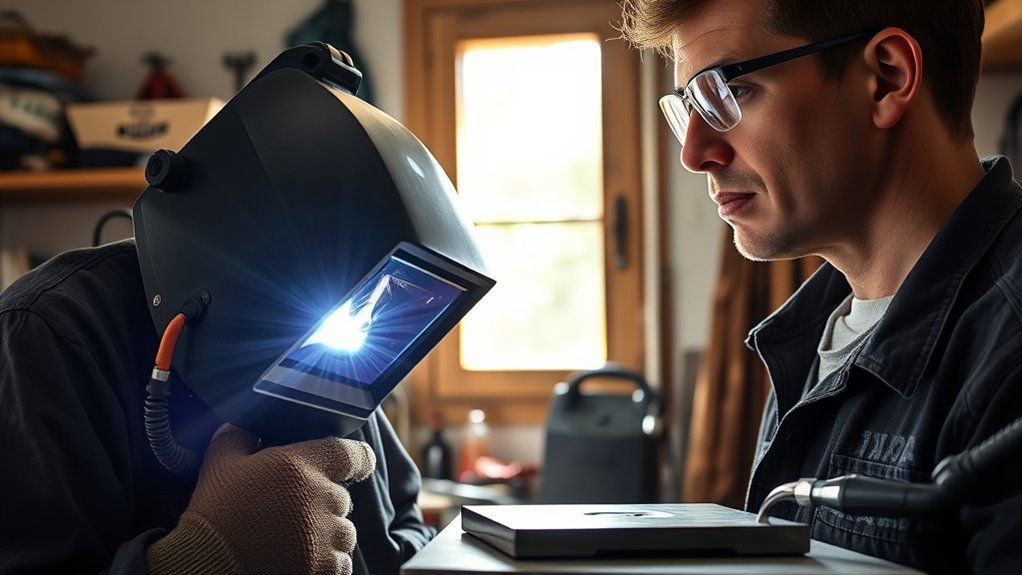
Regular testing of an auto-darkening welding helmet is essential to confirm that the sensor and lens respond properly, reducing the risk of eye strain and exposure to harmful UV and IR radiation during welding. Helmets that are not tested may fail without warning, leaving the welder exposed and compromising safety.
An auto-darkening welding helmet should be checked routinely to verify sensitivity settings and delay behavior for each task, since different welding processes demand different response levels. This test also helps confirm compliance with workplace safety requirements, including ANSI Z87.1 or CE certification.
An auto-darkening welding helmet should be checked routinely to ensure proper sensitivity, delay, and safety compliance.
By detecting malfunction early, the welder avoids interruptions, preserves workflow efficiency, and maintains control over the work. Regular inspection supports independence at the workstation, because reliable equipment reduces dependence on guesswork and correction. Additionally, ensuring that the helmet meets safety standards is vital for optimal protection during welding tasks.
In practice, disciplined test habits protect vision, reinforce safety, and keep the helmet ready for precise, liberated work.
How to Check the Shell and Lens
The helmet shell should be examined for cracks, gouges, or holes that could weaken structural integrity and reduce protection.
The lens must be checked for scratches, cloudiness, or pitting that may impair visibility and UV/IR shielding.
A darkroom light leak test should then confirm that no light escapes through gaps or damage. Additionally, ensure that the helmet features optical clarity to enhance visibility while welding.
Shell Damage Check
A thorough shell inspection begins with checking for visible cracks, gouges, or holes that could reduce the helmet’s protective integrity during welding. The user should inspect all outer surfaces for shell damage, since compromised safety equipment cannot reliably shield the face and neck.
A darkroom leak test should follow: place the helmet in a dim environment, then check for light escape around seams, joints, and edges. Any leakage indicates damage that the helmet needs repaired or replaced before service.
The headgear should also be examined for proper fit, because secure adjustment supports stable coverage and helps maintain protection during movement. If the shell is deformed, the lens area is stressed, or components are worn, replacement is the responsible choice.
Regular cleaning preserves condition and readiness.
Lens Clarity Inspection
After confirming the helmet shell is free of cracks, gouges, or holes, attention should shift to lens clarity, since any defect in the viewing area can compromise safe welding visibility.
To preserve freedom of movement and reliable eye protection, the user should inspect the helmet with disciplined precision.
- Examine the lens for scratches, cloudiness, or pitting that can reduce visibility during welding.
- Clean the lens with a soft cloth to remove contaminants that obscure the view in the auto-darkening helmet.
- If wear or damage is significant, replace the lens promptly and conduct a darkroom leak test before use.
Maintaining clear optics helps the welder work independently, with dependable control and reduced risk.
Light Leak Test
Light leaks can undermine the helmet’s protective barrier, so the shell and lens should be checked in a darkroom before use.
During the light leak test, the helmet shell is examined for cracks, gouges, or holes that could admit stray light and weaken protection. The wearer then sits in the darkroom and observes seams, edges, and the lens perimeter for any glow.
Scratches, cloudiness, or pitting on the lens must be treated as defects because they reduce visibility and may let harmful light pass.
Headgear should fit tightly against the face to preserve the seal. Any leak demands cleaning, repair, or replacement before welding begins, ensuring reliable protection and a clear view for safe, independent work.
How to Test Auto-Darkening With Sunlight
Full sunlight provides the simplest and most effective check of an auto-darkening welding helmet’s light response. To test your auto-darkening, expose the lens to direct sunlight and observe whether the auto-darkening feature activates almost immediately. This confirms light sensitivity and indicates whether the sensors are capable of providing adequate protection from UV and IR radiation.
Before testing, review the sensitivity settings, since a low setting may need stronger light, while a higher setting responds more readily.
Review the sensitivity settings first, since lower settings may need stronger light, while higher settings respond more readily.
- Place the helmet outdoors in bright, direct sunlight.
- Watch for a rapid darkening response across the lens.
- If the response is delayed, adjust sensitivity settings and repeat.
This method requires no additional equipment, making it practical for quick field verification on a sunny day. However, its value depends on strong sunlight; overcast weather and indoor conditions will not produce the same result.
For workers seeking freedom from uncertainty, this simple check supports confident use and safer operation. Additionally, ensuring the helmet has true-color optics enhances visibility during the test, making it easier to evaluate the auto-darkening response effectively.
How to Test Your Helmet With a Remote
A practical indoor test can be performed with an infrared remote aimed directly at the helmet’s sensors, allowing the IR signal to trigger the auto-darkening filter without sunlight. For best responsiveness, the sensitivity setting should be raised to its highest level before testing, and the helmet should be observed for proper sensor activation. If flickering occurs, the delay time should be increased to stabilize the response while UV and IR protection remains active. Regularly testing your helmet ensures optimal 4C optics performance and safety during welding sessions.
Remote Setup
For a quick functional check, the helmet can be tested with a remote by setting sensitivity to the highest level and aiming the remote directly at the sensors so the pulsed infrared signal can trigger the auto-darkening lens. This remote control method verifies auto-darkening functionality without dependence on arc light.
- Set the sensitivity level to maximum before you test the lens.
- Align the remote with the sensors that detect infrared pulses.
- Press the button and confirm darkening; if not, inspect battery power in both devices and increase delay time if flicker appears.
This procedure is practical when bright light is unavailable and supports safe, independent readiness before welding.
Triggering The Sensor
With the helmet set for testing, the next step is to trigger its sensor response using a remote control. Point the infrared emitter directly at the auto darkening welding helmet sensors and confirm that the lens darkens. That reaction verifies sensor function and helps test the light sensitivity without exposing eyes to arc light.
| Check | Action | Result |
|---|---|---|
| Power | Inspect battery and source | Stable output |
| Sensors | Aim remote control IR beam | Lens darkens |
| Response | Observe for flicker | Readability preserved |
If the remote signal is weak, the sensitivity of the lens may need to be set higher to meet safety requirements. Regular testing keeps the helmet ready when other light sources are unavailable, reducing the risk of eye strain or worse.
Adjusting Sensitivity And Delay
To verify proper response, a TV remote can be aimed directly at the helmet lens so the infrared signal activates the auto-darkening filter. During this test, the operator should assess adjusting sensitivity on the auto-darkening helmet by setting it high if the IR signal is weak. This confirms functionality without exposing the user to arc light.
- Point the remote at the lens and confirm immediate darkening.
- Watch for flicker; if present, increase delay time for stability and comfort.
- Recheck settings under different welding conditions to maintain reliable performance.
A properly tuned helmet responds promptly, darkens cleanly, and preserves clarity between exposures.
Regular evaluation supports safe, independent work and helps guarantee the helmet remains responsive across changing tasks.
How to Set Sensitivity and Delay
Sensitivity and delay settings determine how quickly an auto-darkening welding helmet reacts and how long the lens stays dark after the arc ends.
For initial setup, the sensitivity adjustment should be placed at the highest level, allowing the auto-darkening helmet to detect varied light conditions with maximum responsiveness. Then the operator can test sensitivity using sunlight or a TV remote and reduce or increase brightness settings as the workspace demands.
The delay time setting should match the task: longer delay for high-power welding to reduce eye strain, shorter delay for quick welds that require rapid recovery.
Different welding types require different tuning; TIG often benefits from higher sensitivity because of lower amperage. Each adjustment supports eye safety by keeping the lens engaged at the right moment. Regular checks are essential to ensure the helmet’s optical clarity remains optimal for varied tasks.
Settings should be reviewed regularly, so the equipment remains aligned with changing conditions and preserves clear, controlled, liberated work.
How to Troubleshoot a Failing Welding Helmet
When an auto-darkening welding helmet fails to darken correctly, the first checks should focus on the mode switch, power supply, sensors, and operating conditions. A technician should troubleshoot methodically, because each safety step protects the welder’s eyes and preserves proper detection.
- Confirm the grind mode switch is set to welding or cutting, not grind.
- Inspect battery health and the power source; clean contacts if corrosion or debris is present.
- Check for blockages or dirt on the sensors, and verify the operating temperature stays above -5°C.
Cold conditions can slow response time in an auto-darkening helmet, delaying shade activation. If the lens still behaves inconsistently, the unit may have internal damage, worn components, or a failing circuit. Additionally, helmets with lightweight shells can mitigate neck strain during prolonged use.
At that point, continued use is unsafe. The supplier should be consulted for repair, inspection, or replacement, especially when visible damage or erratic performance persists.
Frequently Asked Questions
How Safe Are Auto Darkening Welding Helmets?
Auto darkening welding helmets are generally very safe when they meet ANSI Z87.1 and use reliable lens technology.
Their auto darkening benefits, safety features, and multiple sensors reduce arc-eye risk and improve freedom of movement.
User experiences are best when shade, sensitivity, and delay are set correctly.
Common issues include slow switching or false triggering, so maintenance tips matter.
A buying guide should prioritize certified optics, sensor count, and consistent performance.
Do Auto Darkening Welding Helmets Wear Out?
Yes—auto darkening welding helmets wear out, like a shield turning thin under relentless sparks. Their auto darkening lifespan depends on use, heat, and storage.
Lens replacement frequency rises when scratching, clouding, or pitting appears. Battery longevity concerns, sensitivity adjustment tips, and performance in sunlight all affect reliability.
Maintenance best practices reduce common malfunction causes. When darkening becomes inconsistent, replacement is warranted to preserve safety and the freedom to work confidently.
Who Makes the Best Auto Darkening Welding Helmets?
Lincoln Electric, Miller Electric, and ESAB are often judged the best auto darkening choices among welding helmet brands. Their lens technology, dependable filter shades, and strong safety standards earn favorable user reviews.
3M stands out for respiratory integration, while Hobart offers value in a price comparison.
Selection should match task demands and comfort.
Routine maintenance tips, including lens care and inspection, preserve performance and protect independent workmanship.
Why Won’t My Auto Darkening Welding Helmet Work?
It usually fails because of battery issues, sensor blockage, or incorrect mode; one shop report found 3 of 10 “dead” helmets simply had low batteries.
Effective troubleshooting tips include checking lens sensitivity, removing sunlight interference, and confirming weld mode. Regular maintenance practices reduce user errors and preserve protection.
Technical brand comparisons can help identify weak models. If cracks, leaks, or damage appear, the helmet should be removed from service immediately.
Conclusion
In closing, a welding helmet should be treated as a critical barrier, not an accessory. Careful inspection of the shell, lens, and headgear, followed by functional testing of the auto-darkening sensors, helps confirm reliable protection before arc exposure. Like a shield forged for a modern blacksmith, it must respond without hesitation. Routine checks, proper settings, and prompt troubleshooting preserve performance, reduce risk, and support safe welding practices with consistent, dependable protection.