Auto-darkening welding helmets let you see the workpiece before striking an arc, then automatically reduce visible light when welding begins. The key is an auto-darkening filter (ADF) that combines arc sensors, electronic controls, polarizing layers, liquid-crystal cells, and permanent UV/IR filtration. Understanding what each part does makes it easier to choose the right shade, sensitivity, delay, and operating mode.
Quick Answer
Auto-darkening welding helmets use arc sensors, control electronics, polarizers, liquid-crystal cells, and a permanent UV/IR filter. Sensors detect the welding arc and the electronics change the liquid-crystal state, reducing visible light to the selected shade. After the arc stops, the lens returns to its lighter viewing state after a short delay.
Key Takeaways
- Arc sensors tell the helmet when welding begins, while electronics control the light-to-dark transition.
- Liquid-crystal and polarizing layers regulate how much visible light reaches your eyes.
- UV and infrared protection is provided continuously by dedicated filter layers in properly designed ADFs; it does not depend only on switching speed.
- The correct welding shade depends on the process, arc current, electrode size, and manufacturer guidance rather than one universal shade setting.
- Sensitivity, delay, sensor coverage, viewing area, grind mode, battery condition, and safety certification all matter when choosing and using a helmet.
What Are Auto-Darkening Welding Helmets?
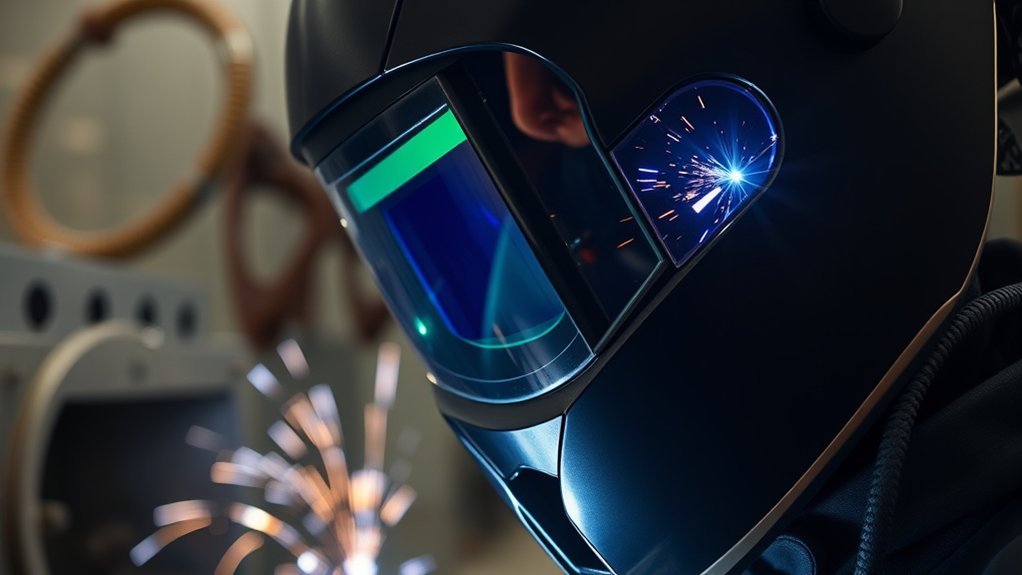
Auto-darkening welding helmets are protective welding helmets with an electronically controlled filter that changes from a lighter viewing state to a darker welding shade when it detects an arc. This lets the operator position the torch or electrode with the helmet already down instead of repeatedly lifting and lowering a fixed-shade helmet.
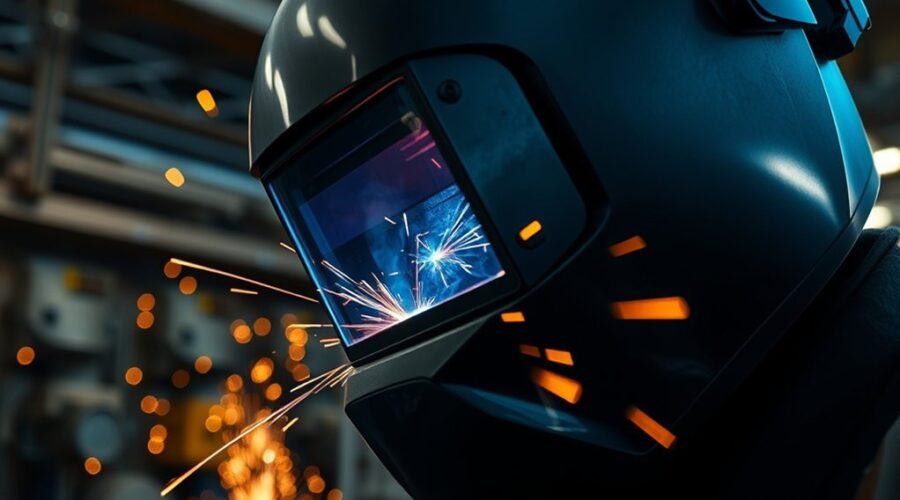
In auto-darkening welding, the ADF normally stays light enough for setup and positioning. When its sensors detect an arc, control electronics change the optical state of the filter. The helmet then returns to its lighter state after welding stops, either immediately or after a selected dark-to-light delay.
Switching time varies by helmet and filter design, so figures such as 1/20,000 or 1/25,000 of a second should not be treated as universal specifications. For example, individual manufacturer models publish their own switching-time ratings. More important, a properly designed welding filter provides UV/IR protection independently of the electronic visible-light switching function.
Some models also use natural color technology or similar optics to make the weld puddle and surrounding workpiece appear more natural before, during, and after welding.
How Auto-Darkening Helmets Work
An auto-darkening helmet works through a short sequence that starts at the arc sensors and ends at the optical filter:
- The helmet is in its light state. You can see the joint, electrode, torch, and surrounding work area without lifting the helmet.
- Arc sensors detect welding light. The sensors send a signal to the ADF electronics when the arc begins.
- The electronics energize the liquid-crystal system. The molecular orientation inside the liquid-crystal cells changes.
- Polarizers and liquid-crystal cells reduce visible-light transmission. The lens moves to the selected welding shade.
- The permanent UV/IR filter continues protecting against hazardous radiation. This filtering function is separate from the visible-light shade change.
- After the arc stops, the filter returns to its light state. A delay control on many helmets determines how quickly that recovery happens.
The exact switching time, light state, available dark shades, number of sensors, and delay settings differ between models. Modern auto-darkening technology therefore should be compared by its complete specification rather than one reaction-speed number.
The electronic darkening system mainly controls visible light. Continuous UV/IR protection comes from dedicated filtering layers built into a properly designed welding filter.
What’s Inside the Auto-Darkening Lens
An auto-darkening lens is a layered optical and electronic system rather than a single piece of tinted glass. Designs vary, but the main parts perform similar jobs.
| Component | What It Does |
| UV/IR filter | Limits hazardous ultraviolet and infrared radiation independently of the visible-light switching state. |
| Polarizing filters | Work with the liquid-crystal cells to control visible-light transmission. |
| Liquid-crystal cells | Change optical orientation when electrical voltage is applied, helping produce the selected dark shade. |
| Arc sensors | Detect the welding arc and trigger the electronic switching system. |
| Control electronics | Process the sensor signal and control shade, sensitivity, delay, and operating modes where provided. |
| Cover lenses | Protect the ADF from sparks, spatter, scratches, and debris and are normally replaceable. |
The liquid-crystal cells do not replace the UV/IR filter. Instead, they work with the polarizing layers to regulate visible light. That distinction explains why a compliant ADF can provide UV/IR protection even while its electronic shade is in the lighter viewing state.
Optical designs differ between manufacturers. Features such as true-color optics are intended to provide a more natural-looking view of the workpiece and weld puddle than older green-tinted filters.
Why Auto-Darkening Helmets Stay Safe
Safety does not depend on switching speed alone. A properly selected auto-darkening helmet combines several layers of protection: the helmet shell and cover lens protect the face, the welding filter controls radiant energy, the ADF changes visible-light shade, and the permanent filter layers provide UV/IR protection.
In the United States, OSHA requires welding operators to use suitable eye and face protection and an appropriate filter shade for the work being performed. Welding shade selection changes with the welding process, electrode size, and arc current. A helmet should also carry the markings or certification required for the workplace and jurisdiction where it is used.
Warning: A welding helmet is not a substitute for all other eye protection. Wear appropriate safety spectacles or goggles beneath the helmet when required for impact and workplace hazards. Never weld with a damaged filter, cracked lens, obstructed viewing assembly, or a helmet set to grind mode.
Features such as 4C optics or other enhanced-color lens systems can improve the appearance and contrast of the work area, but optical clarity features should complement—not replace—proper shade selection and safety certification.
How to Choose the Right Shade and Settings
The correct settings depend on the welding process, amperage, lighting conditions, helmet design, and the manufacturer’s instructions. Variable-shade ADFs commonly provide welding shades around 8–13, but the correct setting is determined by the work rather than by choosing one shade for every job.
Choose the Correct Welding Shade
Start with the minimum protective shade specified for the welding process and current range. OSHA publishes filter-shade guidance for common processes including SMAW, GMAW, FCAW, GTAW, cutting, brazing, and oxyfuel work.
A practical approach is to begin with a shade that is too dark to see the weld zone clearly, then move lighter until you can see the work adequately without going below the required minimum protective shade.
Set Sensitivity for the Arc and Environment
Sensitivity controls how readily the helmet responds to an arc. If sensitivity is too low, the ADF may not switch reliably. If it is too high, nearby welders, bright sunlight, or flashing light sources may cause unwanted darkening.
Low-current TIG often requires greater sensitivity because the arc can be less intense at the sensors. Sensor position also matters: if the workpiece, torch, body position, or another object blocks the sensors, some optical ADFs may fail to detect the arc reliably.
Pro Tip: Adjust sensitivity in the actual lighting and welding position you will use. Increase it only until the filter switches reliably, then check that nearby arcs or ambient light do not cause nuisance triggering.
Use Delay to Control Dark-to-Light Recovery
Delay controls how long the ADF stays dark after the welding arc stops. A longer delay can be comfortable after high-amperage welding because the weld pool and surrounding metal may remain extremely bright. A shorter delay can make repetitive tack welding or repositioning faster. Available settings vary by helmet.
Consider Sensors, Viewing Area, and Optics
More sensor coverage can be helpful for out-of-position welding because one or more optical sensors may be blocked. However, sensor count alone does not determine helmet quality or safety.
A larger viewing area can improve peripheral awareness and reduce how often you need to reposition your head, although a larger lens assembly may also add size or weight. Helmets with large viewing windows can be especially useful when visibility around the joint matters.
Understand Grind, Cut, and Weld Modes
Many helmets include separate welding, cutting, and grinding modes. Grind mode normally locks or keeps the lens in a light state so the user can see while grinding.
Warning: Do not strike a welding arc while the ADF is in grind mode. On many helmets, grind mode disables automatic darkening. Always return the helmet to the correct welding mode and shade before welding.
Check Power and Battery Design
Auto-darkening filters require electrical power for their switching electronics. Depending on the helmet, power may come from replaceable batteries, non-replaceable batteries, solar-assisted cells, or a combination. “Solar-assisted” does not automatically mean the helmet operates without a battery.
Before buying, check battery type, replacement procedure, low-battery indicator, expected service requirements, and whether the ADF automatically turns on when an arc is detected.
Note: A faster advertised switching time does not compensate for using the wrong shade, welding in grind mode, blocked sensors, damaged optics, or a helmet that does not meet the required safety standard.
How to Check an Auto-Darkening Welding Helmet Before Welding
Inspect the helmet before each welding session instead of assuming the ADF is ready because the lens looks clear.
- Inspect the shell and filter. Do not use a helmet with a cracked, badly scratched, loose, heat-damaged, or otherwise compromised filter assembly.
- Check the outside and inside cover lenses. Replace cover lenses that are damaged or so scratched that they interfere with visibility.
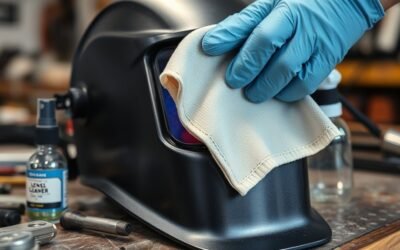
- Clean the arc sensors. Dust, spatter, stickers, or debris can block optical sensors.
- Check battery status. Replace weak batteries according to the manufacturer instructions and verify any low-battery indicator.
- Confirm the operating mode. Make sure the helmet is in weld mode rather than grind mode.
- Set the correct shade. Match it to the welding process and arc current.
- Set sensitivity and delay. Use the manufacturer’s recommended starting settings, then adjust for the actual welding environment.
- Use the manufacturer’s pre-use test procedure. If the helmet has a test function, follow its instructions. Do not improvise a test that requires intentionally viewing a welding arc without confirmed protection.
If the ADF flickers, switches inconsistently, stays dark when it should clear, fails to respond, displays an error, or has visible damage, stop using it until the cause is corrected.
Care, Maintenance, and Service Life
An auto-darkening helmet does not have one universal expiration date. Service life depends on the filter design, battery condition, heat exposure, impacts, storage conditions, contamination, and how often the helmet is used.
Keep the sensors and cover lenses clean with methods approved by the helmet manufacturer. Replace damaged cover lenses before they allow sparks or debris to reach the ADF. Store the helmet where the filter will not be exposed to unnecessary heat, moisture, impact, or heavy contamination.
A replaceable battery is a normal maintenance item. A damaged ADF, cracked lens, unreliable switching system, or helmet shell that can no longer provide proper protection requires repair or replacement according to the manufacturer instructions.
Frequently Asked Questions
Do Auto-Darkening Welding Helmets Wear Out?
Yes. Batteries, cover lenses, headgear, sensors, electronics, and other components can deteriorate or become damaged over time. There is no single lifespan that applies to every helmet. Replace damaged lenses and worn parts as required, and stop using the helmet if the ADF becomes unreliable or the manufacturer says the filter has reached the end of its service life.
Why Do Welders Lose Their Eyesight?
Welding can injure the eyes when suitable protection is missing, damaged, incorrectly selected, or used improperly. Ultraviolet radiation from an arc can cause photokeratitis, commonly called arc eye or welder’s flash. Intense visible and infrared radiation can also harm eye tissues, while sparks, slag, and metal particles create impact hazards. Anyone who develops significant eye pain, light sensitivity, or a change in vision after welding exposure should seek prompt medical evaluation.
How Do I Know if My Auto-Darkening Welding Helmet Is Working?
Inspect the filter and cover lenses, clean the sensors, check the battery or power indicator, confirm weld mode, choose the correct shade, and follow the manufacturer’s pre-use test procedure. The lens should switch reliably when used under the conditions for which it was designed. Flickering, delayed or inconsistent switching, error indicators, visible cracks, or failure to return normally to the light state are reasons to stop and inspect the helmet.
How Much Does an Auto-Darkening Welding Helmet Cost?
Prices vary widely. Basic hobby helmets can cost far less than professional models with larger viewing areas, more advanced optics, multiple operating modes, premium headgear, or integrated respiratory protection. Instead of choosing by price alone, compare safety certification, shade range, sensor performance, replacement parts, comfort, warranty, and the welding processes you actually use.
Conclusion
Auto-darkening welding helmets work by combining arc sensors, electronic controls, liquid-crystal cells, polarizers, and permanent UV/IR filtration. When an arc starts, the ADF reduces visible light to the selected welding shade; after the arc stops, it returns to its lighter state according to its delay setting. Safe use still depends on choosing the correct shade, keeping sensors clear, checking the battery and lens condition, wearing appropriate primary eye protection, and never welding while the helmet is in grind mode.
Sources
- U.S. Occupational Safety and Health Administration — 29 CFR 1910.133 — eye and face protection requirements and welding filter shade guidance.
- U.S. Occupational Safety and Health Administration — 29 CFR 1910.252 — welding eye protection and helmet requirements.
- Miller — Selecting the Right Welding Helmet — shade ranges, sensors, sensitivity, viewing area, standards, and ADF selection factors.
- 3M Speedglas Auto-Darkening Welding Helmet SL User Instructions — switching time, continuous UV/IR protection, shade selection, sensitivity, and battery specifications for a documented ADF model.
- NIOSH — Safety and Health in Arc Welding and Gas Welding and Cutting — ultraviolet, infrared, visible-light, and welding eye hazards.
- ISO 16321-2:2021 — international requirements for eye and face protectors used during welding and related techniques.