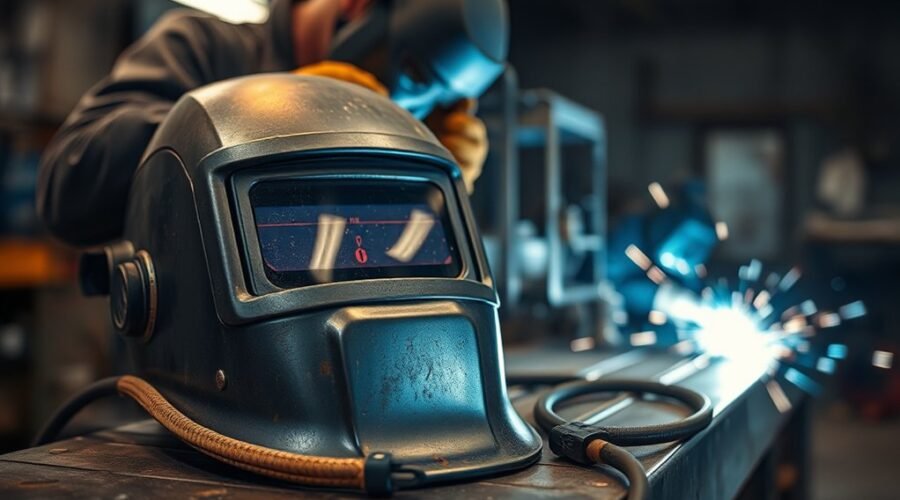
Grind mode on a welding helmet keeps the auto-darkening filter in a light viewing state so you can see the workpiece while grinding, cleaning, or preparing metal. On many helmets that light state is shade 3, although the exact shade and control method vary by model. Grind mode is useful for workflow, but it is never a substitute for the welding shade required when an arc is present.
Quick Answer
Grind mode keeps an auto-darkening welding filter in a light state—commonly shade 3 on many helmets—so you can see while grinding without lifting the hood. It is not a welding shade and must be switched off before striking an arc. Wear appropriate impact-rated safety glasses or goggles under the helmet and follow your model’s manual.
Key Takeaways
- Grind mode locks or holds the welding filter in a light viewing state; shade 3 is common, but the exact light state depends on the helmet.
- Never weld while grind mode is active because a filter locked in grind mode may not darken when the arc starts.
- Grinding creates flying-particle hazards, so use appropriate impact-rated safety glasses or goggles beneath the helmet rather than relying on the helmet alone.
- Grind mode may be selected with an external button, internal control, knob, switch, or a flip-up grinding visor, depending on the helmet.
- For current U.S. eye and face PPE guidance, check the helmet’s markings and instructions and consider the requirements of ANSI/ISEA Z87.1-2025 and applicable OSHA rules.
What Is Grind Mode?
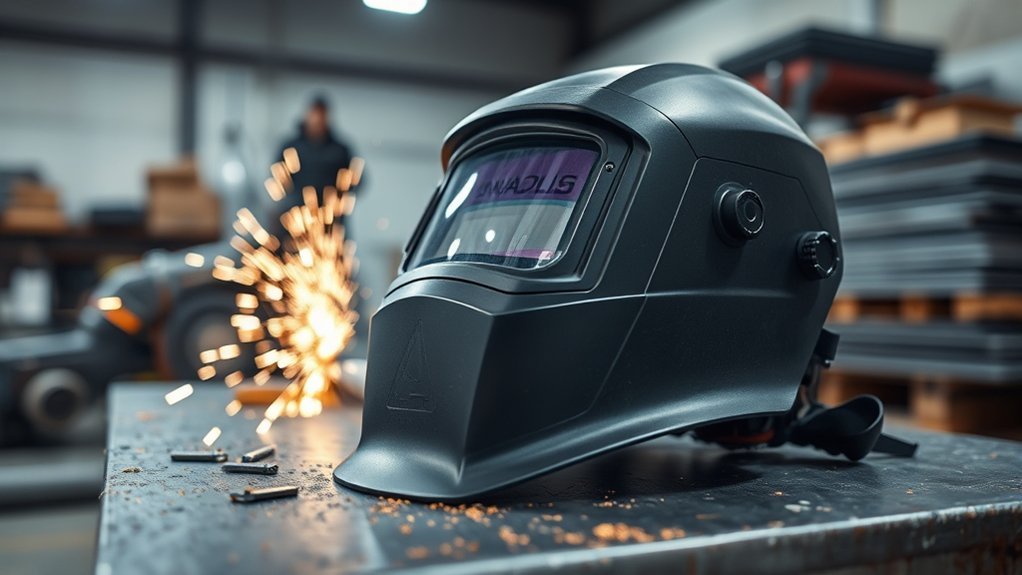
Grind mode is a dedicated welding helmet setting that keeps an auto-darkening lens in its light state during grinding and similar non-arc work. Many helmets use approximately shade #3 in grind mode, but that value is not universal. Some helmets use a different light-state shade, while flip-up designs may expose a separate clear grinding visor instead.
The light state improves grinding visibility, but shade number and impact protection are two different issues. The helmet shell or grinding visor must provide protection appropriate for flying particles, and workers should use suitable primary eye protection such as impact-rated safety glasses or goggles beneath the helmet when grinding.
On an auto-darkening helmet, grind mode is separate from welding protection. Depending on the design, it may be selected with an external button, toggle, knob, internal menu, or dedicated flip-up mechanism. Existing features such as natural color technology may improve how clearly the workpiece appears, but optical clarity does not change the need for correct impact protection or the proper welding shade.
Warning: Never strike a welding arc while the helmet is locked in grind mode. Manufacturer instructions for auto-darkening helmets warn that a filter in grind mode may remain in its light state instead of darkening for the arc. Confirm that welding mode is restored before every restart.
How Grind Mode Works on Auto-Darkening Helmets
On auto-darkening helmets, grind mode normally disables automatic darkening and holds the filter in a light viewing state. Shade 3 is common on current products from manufacturers such as 3M and Miller, but users should verify the exact setting in the manual for their own helmet.
This is different from ordinary welding mode. In welding mode, optical sensors or another detection system identify the arc and darken the filter to the selected welding shade. In grind mode, the helmet is deliberately kept light so sparks from the grinder or changes in shop lighting do not repeatedly darken the lens.
Helmets using true-color optics can make the workpiece easier to see, but the color technology does not make grind mode suitable for welding.
Activation Methods
Activation methods on auto-darkening welding helmets vary by manufacturer and model. Common systems include:
- External button or switch: lets the operator change modes without raising or removing the helmet.
- External knob: provides a dedicated grind position on some analog-control helmets.
- Internal button or menu: requires the user to raise the helmet before changing modes.
- Flip-up system: lifts the welding filter to reveal a separate clear or lightly tinted grinding shield.
External controls are convenient when welding and grinding alternate frequently, but convenience should never replace a deliberate mode check. After grinding, verify that the helmet has returned to the correct welding mode before striking an arc.
Shade Settings
A shade #3 light state is common in grind mode, but it is not a universal specification. Some helmet families use a light state of approximately 2.5 or another value, so the helmet’s own instructions should control.
Do not confuse grind mode with a dedicated cut mode. Certain auto-darkening helmets provide cutting shades such as #5 through #8, while OSHA’s minimum protective shade recommendations depend on the actual process and arc current. A cutting shade should therefore be selected from the helmet manual and the applicable safety guidance rather than copied from a general grind-mode recommendation.
Note: A light-state shade mainly describes optical transmission. Protection from grinding fragments depends on the impact rating, coverage, fit, condition of the protector, and the primary safety glasses or goggles worn underneath.
Helmet Safety
Safe grinding requires more than selecting the grind icon on an auto-darkening helmet. The operator must address both flying-particle hazards and the possibility of accidental arc exposure.
- Use appropriate impact-rated safety glasses or goggles beneath the helmet for grinding.
- Confirm that the helmet or grinding shield is intended and rated for the impact hazards involved.
- Inspect cover lenses and viewing windows for cracks, deep scratches, clouding, or other damage.
- Check the battery or low-battery indicator on powered auto-darkening filters.
- Make sure the grind-mode indicator or switch position is easy to identify.
- Return the helmet to the correct weld mode before striking an arc.
The current ANSI/ISEA eye and face protection standard is ANSI/ISEA Z87.1-2025. Impact-rated products may carry markings such as Z87+, depending on the component and product design. The standard name itself should not be written as “ANSI Z87.1+.”
When to Use Grind Mode Safely
Grind mode is intended for non-arc tasks such as grinding a weld bead, removing slag, cleaning edges, preparing a joint, or inspecting the workpiece when the helmet manufacturer permits those activities in its light state.
Grind mode improves visibility for non-arc work, but it does not provide the dark welding shade required when an arc is present.
A simple mode-changing routine reduces the chance of accidental exposure:
- Stop welding completely. Make sure no arc is active before changing the helmet setting.
- Select grind mode. Confirm the grind indicator, switch position, or flip-up visor position specified by the manufacturer.
- Check primary eye protection. Wear suitable impact-rated safety glasses or goggles underneath the helmet.
- Perform the grinding task. Keep the helmet down and maintain normal grinder guards and other required PPE.
- Stop the grinder. Wait until the wheel or abrasive has stopped before changing tasks.
- Return to weld mode. Select the appropriate welding shade and confirm the setting before striking the next arc.
Pro Tip: Build a short “mode check” into every transition: grinder off, grind mode off, welding shade confirmed, then arc on. This takes only a moment and directly addresses one of the most serious grind-mode errors.
Understanding the safety features of the rest of your welding PPE is also important because grind mode addresses only one part of the overall hazard.
Flip-Up vs External Grind Controls
Flip-up helmets and helmets with an external grind control solve the same workflow problem in different ways. Neither design is automatically safer; the correct choice depends on the helmet’s ratings, fit, controls, and how consistently the operator uses it.
| Feature | Flip-Up Grinding Visor | External Grind Control |
|---|---|---|
| How it works | Welding filter lifts to reveal a separate grinding visor. | Button, knob, or switch locks the ADF in its light/grind state. |
| Visibility | Can provide a broad clear view, depending on the helmet. | Uses the ADF’s normal viewing area. |
| Task switching | Requires physically raising and lowering the welding filter. | Can often be changed without lifting the helmet. |
| Main risk | Forgetting to lower the welding filter before restarting. | Forgetting that electronic grind mode is still active. |
Both approaches can support efficient task switching. Some helmets also provide memory functions that save welding shade, delay, or sensitivity settings. The auto-darkening feature remains valuable when the helmet is returned to welding mode because it restores automatic darkening for the arc.
Grind Mode Benefits and Common Failures
The main benefit of grind mode is simple: it lets the operator keep the helmet in position while obtaining a brighter view for non-arc work. An external control can make transitions especially fast, while a flip-up design can provide a separate clear viewing shield. Grind mode is therefore a useful feature when welding and surface preparation alternate throughout a job.
| Situation | Likely Cause | What to Do |
|---|---|---|
| Lens stays light when you are about to weld | Grind mode may still be active | Do not strike an arc. Restore weld mode and verify the selected welding shade. |
| Lens darkens unexpectedly while grinding | Helmet may still be in weld mode or receiving a nearby arc signal | Stop and confirm the operating mode and control position. |
| Grind control does not respond | Battery, control, or model-specific operating issue | Check the low-battery indication and manufacturer instructions; remove a malfunctioning helmet from service until corrected. |
| View is cloudy or distorted | Dirty, damaged, or worn cover lens | Clean or replace the approved cover lens according to the helmet instructions. |
The most serious failure is not mechanical; it is procedural. Accidentally leaving grind mode active before welding can expose the operator to intense arc radiation. A consistent before-arc check is therefore more important than how quickly the helmet changes modes.
Choose the Right Grinding Helmet
Selecting the right grinding helmet depends on the hazards you face and how often you move between welding and grinding. Useful features include:
- clearly marked grind and weld modes
- an external control or flip-up visor if frequent task switching matters
- appropriate impact protection and markings for the intended work
- a light-state shade that provides adequate visibility for grinding
- controls that remain easy to identify while wearing gloves
- a replaceable cover lens and readily visible low-battery indication where applicable
- a manual that clearly explains grind mode, welding shades, sensitivity, and maintenance
Do not choose a helmet solely because an advertisement says it has “grind mode.” Confirm the actual light state, impact rating, viewing arrangement, control design, replacement parts, and manufacturer instructions.
Battery or solar-assisted power arrangements vary among auto-darkening filters. Instead of assuming that a weak battery merely slows lens response, follow the helmet’s low-battery warning and replacement procedure and test the filter as instructed before welding.
Helmet selection is separate from welder performance. If you are also choosing a welding machine, understanding duty cycle and cooling can help reduce equipment downtime, but those machine specifications do not determine whether grind mode provides suitable eye and face protection.
Frequently Asked Questions
What Is the Best Setting for a Welding Helmet?
There is no single best setting for every task. For grinding, many auto-darkening helmets use a light state around shade 3, but you should use the setting specified by the manufacturer. For welding, choose a shade appropriate for the welding process, amperage, and applicable safety guidance rather than leaving the helmet in grind mode.
Are You Supposed to Grind Welds?
Welds are sometimes ground for cleanup, fit-up, surface finishing, defect removal, or preparation for another weld pass. Grinding should follow the fabrication procedure so you do not remove too much sound weld metal, reduce the required joint size, overheat the workpiece, or hide a defect that should be repaired properly.
Is There an Auto Darkening Welding Helmet With Grind Mode?
Yes. Many auto-darkening welding helmets include a dedicated grind mode. Depending on the model, it may be controlled with an external button, switch, knob, internal menu, or flip-up assembly. Check the helmet’s specifications because the light-state shade and control system are not identical across brands.
What Should My Sensitivity Be on My Welding Helmet?
Sensitivity is model-specific, so a universal number such as 6–8 is not reliable. Some helmets use a 1–5 scale, while others use a 0–10 scale or automatic sensitivity. Start with the manufacturer’s recommendation for your welding process and ambient lighting, then adjust only as the manual directs. Low-amperage TIG often needs greater sensitivity than higher-energy welding.
Can You Weld While Grind Mode Is On?
No. Do not intentionally weld with grind mode active. Grind mode commonly locks the auto-darkening filter in its light state, so the lens may not darken when the arc starts. Stop, switch back to the correct welding mode and shade, confirm the setting, and only then strike the arc.
Do I Still Need Safety Glasses Under a Welding Helmet When Grinding?
Yes, appropriate primary eye protection should be used for flying-particle hazards. OSHA guidance treats welding helmets and face shields as secondary protection used with suitable spectacles or goggles where the hazard requires them. Choose impact-rated eyewear that fits correctly beneath the helmet.
Is Grind Mode the Same as Cut Mode?
No. Grind mode normally keeps the lens in a light state for non-arc grinding. Cut mode on compatible helmets uses a darker filter range intended for specific cutting processes. Some helmets provide shades around 5–8 for cut mode, but the required protective shade depends on the process and operating conditions, so follow the helmet manual and applicable safety guidance.
Conclusion
Grind mode makes an auto-darkening welding helmet more convenient for surface preparation by keeping the viewing area light enough to see the work. Shade 3 is common, but the exact setting depends on the helmet. The most important habit is simple: use proper impact-rated eye protection for grinding, confirm grind mode before grinding, and restore the correct welding mode and shade before every arc.
Sources
- OSHA 29 CFR 1910.133 — Eye and Face Protection — eye/face hazards and minimum protective welding/cutting shade guidance.
- OSHA Safety and Health Management System Manual, Chapter 8 — guidance on welding helmets, primary eye protection, optical radiation, and impact hazards.
- International Safety Equipment Association — ANSI/ISEA Z87.1-2025 Update — current U.S. voluntary eye and face protection standard.
- 3M Speedglas Welding Helmet G5-03E User Instructions — grind light-state and model-specific sensitivity guidance.
- Miller Classic Series Welding Helmet Documentation — weld, cut, and grind operating modes and representative shade ranges.