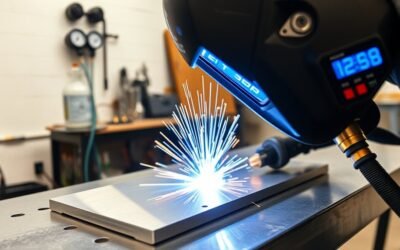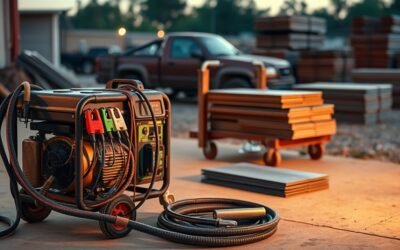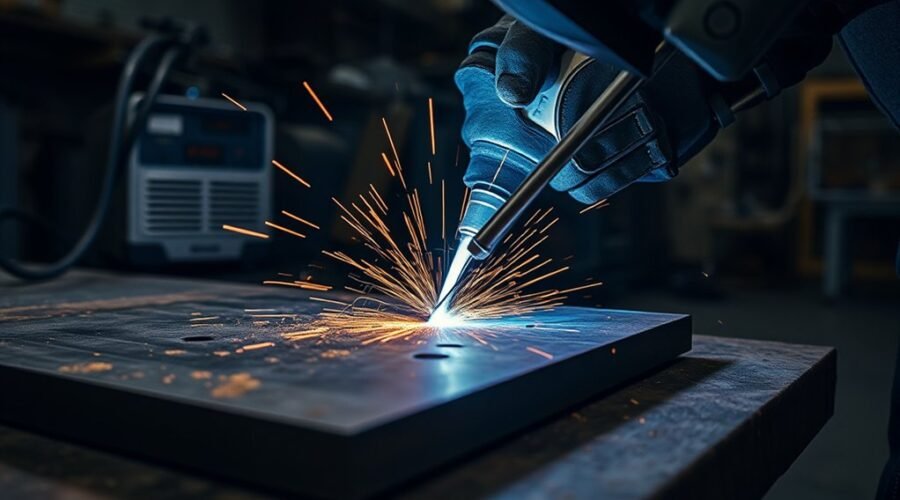
Scratch-start TIG is a basic TIG arc-start method in which the tungsten electrode briefly contacts and moves across the workpiece before being lifted to establish the arc. It is commonly used with simple DC constant-current power sources that lack Lift-Arc or high-frequency starting. The method is inexpensive and portable, but it requires careful technique because direct tungsten-to-metal contact increases the risk of sticking, contamination, and inconsistent starts.
Quick Answer
Scratch-start TIG starts the arc by lightly dragging or touching the tungsten against clean metal and lifting it immediately. A typical setup uses a DC constant-current power source on DCEN, a valve-style TIG torch, 100% argon, a flowmeter, and sharpened tungsten. It works well for basic steel and stainless jobs but has more contamination risk than Lift-Arc or HF TIG.
Key Takeaways
- Scratch-start TIG begins the arc by briefly contacting or dragging the tungsten on the workpiece and lifting immediately.
- A typical scratch-start conversion uses a constant-current DC power source with the torch on DCEN: electrode negative and work positive.
- Use 100% argon for normal TIG shielding; a 75/25 argon/CO2 MIG blend is not suitable for TIG.
- Clean metal, properly prepared tungsten, correct gas coverage, and fast separation from the work help reduce sticking and contamination.
- Lift-Arc and high-frequency TIG offer cleaner, more repeatable starts and are usually better choices when the equipment is available.
At a Glance
| Time Required | About 10 minutes for basic setup; practice time varies |
| Difficulty | Intermediate; starting the arc is less forgiving than Lift-Arc |
| Tools Needed | DC constant-current welder, valve TIG torch, 100% argon, regulator/flowmeter, tungsten, grinder, work clamp, filler rod as needed, and welding PPE |
| Cost | Varies; if you already own a compatible DC stick welder, the main additions are the TIG torch, argon cylinder, flowmeter/regulator, hose, and consumables |
What Is Scratch-Start TIG?
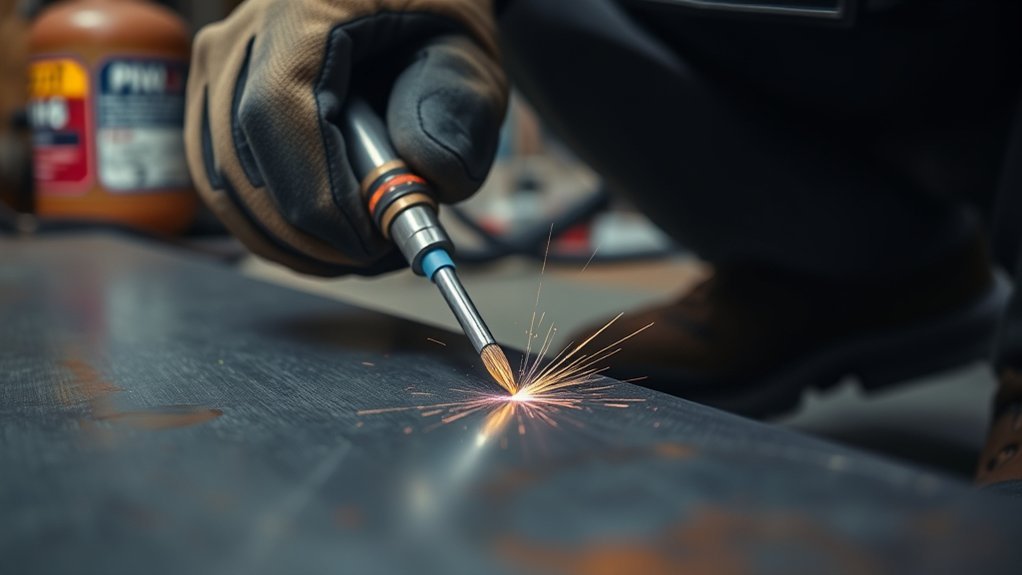
Scratch-start TIG is an arc initiation method in which the tungsten electrode briefly contacts or moves across the workpiece before being lifted to establish the welding arc. The motion is often compared with striking a match, although the contact should be light and controlled rather than aggressive.
The technique allows TIG welding without dedicated high-frequency or electronically controlled Lift-Arc starting circuitry. It is most commonly associated with compatible DC constant-current stick power sources adapted for TIG service. Lincoln Electric, for example, documents scratch-start operation for DC TIG applications.
The operator must separate the tungsten from the metal quickly. If the tungsten sticks, drags excessively, or breaks material from its tip into the puddle, both the electrode and weld can become contaminated.
With scratch-start TIG, the quality of the start depends heavily on clean metal, a properly prepared tungsten, correct shielding gas, and quick separation between the electrode and workpiece.
Clean base metal is therefore essential. Remove paint, rust, oil, scale, moisture, and other contamination using a cleaning method suitable for the material. The main drawbacks are more frequent tungsten re-sharpening, a higher risk of sticking, and a less forgiving workflow than controlled arc-start systems. Beginners comparing the ease of use of beginner welders should keep that learning curve in mind.
How Scratch-Start TIG Works
A typical scratch-start setup uses a constant-current DC power source with the TIG torch connected for DC electrode negative (DCEN) and the work lead positive. The torch carries the tungsten and shielding gas, while the work clamp completes the welding circuit.
For normal TIG work, use 100% argon or another shielding gas specifically approved for the procedure. Miller identifies 100% argon as the standard all-around TIG gas and warns against argon/CO2 MIG mixtures because they contaminate the TIG process. If you are comparing gases in a broader shielding-gas guide, do not confuse a common 75/25 argon/CO2 MIG blend with TIG shielding gas.
A flow of roughly 15–20 cubic feet per hour (CFH) is a common starting point for many TIG setups, although cup size, joint geometry, drafts, torch position, and the welding procedure can require adjustment. Excessive gas flow can create turbulence and pull air into the shielding zone, so more flow is not always better.
- Prepare the joint. Remove oil, paint, oxide, rust, moisture, and grinding debris. Clamp the work securely.
- Prepare the tungsten. Use a correctly sized tungsten and grind it appropriately for DC TIG according to the electrode manufacturer’s guidance.
- Set DCEN polarity. On a conventional DC setup, connect the TIG torch/electrode to negative and the work lead to positive.
- Set welding current. Choose amperage for the material type, thickness, joint, tungsten size, and welding procedure. A basic scratch-start source normally uses preset current rather than live foot-pedal control.
- Start the argon. Open the valve on a manual gas-valve torch before striking the arc and allow enough time to purge air from the torch and hose.
- Initiate the arc. Lightly touch or make a short controlled scratch with the tungsten, then lift immediately to a normal TIG arc length. Do not press the tungsten hard into the work.
- Establish the puddle. Maintain a short, stable arc and begin traveling once the puddle is controlled. Add filler metal as required by the joint.
- End the weld. Lift the torch enough to break the arc. Keep the torch positioned over the hot weld and leave argon flowing long enough to protect the cooling tungsten and weld area before closing the manual valve.
| Stage | Action | What Happens |
|---|---|---|
| 1 | Contact / short scratch | The circuit is completed and the start begins |
| 2 | Lift immediately | The arc establishes between tungsten and work |
| 3 | Maintain short arc and travel | The weld puddle develops under argon shielding |
| 4 | Lift to break the arc | Welding current stops while shielding gas continues briefly |
Pro Tip: Practice arc starts on clean scrap of the same material before welding the actual part. If the tungsten sticks or touches the molten puddle, stop and regrind contaminated tungsten instead of continuing with an unstable electrode.
Common Problems With Scratch-Start TIG
Although scratch-start TIG is mechanically simple, its direct-contact start creates several recurring problems that affect consistency, electrode life, and weld appearance.
Tungsten sticking occurs when the electrode remains in contact too long or is pressed into the work. Full welding current can heat the contact point rapidly, contaminating the electrode and sometimes transferring tungsten into the weld. The usual correction is to stop, regrind the electrode, confirm the current setting, and use a lighter, faster start.
Inconsistent arc starts can also make puddle control difficult. Dirty metal, poor tungsten preparation, excessive arc length, inadequate gas coverage, or incorrect polarity can all contribute.
Surface contamination becomes more likely when the base metal, filler rod, tungsten, or gas system is dirty. Oil, moisture, paint, oxides, leaks, and inadequate shielding can degrade fusion and bead integrity.
Overheating can occur when current is too high, travel is too slow, or the operator dwells too long while trying to establish the arc. It can enlarge the heat-affected area, distort thin material, or create an oversized puddle. The power source’s duty cycle must also be respected during longer welding sessions.
| Problem | Likely Cause | What to Check |
|---|---|---|
| Tungsten sticks | Contact held too long, excessive pressure, poor starting motion | Regrind tungsten; use lighter contact and immediate lift |
| Gray, dirty, or porous weld | Poor gas coverage, contamination, leak, wrong shielding gas | Use 100% argon, check flow and fittings, clean metal and filler |
| Arc wanders | Contaminated or poorly prepared tungsten, excessive arc length | Regrind tungsten and shorten arc length |
| Arc will not start reliably | Dirty work, poor clamp connection, wrong polarity, current too low for setup | Clean connection points and verify DCEN and machine settings |
| Thin metal overheats | Current too high or travel too slow | Reduce preset current, increase travel speed, or use a machine with better remote/pulse control |
| Tungsten discolors after stopping | Insufficient post-flow | Keep argon flowing over the tungsten while it cools |
What You Need for Scratch-Start TIG
A basic scratch-start TIG setup uses a compatible constant-current DC welding power source, an air-cooled TIG torch with a manual gas valve, a cylinder of 100% argon, a regulator/flowmeter, shielding-gas hose, a work lead, and a properly selected tungsten electrode. Common air-cooled torch sizes such as 9 or 17 may be suitable depending on current, duty cycle, access, and the torch manufacturer’s rating.
The tungsten should be clean and prepared for the current and application. The torch must also be rated for the amperage being used; exceeding its duty cycle can overheat the torch and cable.
Careful metal surface preparation, including grinding, filing, brushing, or solvent cleaning where appropriate, removes contaminants that would otherwise interfere with weld quality. Use dedicated cleaning tools when cross-contamination between materials is a concern.
A foot pedal is not automatically compatible with a scratch-start conversion. Many basic stick power sources provide preset amperage only. Remote amperage control requires a machine specifically designed to accept a pedal, fingertip control, or other remote device.
Dedicated AC/DC functionality becomes important when normal TIG welding of aluminum is required. Steel and stainless steel are commonly welded using DCEN, while aluminum normally benefits from AC because its electrode-positive portion provides oxide-cleaning action.
Warning: TIG welding exposes you to intense UV/IR radiation, hot metal, electrical hazards, fumes, fire hazards, and compressed-gas risks. Wear an appropriate welding helmet, safety glasses, flame-resistant clothing, and dry welding gloves; secure gas cylinders upright; provide suitable ventilation; remove combustibles; and follow the welder and torch manuals. Do not weld near chlorinated-solvent vapors or on surfaces that have not been safely cleaned and dried.
Scratch-Start TIG vs Lift-Arc
Scratch-start TIG and Lift-Arc may look similar because both involve the tungsten approaching or touching the work, but the machine behaves differently during ignition.
With Scratch Start, the tungsten contacts the work while normal welding output is available, so sticking and contamination are more likely. Lift-Arc uses controlled low current or sensing voltage while the tungsten is touching the work and then supplies normal welding current as the electrode is lifted. This reduces electrode damage and makes arc initiation more repeatable.
- Scratch Start: Lowest equipment complexity, but the tungsten may stick or contaminate the weld during ignition.
- Lift-Arc: Controlled contact start reduces sticking and usually preserves the electrode longer.
- Repeatability: Lift-Arc is easier to start consistently, especially for beginners or work where the start location matters.
The difference affects arc stability, tungsten condition, repeatability, and ease of use. Machines with the controlled TIG functions found in many multi-process welders may include Lift-Arc, remote control, gas solenoids, or other features absent from a basic scratch-start conversion.
Machines marketed as TIG-capable should therefore be checked carefully. “Scratch-start TIG” does not mean the machine has electronically controlled Lift-Arc or high-frequency ignition.
When Scratch-Start TIG Still Makes Sense
Scratch-start TIG still has practical value in constrained shops, field service, and occasional repair work when a dedicated TIG machine is unavailable but a compatible DC constant-current power source is already on hand.
The setup can be portable: a suitable power source, valve torch, argon cylinder, flowmeter, leads, and hose can provide TIG capability without the additional electronics of a dedicated HF-start system. That makes it useful for some on-site repairs where portability and simplicity matter more than automatic gas control or remote amperage adjustment.
It can also have training value because it forces the operator to practice torch angle, arc length, puddle observation, filler control, and careful electrode preparation. However, learning to scratch-start should not be treated as a substitute for good TIG fundamentals.
If your job would be easier with a simpler process, compare scratch TIG with the flux-core operation and other processes available on home-use welders. Flux-core welding and scratch-start TIG are separate processes with different equipment, shielding, cleanup, and applications.
The drawbacks remain significant: starts are less controlled, tungsten requires more attention, current may be fixed at the machine, and contamination risk rises when technique is poor. For limited-scope work, low-budget projects, and compatible steel or stainless applications, however, scratch-start TIG can remain useful.
Lift-Arc and HF TIG Alternatives
Lift-Arc and high-frequency (HF) TIG provide more controlled ignition methods than Scratch Start. According to Miller’s GTAW guidance, Lift-Arc allows the tungsten to touch the work under controlled conditions before the machine establishes normal welding current, while HF can initiate the arc without physical tungsten-to-work contact.
- Lift-Arc: Reduces sticking and tungsten contamination while avoiding continuous high-frequency starting.
- HF start: Establishes the arc without touching the tungsten to the workpiece.
- Scratch Start: Requires the least specialized starting circuitry but places the greatest responsibility on operator technique.
Lower tungsten wear helps preserve electrode geometry, while cleaner starts reduce the chance of carrying contamination into the weld. Controlled ignition is particularly useful for thin material, precise joints, and production work where the start point must be repeatable.
Some Weldclass and other TIG machines are sold with combinations of Lift-Arc and HF functionality, but features vary by model. Verify the manufacturer’s manual instead of assuming a machine has both starting modes.
When comparing machines, output reliability, available start modes, remote-current capability, duty cycle, polarity, AC capability, and gas control are more useful specifications than a generic “TIG capable” label.
Frequently Asked Questions
Is Lift TIG the Same as Scratch Start?
No. Lift TIG briefly touches the tungsten to the work while the machine limits the starting current or uses a sensing voltage, then increases output when the electrode is lifted. Scratch start physically contacts or drags the tungsten with normal welding output available. Scratch start is simpler but has a greater risk of sticking, tungsten contamination, and inconsistent starts.
Can You Weld Aluminum With Scratch Start TIG?
Not with the typical DC scratch-start stick-welder setup if you want normal, reliable aluminum TIG results. Aluminum rapidly develops a refractory oxide film, and modern TIG practice normally uses AC so the electrode-positive portion of the cycle helps break up that oxide while the electrode-negative portion provides penetration. For ordinary aluminum welding, use a dedicated AC TIG machine with suitable AC balance, argon shielding, proper tungsten, and thorough surface preparation.
How Do You Use Scratch Start TIG?
Set up a compatible DC constant-current power source on DCEN, connect a valve-style TIG torch and 100% argon supply, clean the work, prepare the tungsten, and set the welding current. Start the argon, lightly contact or scratch the tungsten against the work, and lift immediately to establish a short arc. Maintain steady torch control, add filler as needed, then lift to break the arc while keeping shielding gas over the hot tungsten during post-flow.
What Polarity Is Used for Scratch Start TIG?
For the common DC scratch-start setup used on mild steel and stainless steel, use DC electrode negative (DCEN): the TIG torch/electrode is connected to negative and the work lead to positive. Always confirm the connection requirements in the power source and torch manuals.
What Gas Do You Use for Scratch Start TIG?
100% argon is the normal all-around TIG shielding gas. Do not use a common 75/25 argon/CO2 MIG mixture for TIG. A starting flow around 15–20 CFH is common, but the correct flow depends on cup size, joint geometry, position, drafts, and the welding procedure.
What Is the Hardest Welding Test to Pass?
The 6G pipe position is widely regarded as one of the most challenging welding test configurations. The pipe is fixed at about a 45-degree angle and cannot be rotated, forcing the welder to transition through multiple welding positions around the joint. The exact qualification procedure, welding process, inspection method, and acceptance criteria depend on the applicable code, employer, and welding procedure, so radiography is not part of every 6G test.
Conclusion
Scratch-start TIG remains a simple, low-cost way to perform DC TIG welding when a compatible constant-current power source is available. Its main tradeoff is the start itself: direct tungsten contact makes sticking, electrode contamination, and inconsistent ignition more likely than with Lift-Arc or high-frequency TIG. For steel and stainless work where budget and equipment simplicity matter, it can still be useful. For precision work, frequent TIG welding, remote current control, or aluminum, a dedicated TIG machine with controlled arc starting is generally the better tool.
Sources
- Miller Electric — Guidelines for Gas Tungsten Arc Welding (GTAW) — TIG principles, shielding, Lift-Arc, HF starting, and welding technique.
- Miller Electric — Best Practices for Proper Shielding Gas in TIG Welding — argon selection, gas coverage, arc stability, and contamination.
- Miller Electric — AC Balance Control for TIG Aluminum Welding — aluminum oxide cleaning and the roles of electrode-positive and electrode-negative current.
- Occupational Safety and Health Administration — Welding, Cutting, and Brazing Hazards and Solutions — welding radiation, fumes, burns, electrical hazards, and PPE.
- American Welding Society — How to Pass a Welding Test — 6G fixed-pipe position and qualification-test difficulty.