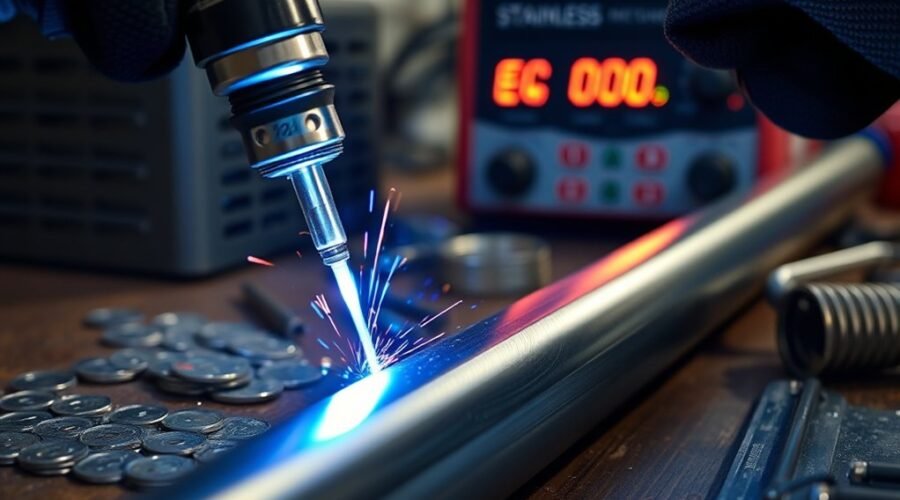
TIG welding stainless steel is mainly a heat-control and shielding job. Clean metal, the correct filler, a stable DC arc, and protection from oxygen matter more than chasing one perfect amperage number. For common 304 and 316 stainless, you can get repeatable results by matching the filler to the alloy, keeping the arc short, and adjusting heat as the workpiece warms.
Quick Answer
For TIG welding stainless steel, use DCEN, 100% argon, a pointed 2% lanthanated or ceriated tungsten, and filler matched to the grade—usually ER308L for 304/304L and ER316L for 316/316L. Around 3 mm thickness, roughly 110–130 A is a practical starting window; then fine-tune heat, travel speed, fit-up, and purge.
Key Takeaways
- Back-purge full-penetration stainless joints when the root must remain clean and corrosion resistant.
- A typical gas-lens setup often uses about 15–20 CFH of argon; larger cups and unusual joints may need different flow.
- Use stainless-only brushes and clean abrasives so carbon-steel particles do not contaminate the surface.
- Pulse can reduce average heat input, but it does not replace correct amperage, travel speed, fit-up, or shielding.
- Post-flow should protect the hot tungsten and weld after the arc stops; do not treat one short time setting as universal.
How to TIG Weld Stainless Steel
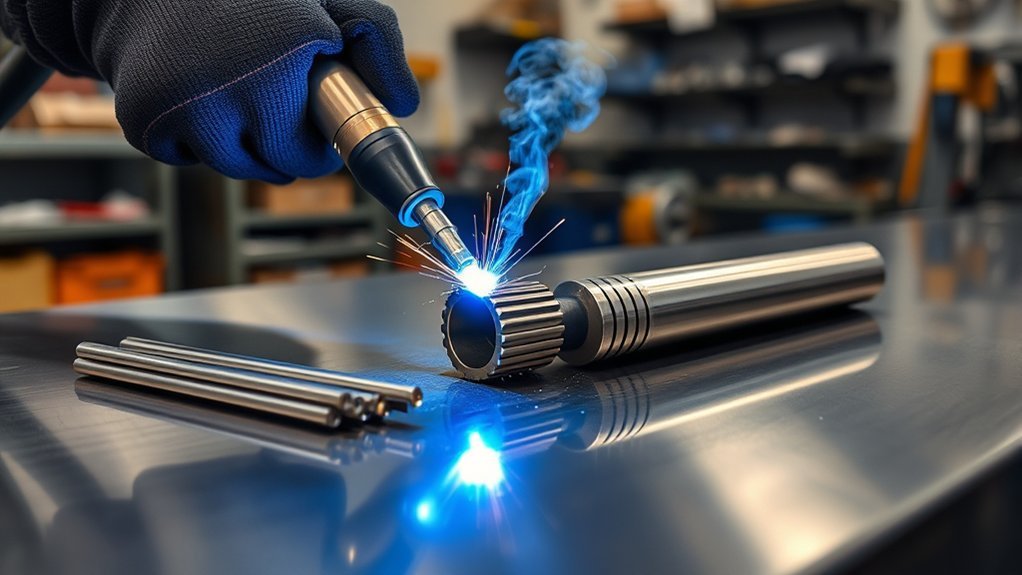
To TIG weld stainless steel, prepare a clean joint, select DCEN, match the filler to the alloy, establish stable argon shielding, and use only enough heat to obtain proper fusion. A short arc and steady travel help keep the heat-affected zone narrow while reducing discoloration and distortion.
Warning: Stainless steel welding can expose you to hazardous welding fumes, including hexavalent chromium. OSHA identifies stainless welding and poorly controlled indoor or confined-space welding as higher-exposure situations. Use suitable ventilation or local fume extraction, eye and skin protection, and any respiratory protection required by your workplace assessment. See OSHA’s hexavalent chromium guidance.
- Identify the stainless grade. Confirm whether the material is 304/304L, 316/316L, duplex, or another grade before choosing filler. Do not assume one stainless filler suits every alloy.
- Clean the joint and tools. Remove oil, grease, dirt, oxide, and cutting residue. Use brushes and abrasive tools reserved for stainless so you do not embed carbon-steel particles in the surface.
- Set the machine to DCEN. Connect the torch for direct-current electrode-negative TIG operation. Stainless steel does not need the AC cleaning action commonly used on aluminum.
- Prepare a pointed tungsten. A 2% lanthanated or ceriated tungsten is a practical choice for DC stainless. Grind lengthwise to a controlled point so the arc stays focused.
- Set argon shielding before welding. Use 100% argon for normal manual stainless TIG. Check the regulator, torch connections, gas lens, cup, and surrounding drafts before striking the arc.
- Establish the puddle and move steadily. Use enough amperage to form a controlled puddle without dwelling. Keep the arc short, add filler smoothly, and reduce pedal input as the workpiece stores more heat.
- Protect the weld through shutdown. Fill the crater, taper the current rather than stopping abruptly where possible, and keep the torch over the weld during post-flow until the tungsten and hot weld zone are protected.
For longer production runs, the welder’s duty cycle also matters because repeated high-amperage work can trigger thermal limits even when the welding parameters themselves are correct.
Choose the Right Tungsten and Filler Rod
The best tungsten and filler combination depends on the base alloy, thickness, joint, and current range. For ordinary DC TIG on austenitic stainless, a pointed 2% lanthanated or ceriated tungsten gives stable arc control, while the filler should be selected by stainless grade rather than by diameter alone.
CK Worldwide’s stainless TIG guidance recommends 2% lanthanated or 2% ceriated tungsten for DCEN stainless work. A 1.6 mm or 2.4 mm electrode covers many common shop amperage ranges.
A red 2% thoriated tungsten can also run a stable DC arc, but modern lanthanated and ceriated electrodes provide practical non-thoriated alternatives. If you use thoriated tungsten, follow the product safety data sheet and control dust when grinding it.
A pointed tungsten, clean shielding gas, and correctly matched filler make arc control easier before you change any advanced machine setting.
For filler selection, match the chemistry to the joint. ER308L is the usual choice for 304/304L, while ER316L matches 316/316L. ESAB lists its ER316L GTAW filler for welding 316 and 316L stainless among other compatible austenitic grades.
| Base metal | Common TIG filler | Typical use |
|---|---|---|
| 304 / 304L | ER308L | General austenitic stainless fabrication |
| 316 / 316L | ER316L | Maintains the molybdenum-bearing weld chemistry used with 316-series material |
| Stainless to carbon steel | ER309L | Dissimilar-metal joints where extra alloy content is needed |
A 2.4 mm ER316L rod can be workable on 3 mm 316 plate, particularly where the joint can accept that filler volume. Smaller filler can be easier to melt on thin edges or tight joints, so rod diameter should follow the weld geometry rather than a single rule.
If you also use stick welding, this guide to general-purpose welding rods covers other electrode types. Low-hydrogen stick-electrode classifications should not be used as the basis for choosing TIG stainless filler.
Set Stainless TIG Amps, Gas Flow, and Post-Flow
Stainless TIG settings are starting points, not fixed recipes. Thickness gives you an approximate amperage ceiling, but joint type, fit-up, torch position, filler size, travel speed, and accumulated heat determine how much current you actually use.
For common 304/304L and 316/316L stainless, CK Worldwide gives about 55–70 A for 16-gauge material, 110–130 A for 1/8-inch material, and 160–185 A for 3/16-inch material. That makes the original 120 A setting a reasonable starting limit for material around 3 mm thick, provided you still control the puddle with the pedal or fingertip control.
| Approx. thickness | Starting amperage range | What to watch |
|---|---|---|
| 16 ga / about 1.6 mm | 55–70 A | Burn-through, edge melt and distortion |
| About 3 mm / near 1/8 in | About 110–130 A | Heat buildup during a longer bead |
| 3/16 in / about 4.8 mm | 160–185 A | Joint preparation and multi-pass requirements |
For shielding, use 100% argon. CK Worldwide gives about 15–20 CFH, or roughly 7–9.5 L/min, for a typical standard gas-lens setup. A larger #10 cup can require more flow depending on cup design, stick-out, joint geometry, and drafts, so the original 16 L/min figure should not be treated as a universal target.
More gas is not automatically better. Excessive flow can create turbulence at the cup and pull surrounding air into the shielding envelope. If the weld remains oxidized despite adequate flow, check for drafts, leaks, a damaged cup, excessive torch angle, or excessive tungsten stick-out before increasing the regulator.
Keep tungsten extension only as long as the gas lens and joint require. A gas lens permits more stick-out than a standard collet body because it straightens the argon flow, but the tungsten tip still needs to remain inside effective shielding.
Post-flow should last long enough to protect the hot tungsten and weld after the arc stops. A fixed 4–5 seconds may work in some low-current situations, but it is not a dependable universal value at higher amperage. Use the machine’s automatic post-flow when available or follow its manual, and increase the time if the tungsten darkens after welding.
For stainless, DC TIG capability is the essential requirement. AC is mainly relevant when the same machine will also weld materials such as aluminum. This AC/DC TIG welder guide explains that broader machine choice.
Stop Oxidation and Sugaring on Stainless
Sugaring is severe oxidation on the back of a stainless weld when the hot root is exposed to air. It is especially important on full-penetration pipe, tube, sanitary work, and corrosion-sensitive joints because the rough oxidized root can reduce corrosion resistance and become difficult to clean.
Miller’s TIG troubleshooting guidance identifies argon back-purging as the main way to prevent sugaring on stainless steel. The purge shields the underside while the root is molten and during the period when it remains hot enough to oxidize rapidly.
When should you back-purge stainless?
Back-purge an open-root or full-penetration joint when the reverse side must remain clean, smooth, or corrosion resistant. A simple fillet weld that does not penetrate through the material does not automatically need a purge because the root is not exposed to the atmosphere in the same way.
Seal the purge zone as efficiently as practical, introduce argon at one side, and leave a controlled vent so displaced air can escape. Avoid excessive purge pressure, which can disturb a molten root or waste gas.
Do not use 75/25 MIG gas for stainless TIG
Use pure argon for ordinary stainless TIG, not the 75% argon/25% CO2 mixture commonly associated with MIG welding. Carbon-dioxide-containing MIG gases are not the normal shielding choice for TIG stainless. For comparison with wire processes, this MIG shielding gas guide explains those gas mixtures separately.
Watch heat tint as well as the weld bead
Straw, blue, purple, gray, or black discoloration around a stainless weld is called heat tint. The acceptable level depends on the alloy, service environment, fabrication standard, and customer specification, so color alone should not be treated as a universal pass/fail chart.
Heavy oxidation usually points to excessive heat input, slow travel, poor shielding, excessive torch angle, or inadequate purge. On corrosion-sensitive work, the applicable procedure may also require post-weld removal of heat tint and restoration of the stainless surface.
Keep Stainless Steel From Warping
Control stainless distortion by limiting total heat input and by restraining the joint before it can move. Stainless conducts heat away relatively slowly, so long, slow beads can concentrate heat and shrinkage in a small area even when the amperage does not look excessive.
The British Stainless Steel Association’s distortion guidance recommends good fit-up, suitable fixturing, evenly distributed tack welds, and controlled welding sequences to reduce movement.
- Tack evenly. Secure both ends and distribute additional tacks so one area does not pull the joint closed before the rest is fixed.
- Clamp where practical. Fixtures help hold alignment and reduce the amount of correction required after welding.
- Use chill bars carefully. Copper or aluminum backing can remove heat from thin material, but keep the joint free from contamination.
- Move steadily. A faster controlled travel speed often puts less total heat into the part than crawling along at low current.
- Balance the sequence. On longer joints, alternate locations or use a planned back-step or skip sequence rather than depositing all the heat from one end to the other.
- Allow cooling between passes. If the workpiece is already heat soaked, continuing immediately can increase distortion and discoloration.
Pro Tip: On a practice coupon, change only one variable at a time. If you alter amperage, gas flow, torch angle, travel speed, and pulse settings together, you will not know which change actually improved the weld.
For beginners who are still learning puddle control, this overview of welding equipment and heat control can help put the machine settings in context.
Common Stainless TIG Problems and What to Change
Most stainless TIG defects trace back to one of four areas: contamination, inadequate shielding, excess heat, or poor arc control. Diagnose the visible symptom first, then change the smallest number of variables needed to correct it.
Blue, purple, or gray weld discoloration
Check shielding coverage and heat input. Increase travel speed if you are dwelling, shorten an unnecessarily long arc, confirm gas flow and cup condition, and make sure drafts are not blowing argon away from the puddle.
Black, crusty root on the back of the joint
This is typical sugaring. Check the purge seals, allow the purge to displace air before starting, and maintain backing gas while the root is hot. Reducing excessive heat can help, but amperage reduction alone does not replace proper root shielding.
Porosity or an unstable puddle
Reclean the joint and filler, confirm the argon supply, inspect gas fittings for leaks, and keep the filler tip inside the gas envelope. Oil, moisture, dirty filler, and atmospheric contamination can all disturb the puddle.
Tungsten turns dark after stopping
Increase post-flow or use the machine’s automatic post-flow setting. Also check that the torch stays over the crater until shielding ends and that the gas system is not leaking.
The sheet bows or pulls out of alignment
Reduce accumulated heat rather than relying on amperage alone. Improve tack placement, clamp the work, increase controlled travel speed, shorten the weld sequence, and let the part cool before continuing.
Frequently Asked Questions
What Are the Best Settings for TIG Welding Stainless Steel?
The best stainless TIG settings use DCEN, 100% argon, a pointed tungsten, and amperage matched to thickness and joint design. For material around 3 mm thick, roughly 110–130 A is a useful starting window. Use the pedal or remote to control actual heat, and adjust travel speed and shielding as the work warms.
What Is the Rule of 33 in TIG Welding?
The Rule of 33 is a pulse-TIG starting point: about 33 pulses per second, 33% background current, and 33% peak-on time. It is not a rule of one amp per 1/32 inch. Treat it as a tuning shortcut rather than a welding code, because the joint and material still determine the final settings.
What Are the Best Pulse Settings for TIG Welding Stainless Steel?
There is no single best pulse setting for every stainless joint. For manual thin-sheet work, 1–2 pulses per second, background current around 25–40% of peak, and roughly 40–50% peak-on time are practical starting points. Set peak current high enough for fusion, then tune pulse around puddle control and heat input.
Do You Push or Drag When TIG Welding?
A slight push, or forehand, travel angle is the normal starting technique for manual TIG because it keeps the puddle visible and the shielding directed over the weld. Keep the angle modest rather than laying the torch over. Arc length, work angle, gas coverage, and puddle control matter more than an arbitrary push-versus-drag percentage.
Do You Need to Back-Purge Every Stainless TIG Weld?
No, not every stainless TIG weld needs a back purge. It is most important on open-root and full-penetration joints where the hot reverse side is exposed to air and must remain clean or corrosion resistant. A non-penetrating fillet weld normally does not create the same exposed molten root.
Which TIG Filler Rod Should You Use for 304 and 316 Stainless?
Use ER308L as the common filler for 304 or 304L stainless and ER316L for 316 or 316L. For stainless-to-carbon-steel joints, ER309L is a common choice because its higher alloy content handles dilution better. Critical work should always follow the approved welding procedure and service requirements.
Conclusion
TIG welding stainless steel becomes more predictable when you control the whole setup rather than one number. Start with DCEN, clean stainless, pure argon, a pointed lanthanated or ceriated tungsten, and filler matched to the grade. Then use enough current for fusion, maintain a short stable arc, protect full-penetration roots with a purge when required, and manage accumulated heat so the finished joint stays straight and corrosion resistant.
Sources
- CK Worldwide — TIG Welding Stainless Steel: Supports DCEN polarity, amperage ranges, argon flow, tungsten selection, filler matching, pulse settings, and purging guidance.
- Miller — Common TIG Welding Problems: Supports troubleshooting for stainless discoloration, excessive heat, and backside sugaring.
- OSHA — Hexavalent Chromium National Emphasis Program: Supports the stainless-welding fume and Cr(VI) safety warning.
- British Stainless Steel Association — Avoiding Distortion During Welding: Supports fit-up, fixturing, tack placement, heat input, and distortion-control guidance.
- ESAB — Exaton 316/316L GTAW: Supports ER316L filler use with 316-series austenitic stainless steels.