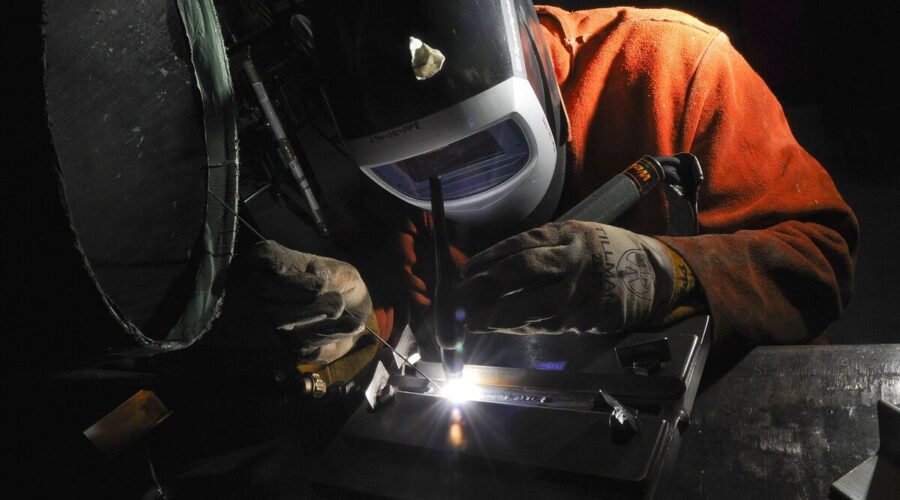
A TIG rig is a small torch support that connects your TIG torch to your hand, usually with a ring around a finger and a short arm clamped to the torch. It lets you rest and pivot the torch as one unit, so you hold a steadier arc length and travel angle with less fatigue. You can buy one or build your own in an hour from a strip of thin metal, a hose clamp, a small bolt and some heat-resistant padding.
Steady hands are the hardest part of TIG welding. A TIG rig won’t replace practice, but it removes a lot of the shake that makes beads wander and tungsten dip into the puddle. Here is how it works, how to build one and how to use it well.
What Is a TIG Rig?
A TIG rig is a hand-mounted torch stabilizer. One end wraps around a finger (or the back of your hand), and the other end clamps to the torch handle or neck. A pivot between them lets the torch tilt while staying linked to your hand. Because your hand can then rest on the work or table while the torch moves with it, small tremors don’t reach the tungsten.
Benefits include:
- Steadier arc length, so heat input and bead width stay consistent
- Fewer tungsten dips and less contamination
- Less hand and wrist fatigue on long welds
- Easier out-of-position welding where you can’t brace your arm
- More consistent dabs and evenly spaced ripples
Some people also use “TIG rig” to mean a complete TIG setup on a cart. We cover that at the end. For the basics of TIG itself, start with our TIG welding beginner’s guide.
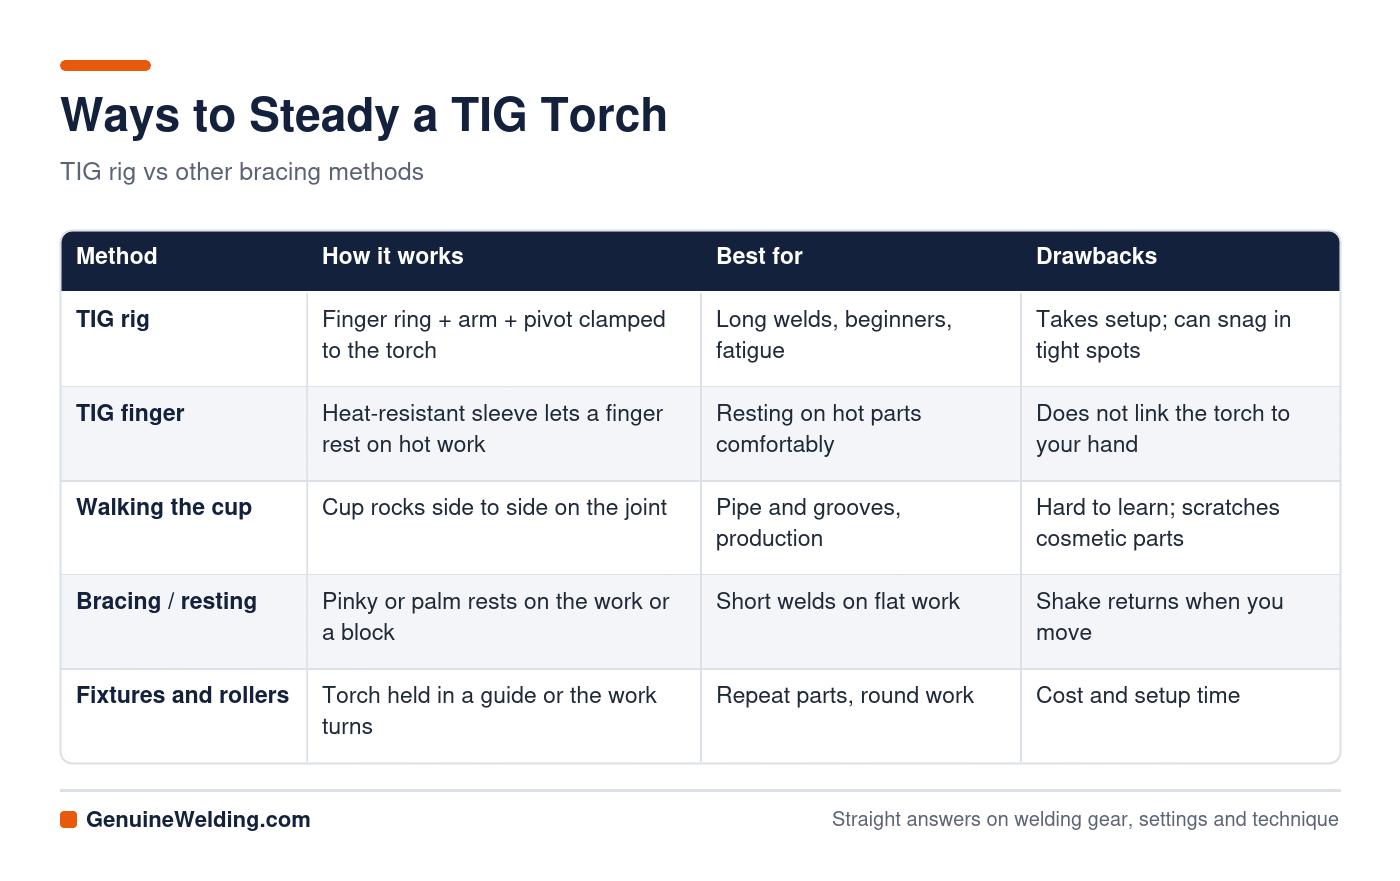
TIG Rig vs Other Ways to Steady the Torch
How to Build a DIY TIG Rig
Materials
- A strip of thin stainless or aluminum, about 1/2 in wide and 1/16 to 1/8 in thick, roughly 5 to 6 in long
- A small bolt, washer and locknut (about #8 or 10-32) or a rivet for the pivot
- A stainless worm-gear hose clamp sized to your torch handle
- Silicone or heat-shrink tubing to pad the finger ring
- Fiberglass or high-temperature tape (optional, for extra padding)
Tools
Metal shears or a cut-off wheel, a drill, a file, pliers or a round mandrel (a socket or pipe works) to bend the ring.
Step-by-step
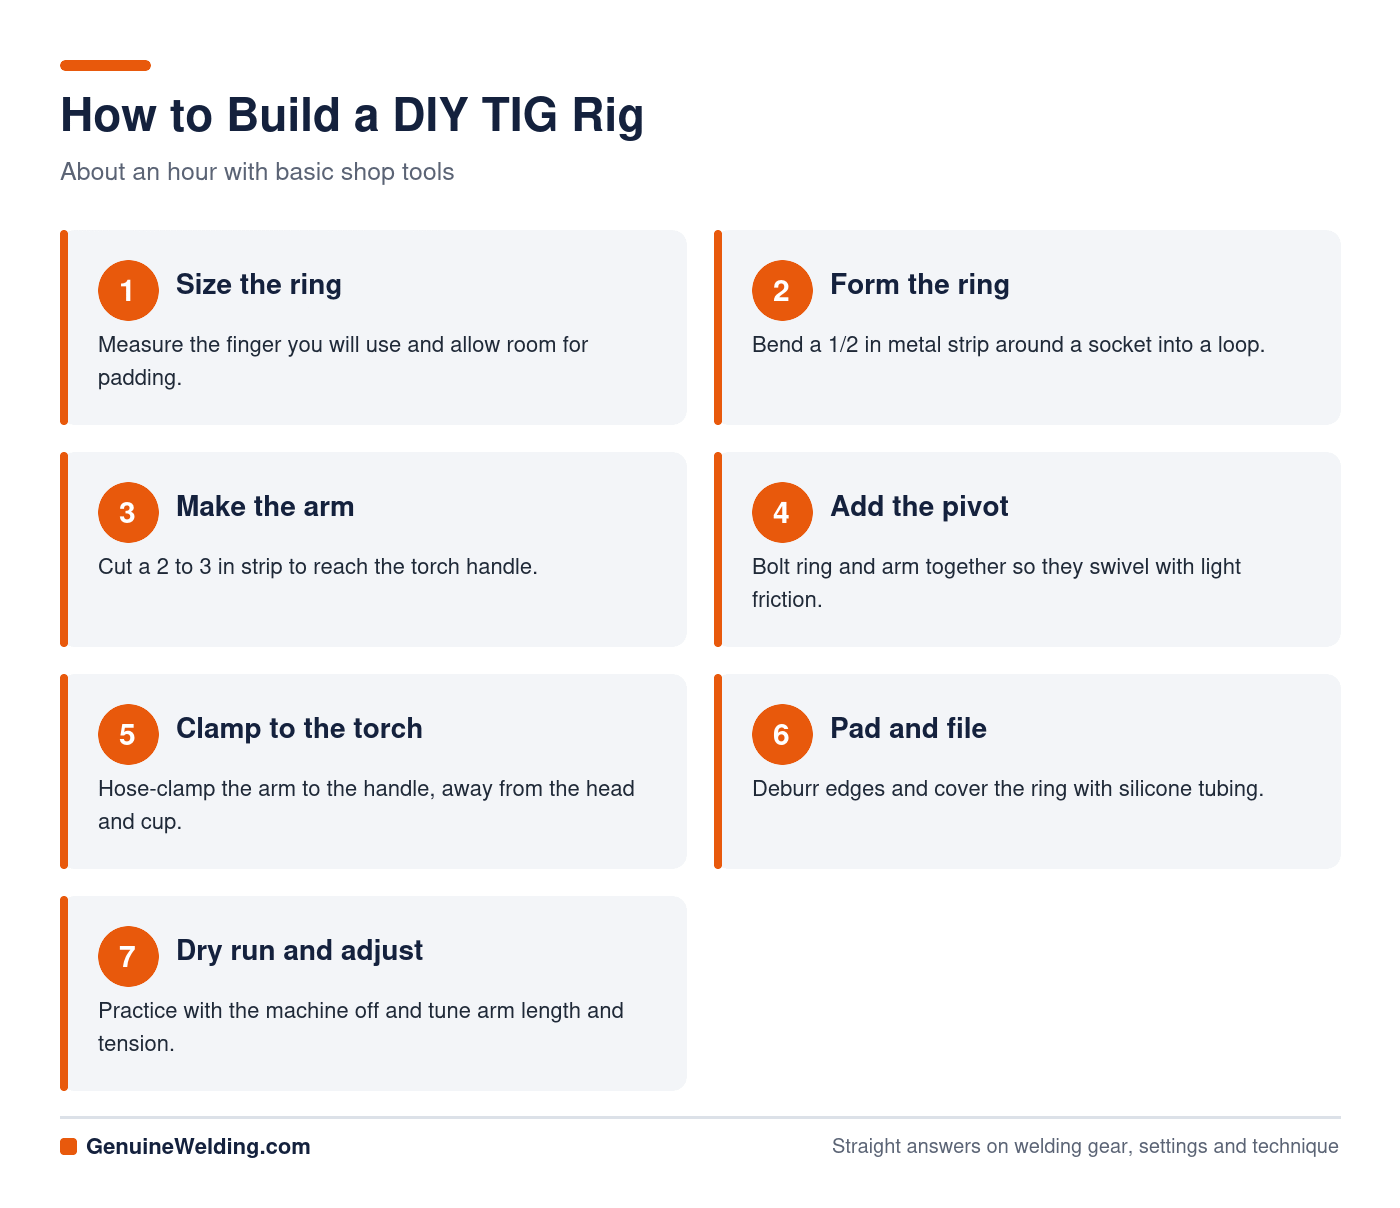
- Size the ring. Wrap a strip of paper around the finger you will use (usually the index or middle finger) between the first and second knuckles. Add a little room for padding.
- Form the finger ring. Bend one end of your metal strip around a socket or pipe of the right diameter to make a loop. Leave a short tail to drill.
- Make the arm. Cut a second short strip, about 2 to 3 in long, that will reach from the ring to the torch handle.
- Drill and join the pivot. Drill matching holes in the ring tail and the arm. Join them with the bolt and locknut so they swivel with light friction. Too loose and it flops; too tight and it won’t pivot.
- Attach to the torch. Bend the free end of the arm to fit around the torch handle and secure it with the hose clamp. Mount it on the handle, not the torch head, so metal stays well away from the cup and the arc.
- Pad and file. File all sharp edges. Slide silicone tubing or heat-shrink over the ring for comfort and heat protection.
- Dry run. With the machine off, slip it on, rest your hand on the table and practice moving along a joint. Adjust the arm length and pivot tension until the tungsten tracks naturally at your normal arc length.
Safety notes
- Keep all metal parts on the insulated handle, away from the torch head, collet body and cup, where high-frequency starts can arc.
- Check that nothing blocks the gas flow or squeezes the torch cable.
- Wear proper TIG gloves; a rig does not replace hand protection. See best TIG welding gloves.
How to Use a TIG Rig for Steadier Welds
- Anchor your hand. Rest your pinky, palm or the rig itself on the work or a support block, then let the torch pivot.
- Set your angle first. Hold a 10 to 15 degree push angle and about 1/8 in arc length, then lock that feel in with the rig.
- Slide, don’t lift. Move your whole hand smoothly along the joint, keeping the pivot relaxed.
- Practice dry runs before each weld to make sure you can reach the end of the joint without repositioning.
- Combine with good habits: a comfortable seat, a steady filler hand and proper amperage still matter most. Read our TIG welding tips.
If You Meant a Complete TIG Rig (Setup)
A complete TIG setup includes:
- A TIG welder (AC/DC if you want to weld aluminum)
- A TIG torch (air- or water-cooled) with collets, collet bodies or gas lenses, and cups
- A foot pedal or torch-mounted amperage control
- An argon cylinder with a regulator or flowmeter set to about 15 to 25 CFH
- Tungsten electrodes and a dedicated tungsten grinder
- Filler rods matched to your base metal
- A welding cart or table and a ground clamp
See our guide to TIG welding equipment and setup, the tungsten guide and TIG filler rods.
TIG Rig FAQs
Do professional welders use TIG rigs?
Some do, especially on long welds or awkward positions. Many pros prefer walking the cup or bracing techniques, but a rig is a legitimate tool, not a crutch.
Is a TIG rig good for beginners?
Yes. It helps beginners hold a consistent arc length while they learn torch angle and filler timing, which speeds up progress.
Can I use a TIG rig with a gas lens and large cup?
Yes. Mount the rig on the handle so it doesn’t interfere with the cup, and adjust the arm length for the longer stickout.
What is the difference between a TIG rig and a TIG finger?
A TIG rig connects your hand to the torch with a pivot. A TIG finger is a heat-resistant sleeve that protects your finger while it rests on hot metal; it improves comfort but doesn’t link the torch.