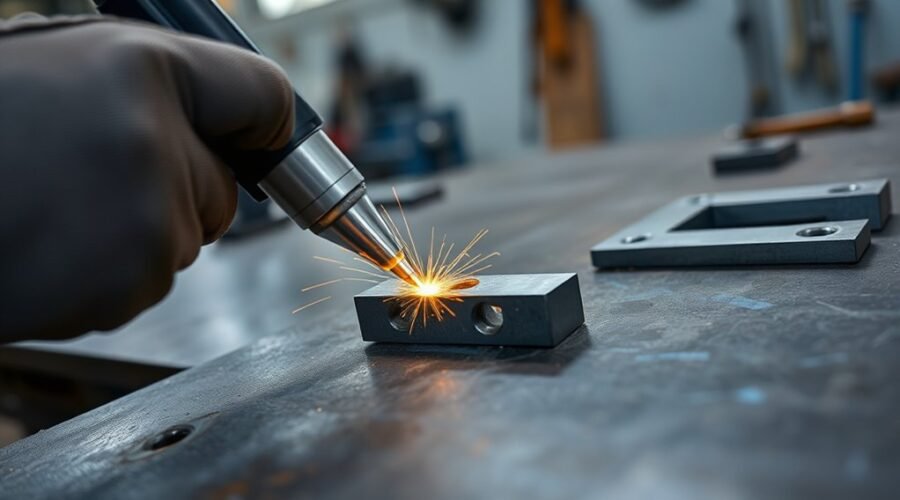
Tack welding uses small welds to hold metal parts in the correct position before the final weld is completed. Good results depend on clean joint surfaces, accurate fit-up, secure clamping, controlled heat, and a tack sequence that keeps the joint from moving as it heats and cools. Tack size and spacing should match the material, joint design, restraint, welding process, and any applicable welding procedure rather than a single universal spacing rule.
Quick Answer
Tack welding temporarily holds metal parts in alignment until the final weld is made. Clean the joint, establish the required fit-up and root gap, clamp the parts securely, place sound tacks in a balanced sequence, and recheck alignment. Tack spacing and size should follow the joint requirements and welding procedure rather than fixed universal measurements.
Key Takeaways
- Tack welds hold parts in alignment, maintain the intended joint gap, and can help control movement during final welding.
- Clean surfaces, accurate fit-up, secure clamping, and repeated alignment checks matter more than following a generic tack-spacing chart.
- Tack length, spacing, sequence, heat input, and consumables should suit the material, joint, welding process, and applicable WPS or code.
- Steel, stainless steel, and aluminum need different cleaning and heat-control practices.
- Cracked, contaminated, poorly fused, or otherwise defective tacks should not simply be buried beneath the final weld.
What Is Tack Welding?
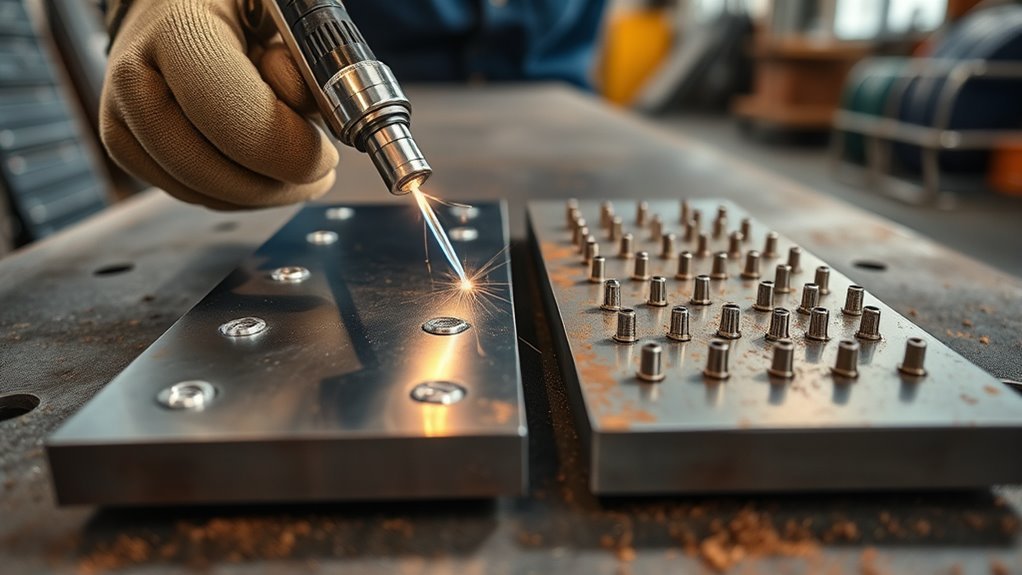
Tack welding is a temporary welding method used to hold metal pieces in the required alignment and position before final welding. The tacks act much like temporary fixtures: they prevent the parts from shifting while the assembly is handled and while the final weld is deposited.
According to TWI’s tack-welding guidance, properly made tack welds can maintain joint orientation and gap while also helping control distortion. Although they may be temporary, they still need adequate strength and acceptable weld quality.
A bridge tack is one specific technique used to span a gap between prepared edges without penetrating the root, after which it may be removed when it is no longer needed. Shop terms such as “hot tack” are sometimes used informally, but tack-weld terminology and requirements are not universal across every process, code, and fabrication shop.
A tack weld may be temporary, but its quality can directly affect alignment, distortion, and the integrity of the final weld.
At a Glance
| Time Required | Usually a few minutes for basic fit-up and tacking; larger assemblies take longer. |
| Difficulty | Beginner to advanced, depending on material, thickness, joint design, and structural requirements. |
| Tools Needed | Suitable welder, clamps or fixture, measuring tools, cleaning tools, correct consumables, helmet, gloves, protective clothing, and required ventilation or fume extraction. |
| Cost | Low when welding equipment and PPE are already available; otherwise cost depends on the process, material, consumables, and safety equipment. |
Warning: Tack welding has the same basic hazards as other arc-welding operations, including welding fumes, ultraviolet radiation, burns, fire, electrical shock, and hot metal. Remove combustible materials, use appropriate eye, hand, body, and respiratory protection, and provide suitable ventilation or local exhaust. Confined-space welding requires additional controls. See OSHA’s welding safety guidance.
How to Prepare a Clean Tack Weld Fit-Up
Good tack welding begins before the arc starts. Dirt, oil, grease, paint, scale, moisture, and heavy oxides can contribute to porosity, poor fusion, cracking, or an unstable arc. Clean the weld zone and nearby surfaces using a method appropriate for the base metal.
| Check | Purpose | Desired Result |
|---|---|---|
| Surface condition | Remove oil, grease, dirt, moisture, rust, paint, and harmful oxides | Clean weld zone |
| Alignment | Match the drawing or required joint geometry | Correct part position |
| Clamping | Prevent movement during tacking | Stable fit-up |
| Root gap | Maintain the gap specified by the joint design or WPS | Uniform joint geometry |
| Recheck | Detect movement after each group of tacks | Assembly ready for final welding |
Measure the assembly before tacking rather than relying on the clamps alone. For joints that require a specific root opening, use suitable spacers, wedges, or fixtures to maintain that opening while the tacks are placed.
Surface preparation becomes especially important with aluminum and stainless steel. TWI notes that oil, grease, moisture, and oxide contamination can contribute to weld imperfections, while aluminum is particularly sensitive to contamination-related porosity.
How to Tack Weld Step by Step
- Clean the joint. Remove contamination from the weld area and adjacent surfaces.
- Set the joint geometry. Position the parts to the drawing, required dimensions, and specified root gap.
- Clamp or fixture the assembly. Use enough restraint to prevent movement without forcing badly fitting parts together.
- Place the first tacks. Use tacks large enough to hold the joint but not so large that they create unnecessary heat, excessive restraint, or problems for the final weld.
- Continue in a balanced sequence. For long joints, center-out, back-step, or another planned sequence can help maintain the root gap and distribute shrinkage.
- Inspect the fit-up again. Check dimensions, straightness, root gap, and tack quality before final welding.
- Repair unacceptable tacks. Remove and remake tacks that are cracked, contaminated, poorly fused, badly positioned, or otherwise unacceptable under the applicable procedure.
Pro Tip: Measure after the first few tacks instead of waiting until the entire joint is tacked. A small root-gap or alignment change is much easier to correct before the joint is fully restrained.
How to Space Tack Welds Correctly
There is no single tack-weld spacing that is correct for every thin, medium, or thick section. Tack spacing depends on the joint length, material thickness, stiffness, root gap, degree of restraint, tack size, welding process, heat input, final welding sequence, and whether the assembly will be moved before completion.
TWI’s distortion-control guidance recommends considering the number of tack welds, their length, and the distance between them together. Too few tacks can allow a butt-joint root gap to progressively close as welding proceeds.
For long seams, a useful approach is to establish the required joint gap, clamp the work, then use a controlled tack sequence rather than simply working continuously from one end. One recognized method starts near the center and proceeds with a back-step sequence. Another begins at one end and uses back-step tacking while the joint remains properly restrained.
Note: If a drawing, welding procedure specification, fabrication code, engineer, or manufacturer gives a tack size, spacing, preheat, filler, or sequence requirement, that requirement takes priority over generic workshop guidance.
If the root gap begins closing or opening, stop and correct the fit-up rather than continuing to add tacks to a distorted joint. Additional tacks, wedges, clamps, or a revised sequence may be needed, but the goal is always to maintain the specified geometry for the final weld.
How to Tack Weld Steel, Stainless Steel, and Aluminum
Carbon and Low-Alloy Steel
Clean the joint, establish the correct fit-up, and use a filler metal and process compatible with the final weld. Do not assume every steel can be tacked without preheat. High-strength, higher-carbon, thick, highly restrained, or code-controlled joints may require specific preheat and consumable controls under the WPS.
Tack size should be sufficient to resist movement and handling loads without introducing unnecessary weld metal or heat. Tacks that will become part of the final weld should meet the applicable quality requirements rather than being treated as disposable spots.
Stainless Steel
Stainless steel needs careful contamination and heat control. Use clean tools suitable for stainless work and avoid transferring carbon-steel contamination into the joint. Excessive heat can increase discoloration, distortion, and loss of corrosion resistance.
Miller’s TIG guidance recommends controlling stainless heat input with appropriate amperage, travel speed, arc length, and pulsing where suitable. Use the settings required for the actual thickness, joint, process, and welding procedure rather than applying one reduced-amperage number to every stainless job.
Aluminum
Aluminum requires especially careful cleaning because its oxide layer melts at a much higher temperature than the underlying aluminum. Remove oil and contamination first, then remove oxide using a clean stainless-steel brush dedicated to aluminum or another approved preparation method.
Miller’s aluminum welding guidance also emphasizes pre-cleaning and correct AC balance for AC TIG welding. Maintain appropriate shielding gas coverage and a stable arc, and adjust amperage and travel speed to the actual material thickness instead of assuming aluminum always requires one universal tack setting.
When Can Tack Welds Stay in the Final Weld?
A tack weld may sometimes be fused into the final weld, but that does not mean every tack should automatically be buried beneath subsequent passes. A tack that becomes part of the finished joint should be sound, properly positioned, compatible with the final weld procedure, and free of unacceptable cracks, slag, porosity, or contamination.
For structural or code-controlled work, tack welding may be governed by the same approved procedure, welder qualification, preheat, and consumable requirements that apply to the production weld. Follow the applicable WPS, fabrication standard, drawing, and inspection requirements.
Temporary tacks that interfere with the final joint, bridge tacks scheduled for removal, or defective tacks should be removed carefully without gouging or damaging the base metal. After removal, inspect and prepare the area before continuing.
How to Inspect Tack Welds Before Final Welding
Before the final weld begins, visually check both the tack welds and the overall assembly. Look for:
- Cracks in or beside a tack
- Visible porosity or cavities
- Poor fusion or an obviously cold tack
- Slag trapped where the final weld will pass
- Excessive tack size that obstructs the joint
- Arc strikes outside the intended weld area
- Changed root gap or part alignment
- Burn-through or excessive distortion on thin material
If a tack is unacceptable, remove and remake it according to the applicable procedure instead of assuming the final weld will automatically repair the problem.
Common Tack Welding Mistakes to Avoid
Most tack-welding problems come from poor preparation, uncontrolled heat, weak fit-up, unsuitable tack placement, or failure to inspect the assembly as work progresses.
- Tacking dirty metal: Oil, grease, moisture, rust, heavy oxide, and coatings can contribute to porosity or poor fusion.
- Using arbitrary spacing: A fixed spacing copied from another job may not provide enough restraint or may create unnecessary heat on the current joint.
- Overheating thin material: Excessive amperage or long tacks can cause burn-through and distortion.
- Making weak cold tacks: Inadequate fusion may allow the joint to break loose during handling or welding.
- Ignoring the WPS: Structural and critical work may impose specific requirements for tack welders, consumables, preheat, and incorporation of tacks into the final weld.
- Failing to recheck alignment: Heat and shrinkage can change the root gap even when the original setup looked correct.
- Trying to weld over defective tacks: Cracks, contamination, slag, and other defects should be addressed before the final weld proceeds.
Frequently Asked Questions
What Are Common Mistakes in Tack Welding?
Common mistakes include tacking contaminated metal, poor fit-up, inadequate clamping, using arbitrary tack spacing, applying too much or too little heat, failing to follow the WPS, and skipping alignment checks. Cracked, porous, poorly fused, or badly placed tacks should be corrected before final welding.
Why Do Welders Drink Milk After Welding?
Drinking milk before or after welding is an old workshop practice, but milk does not protect the lungs from welding fumes or prevent metal fume fever. Welding fumes enter the respiratory system, while milk enters the digestive system. The effective controls are reducing fume generation, using suitable ventilation or local exhaust, and wearing appropriate respiratory protection when required. Cancer Council Australia specifically identifies the protective-milk claim as a myth.
Why Do Welders Coat Welding Rods With WD-40?
Welding electrodes should not be routinely coated with WD-40. Oil or grease contamination can contribute to weld porosity, and WD-40 aerosol is a flammable petroleum-based product that should be kept away from ignition sources. Store electrodes according to the consumable manufacturer’s instructions instead. Lincoln Electric, for example, specifies controlled dry storage for low-hydrogen SMAW electrodes.
What Are the 7 Most Common Welding Defects?
There is no universal technical standard that defines exactly seven defects as the “most common.” A practical list of frequently encountered welding imperfections includes cracks, porosity, lack of fusion, incomplete penetration, slag or other inclusions, undercut, and unacceptable weld shape or misalignment. Acceptance depends on the applicable welding code, joint, and service requirements.
How Far Apart Should Tack Welds Be?
There is no universal spacing that fits every job. Choose tack spacing according to joint length, material thickness, stiffness, tack size, root gap, restraint, process, and welding sequence. If a WPS, drawing, code, or engineer specifies spacing, follow that requirement.
Should Tack Welds Be Removed Before Final Welding?
Not always. Sound tacks may be incorporated into the final weld when the welding procedure and applicable code permit it. Temporary bridge tacks, badly positioned tacks, or tacks containing cracks, contamination, poor fusion, or other unacceptable defects should be removed and the area prepared again before final welding.
Conclusion
Tack welding is a small part of the welding process with a major effect on fit-up and final weld quality. The most reliable approach is to clean the joint, set the correct geometry, clamp securely, use tack size and spacing appropriate to the actual joint, distribute heat with a controlled sequence, and inspect alignment before final welding. Avoid universal spacing formulas when the job has a WPS, drawing, code, or material-specific requirement. Above all, treat every tack as a real weld: it must be sound enough to hold the assembly without creating defects that compromise the completed joint.
Sources
- TWI — Tack Welding and Distortion Control — tack sequence, spacing, root-gap control, and procedure considerations.
- OSHA — Welding, Cutting, and Brazing Hazards and Solutions — fumes, radiation, burns, electrical hazards, and protective controls.
- Miller Electric — AC Balance for TIG Aluminum — aluminum oxide removal, cleaning, and heat control.
- Miller Electric — Common TIG Welding Problems — stainless heat input, aluminum overheating, and arc-length control.
- Lincoln Electric — Storing and Redrying Electrodes — moisture control and proper SMAW electrode storage.
- Cancer Council Australia — Milk and Welding Fumes — evidence-based correction of the milk-protection myth.