Metal sculpture welding combines fabrication skill with artistic design. MIG welding is useful when speed and straightforward assembly matter, while TIG welding gives the artist finer control over heat, filler placement, and visible seams. Good results also depend on choosing the right metal, cleaning it correctly, planning the weld sequence, controlling distortion, and finishing the sculpture for its intended indoor or outdoor environment.
Quick Answer
For most metal sculpture, MIG is the practical choice for fast assembly of mild-steel parts, while TIG is better when you need precise heat control, small visible welds, or thin material. Clean the weld area, tack the form before final welding, control heat to limit distortion, and match the finish to the metal and display environment.
Key Takeaways
- MIG welding usually favors speed and easy assembly, while TIG gives more direct control over heat, filler, and the appearance of a visible weld.
- Remove oil, paint, heavy rust, moisture, and other contamination from the weld area before welding; aluminum also requires careful oxide and contaminant control.
- Use tack welds, clamps, short weld sequences, and balanced heat input to keep sculpture parts aligned and reduce warping.
- Treat unknown scrap cautiously because coatings, plating, oil, residues, and galvanized surfaces can create hazardous fumes when heated.
- Choose the finish for the material: paint or clear coating for carbon steel, appropriate surface treatment for stainless steel, and controlled patinas or clear coatings where the artistic design calls for them.
Welding Basics for Metal Sculpture
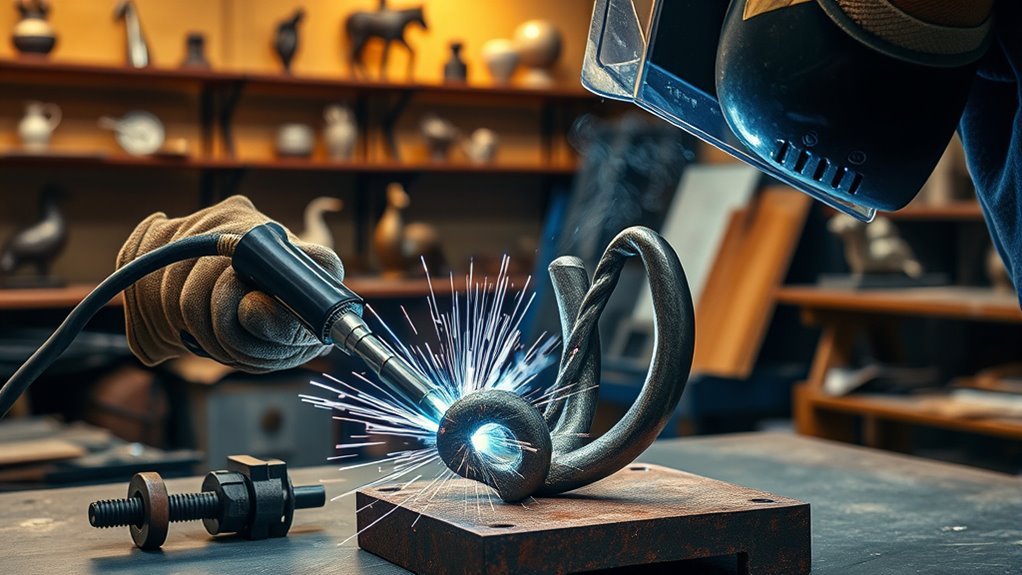
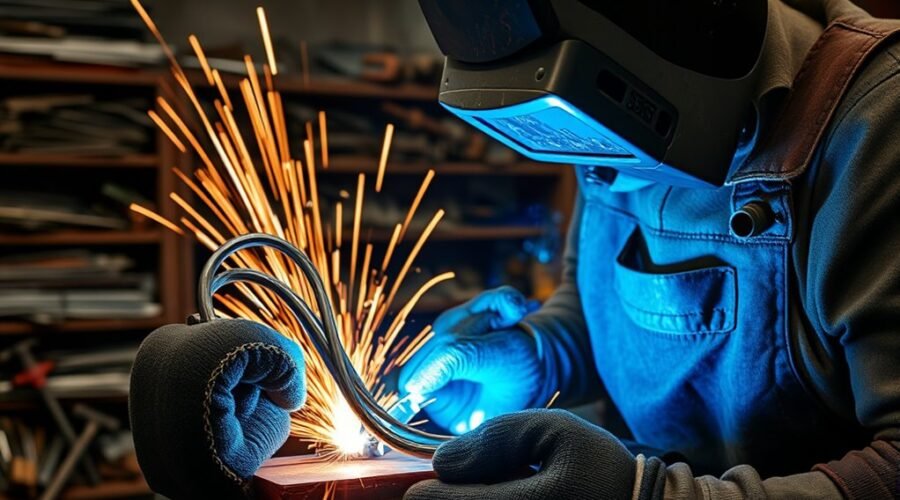
Metal sculpture welding starts with choosing a process that matches the material, thickness, joint, appearance, and working environment. MIG welding, also called gas metal arc welding, feeds wire continuously and is often the quickest way to assemble mild-steel sculpture. TIG welding, or gas tungsten arc welding, gives the welder more direct control over heat and filler addition, making it useful for thin material, small details, and visible joints.
Miller’s current guidance on MIG versus TIG welding describes TIG as a process in which the operator manages more of the heat, filler, and torch movement directly, while MIG generally places more emphasis on deposition speed and simpler wire feeding.
Choose the Process by the Sculpture, Not by Habit
- MIG: A practical choice for mild-steel rod, tube, plate, scrap assemblies, armatures, and medium-to-large pieces where fabrication speed matters.
- TIG: Useful for thin sheet, stainless steel, aluminum, fine details, small joints, and sculptures where the weld itself will remain visible.
- Stick welding: Can work for heavier steel, outdoor fabrication, and situations where portability matters, although slag and spatter usually require more cleanup on decorative work.
- Flux-cored welding: Useful for heavier steel and some outdoor work, but the additional fume, slag, and cleanup may make it less attractive for fine visible surfaces.
- Oxy-fuel welding or brazing: Can be useful for forming, heating, joining, or creating artistic effects when the artist has the equipment and training to use it safely.
There is no single “best” process for sculpture. A large hidden armature may favor fast MIG welds, while a thin stainless-steel detail on the same artwork may be better suited to TIG.
Clean and Prepare the Weld Area
Before striking an arc, remove contaminants that can interfere with fusion or create hazardous fumes. Clean away oil, grease, moisture, loose rust, heavy scale, paint, and other unwanted material around the joint. Do not assume that found or recycled metal is safe to heat simply because it looks clean.
Aluminum deserves extra preparation. Its surface oxide and contamination can interfere with weld quality. Miller recommends removing oils and residue and mechanically cleaning the oxide layer with tools reserved for aluminum. See its aluminum cleaning and preparation guidance.
Warning: Never weld, cut, or grind unknown scrap without identifying coatings and contamination first. Galvanizing, lead-bearing paint, cadmium plating, oils, solvents, and other residues can create hazardous fumes or fire risks when heated. Closed tanks, pipes, drums, and automotive parts may also contain flammable residues and should not be treated as ordinary scrap.
Ventilation and PPE Come Before Appearance
Welding produces hazards that can include metal fumes, ultraviolet radiation, burns, sparks, electrical shock, and flying particles. OSHA’s welding, cutting, and brazing safety guidance emphasizes appropriate work practices, ventilation, and protective equipment.
Wear a welding helmet with the appropriate lens protection, welding gloves, flame-resistant clothing, and suitable footwear. Use eye and face protection when grinding. Keep combustible materials away from the welding and grinding area, and have suitable fire-control equipment available.
Do not treat a dust mask or generic respirator as a substitute for ventilation. In occupational settings, OSHA requires feasible engineering controls such as local exhaust or general ventilation as the primary method of controlling contaminated air. When respiratory protection is needed, it must be selected for the actual contaminant and conditions. See OSHA’s Respiratory Protection standard.
The cleanest-looking weld is not a successful weld if the material was unidentified, the joint was poorly prepared, or the welder was breathing the fume plume.
Tools and Materials for Metal Art
Once the welding method is chosen, the studio setup and material palette shape both the sculpture’s appearance and the difficulty of fabrication. A basic metal-art setup may include a MIG or TIG welder, welding table, clamps, magnets or fixtures, angle grinder, cutting tools, wire brushes, measuring tools, marker or soapstone, and the appropriate PPE.
A stable welding table helps maintain alignment. Clamps and simple fixtures keep parts from moving while tack welds are placed. Angle grinders can shape edges, remove selected weld reinforcement, clean surfaces, and prepare material, but guards, correctly rated discs, eye protection, and face protection are important because grinding creates sparks and flying debris.
Choosing Metal for Sculpture
Mild steel is one of the easiest sculpture materials to source and fabricate. It is strong, relatively affordable, easy to cut and form, and works well for armatures, rod sculptures, geometric pieces, furniture-style art, and scrap projects. Bare carbon steel will rust, so indoor and outdoor finishing should be planned from the start.
Stainless steel offers better corrosion resistance and can be brushed, polished, or left with a clean metallic finish. Prevent cross-contamination by using clean tools and abrasives appropriate for stainless where appearance and corrosion resistance matter.
Aluminum is much lighter than steel and useful where weight matters, but its oxide layer, high heat conductivity, and sensitivity to contamination make preparation and heat control especially important.
Copper and copper alloys add warm color and can develop decorative patinas. They may be used as welded components or as accents, but copper’s heat conductivity and the wide range of copper alloys mean the welding procedure and filler need to match the actual material.
Rebar, gears, chain, tools, automotive pieces, and other scrap can create strong industrial character. The artistic benefit of scrap does not remove the need to identify the metal and remove hazardous contamination before heating it.
Pro Tip: Keep separate stainless-steel brushes and abrasives for aluminum and stainless work. Using a tool contaminated with carbon steel can transfer unwanted material to the surface and create finishing or corrosion problems.
Plan, Fit, and Tack the Sculpture Before Final Welding
A strong sculpture usually begins before the first full weld. Sketch the silhouette, decide which joints should remain visible, and determine how the work will stand, hang, rotate, or attach to a base. For larger work, build a simple cardboard, wire, wood, or digital mock-up first so proportions can be changed cheaply.
1. Establish the Main Form
Mark the centerline and major dimensions. For a freestanding sculpture, think about the center of gravity and base width before adding heavy pieces high on the structure. A visually balanced sculpture can still tip if the weight is concentrated outside the footprint.
2. Prepare the Joints
Cut parts so they fit closely enough for the selected welding process. Choose the joint based on the design: fillet joints work well where pieces meet at an angle, butt joints can make flatter transitions, lap joints add overlapping area, and plug welds can hide a connection where one piece overlaps another.
3. Clamp and Tack
Clamp the parts securely and place small tack welds at several points. Tacks hold the sculpture together while still giving you a chance to correct angles, spacing, symmetry, and alignment.
4. Re-check the Entire Sculpture
Step back and look at the piece from several directions before making permanent welds. Measure critical dimensions again and confirm that moving or kinetic components have enough clearance.
5. Weld in a Controlled Sequence
Avoid fully welding one side of a thin assembly while the opposite side remains cold. Heat causes metal to expand and contract, which can pull parts out of alignment. Alternate between separated joints when practical and allow the work to cool between welds.
Miller’s guidance on welding thin sheet metal recommends distributing heat and using techniques such as skip welding to reduce distortion and warping.
10 Welded Metal Art Ideas
Welded sculpture can range from tiny desktop pieces to large garden installations. The best beginner ideas use a manageable number of parts, easy-to-clean material, and joints that remain accessible while you practice.
- Mechanical flowers: Cut petals from sheet metal or use washers, gears, springs, and rod to build roses, lilies, sunflowers, or abstract mechanical plants. Tack the stem and main petal positions first, adjust the angles, then finish the welds.
- Shadow wall art: Weld rods, sheet shapes, or cut silhouettes into a panel that sits slightly away from the wall. The negative spaces can create a second composition through the shadows.
- Abstract figures: Bend rod, flat bar, or narrow strip into simplified human forms. Focus on posture and balance instead of adding unnecessary details.
- Kinetic wind sculptures: Combine balanced arms, pivots, and lightweight shapes so wind creates movement. Test the motion at low speed and provide safe clearances around moving parts.
- Scrap-metal totems: Stack gears, tools, tubes, discs, and other identified scrap around a central armature. Keep heavy pieces low and verify the base is stable before adding height.
- Animal silhouettes: Build birds, fish, horses, insects, or wildlife forms from rod, sheet offcuts, washers, chain, or curved scrap. A recognizable outline often works better than trying to reproduce every anatomical detail.
- Geometric wall sculptures: Join square tube, flat bar, circles, triangles, or repeated linear forms into a shallow wall-mounted composition. A jig helps keep repeated angles consistent.
- Functional sculpture: Make decorative bookends, small shelves, stools, side tables, candleholders, or plant stands in which the welded structure is also part of the visual design. Anything intended to support a person or heavy load needs appropriate structural design rather than appearance alone.
- Layered landscape or skyline art: Weld several levels of cut sheet, rod, or flat bar to create mountains, trees, buildings, or an industrial skyline. Varying the distance between layers adds depth.
- Garden stakes and outdoor forms: Create flowers, insects, spirals, abstract shapes, or seasonal decorations on steel stakes. Smooth sharp edges and use an outdoor-appropriate finish where corrosion would otherwise damage the piece.
Each idea can be simplified for a beginner or scaled into a more complex project. The important part is to design the structure around the material, process, display method, and environment rather than choosing welds only for appearance.
Clean Welding Techniques for Sculpture
Clean welds begin with fit-up and machine setup, not with grinding after the joint is finished. Rust, oil, moisture, paint, and debris near the joint can contaminate the weld. After cleaning, tack the pieces in position and test the welding settings on scrap of the same material and similar thickness.
Control Heat Instead of Chasing the Weld With a Grinder
Too much heat can cause warping, burn-through, discoloration, or excessive weld buildup. Too little heat can produce poor fusion. Use settings suitable for the metal and thickness, maintain a consistent arc or stickout for the process, and move at a steady travel speed.
For thin TIG work, avoid assuming that a wide weave is automatically better. Additional side-to-side movement increases the time heat is concentrated in the joint. On thin sculpture parts, a controlled straight travel path, small welds, skip welding, and cooling intervals can help preserve the intended shape.
Use tack welds throughout the structure before committing to long seams. On symmetrical work, move between opposite sides when practical so shrinkage is distributed more evenly.
Note: Grinding can improve appearance, but grinding a weld flush does not repair poor fusion or an undersized joint. If a connection carries structural load, the joint design and weld quality matter more than whether the finished seam is invisible.
Clean Up Without Removing Needed Strength
After welding, remove only the spatter, slag, sharp projections, or excess reinforcement that interferes with the intended finish. A wire brush, flap disc, grinding disc, carbide burr, or finishing abrasive may be appropriate depending on the material and appearance.
If exposed weld beads are part of the design, leave them consistent rather than grinding every joint flat. If the weld should disappear into a polished surface, plan enough material thickness and joint access to finish it without weakening the connection.
Using Scrap Metal Safely in Sculpture
Scrap metal is attractive because every piece brings a different shape and history, but unknown material creates extra uncertainty. Before welding found metal, identify what you can and inspect it carefully.
- Remove oils and grease: Automotive and machine parts may contain lubricants or residues that can burn or smoke when heated.
- Check for paint and plating: Old paint, galvanizing, cadmium plating, and other coatings can produce hazardous fumes.
- Avoid sealed or previously used containers: Tanks, drums, pipes, mufflers, cylinders, and closed sections may contain flammable or toxic residues.
- Separate dissimilar metals: A sculpture assembled from several alloys may require different filler metals, processes, finishing methods, or corrosion precautions.
- Remove combustible material: Rubber, upholstery, adhesives, plastic, foam, wood, and wiring near the weld area can ignite or produce harmful smoke.
OSHA notes that welding-fume composition depends on the metal being heated, welding process, consumables, and coatings such as paint or plating. Its Technical Manual on health hazards specifically identifies metals and coatings as important factors in welding-fume exposure.
How to Finish and Protect Metal Art
Finishing turns a raw welded assembly into a sculpture that is safer to handle and better suited to its environment. Start by removing burrs and sharp edges, then decide whether the finished surface should look polished, brushed, painted, naturally weathered, or intentionally patinated.
- Carbon or mild steel: Remove rust and contamination, then use a compatible primer and paint system or another coating intended for the exposure conditions. Clear coatings can preserve a bare-metal appearance but need maintenance if moisture reaches the steel.
- Stainless steel: Brush, polish, pickle, or passivate as appropriate for the grade and desired result. Passivation is a corrosion-resistance treatment for stainless steel; it should not be confused with decorative patina coloring.
- Aluminum: Use finishes compatible with aluminum, such as suitable clear coatings, paint systems, polishing, or professional anodizing where the design calls for it.
- Copper and copper alloys: Leave the surface to age naturally, apply a controlled patina, polish selected areas, or protect the finished color with a compatible clear coating.
- Outdoor work: Design so water cannot remain trapped inside tubes or pockets, protect crevices where practical, and inspect coatings periodically for chips, cracks, or corrosion.
ASTM A967/A967M covers chemical passivation treatments used on stainless-steel parts to remove contaminant iron and support formation of the passive surface film. Decorative oxidation or patina is a separate finishing goal.
Warning: Galvanized steel can resist outdoor corrosion, but welding or cutting through zinc coating creates additional fume hazards. Do not treat galvanized material as ordinary bare steel; use appropriate coating-removal, ventilation, and respiratory-hazard controls for the work being performed.
Outdoor and Large Sculpture Considerations
A small indoor sculpture mainly needs stable support and safe edges. Larger outdoor work introduces additional concerns such as wind, anchoring, corrosion, temperature movement, drainage, vandalism, and public contact.
Do not assume that a weld that looks attractive is adequate for a tall, suspended, kinetic, load-bearing, or public sculpture. Large installations may require a qualified engineer or experienced structural fabricator to evaluate the frame, base plate, anchors, wind loads, fatigue, and foundation.
Kinetic sculptures also need controlled travel, mechanical stops where appropriate, protected pinch points, and enough clearance that a moving element cannot strike a person or nearby object.
For tubular outdoor sculptures, avoid creating sealed pockets where moisture can collect unnoticed. Drainage and ventilation holes may be needed depending on the design and finishing process.
Frequently Asked Questions
What are some creative ideas for welding sculptures?
Creative welding sculpture ideas include mechanical flowers, abstract human figures, animal silhouettes, kinetic wind pieces, layered landscapes, geometric wall panels, scrap-metal totems, garden ornaments, industrial skylines, and functional art such as bookends or small tables. Start with a clear silhouette and a manageable number of parts, then add detail only where it improves the design.
What are some useful welding project ideas?
Useful projects include decorative bookends, garden stakes, plant stands, shelves, small tables, candleholders, wall hooks, tool racks, and metal flowers. These projects help develop layout, cutting, fit-up, tack welding, heat control, grinding, and finishing skills while still producing an object you can display or use.
What welding projects can I make to sell?
Common sellable categories include custom signs, garden art, wall decor, plant stands, decorative shelves, small tables, animal sculptures, business displays, and personalized metal gifts. Potential pricing depends on material cost, fabrication time, finish quality, originality, size, shipping difficulty, local competition, and whether the item carries structural or product-liability concerns.
What are some examples of welding-related art projects?
Examples include mechanical flora, shadow-casting wall panels, kinetic wind sculptures, recycled-tool totems, curved-rod figures, geometric wall art, animal forms, layered landscapes, furniture-style sculpture, and outdoor garden pieces. Each one can teach a different combination of joint design, distortion control, surface finishing, and material handling.
Is MIG or TIG better for metal sculpture?
Neither process is automatically better. MIG is usually faster for assembling mild-steel frames, rod, tube, and scrap. TIG gives more direct control over heat and filler, which is valuable for thin material, stainless steel, aluminum, detailed work, and visible joints. Many artists use both processes on different parts of the same sculpture.
How do I keep a welded sculpture from warping?
Start with accurate fit-up, clamp the parts, place several tack welds, and re-check alignment before final welding. Use the lowest practical heat input that still produces sound fusion, make shorter welds where the design allows, alternate between separated areas, and let the work cool instead of concentrating all the welding heat in one location.
Conclusion
Metal sculpture welding works best when artistic decisions and fabrication decisions support each other. MIG can speed up the assembly of steel forms, while TIG offers finer control for thin material and visible details. Clean preparation, secure fit-up, thoughtful tack placement, controlled heat, and the correct finish help preserve both the shape and durability of the work.
Scrap metal can become flowers, figures, wall art, kinetic pieces, furniture, or large installations, but unknown coatings and residues should never be ignored. Plan the form first, identify the material, weld within the limits of your equipment and experience, and treat ventilation, PPE, stability, and fire prevention as part of the sculpture rather than an afterthought.
Sources
- Occupational Safety and Health Administration — Welding, Cutting, and Brazing: Hazards and Solutions — welding fumes, UV exposure, burns, electrical hazards, PPE, and work-practice safety.
- OSHA 29 CFR 1910.134 — Respiratory Protection — engineering controls, respiratory-hazard assessment, respirator selection, and workplace respiratory-protection requirements.
- Miller — Getting Started With TIG Welding: MIG vs. TIG — practical differences in control, heat input, filler addition, and welding pace.
- Miller — Cleaning and Preparing Aluminum Before Welding — oil removal, oxide cleaning, contamination control, and material preparation.
- Miller — Successfully Welding Sheet Metal With MIG and TIG — heat control, travel technique, skip welding, backing bars, and distortion reduction.
- ASTM A967/A967M-25 — Chemical Passivation Treatments for Stainless Steel Parts — current definition and purpose of stainless-steel passivation.