
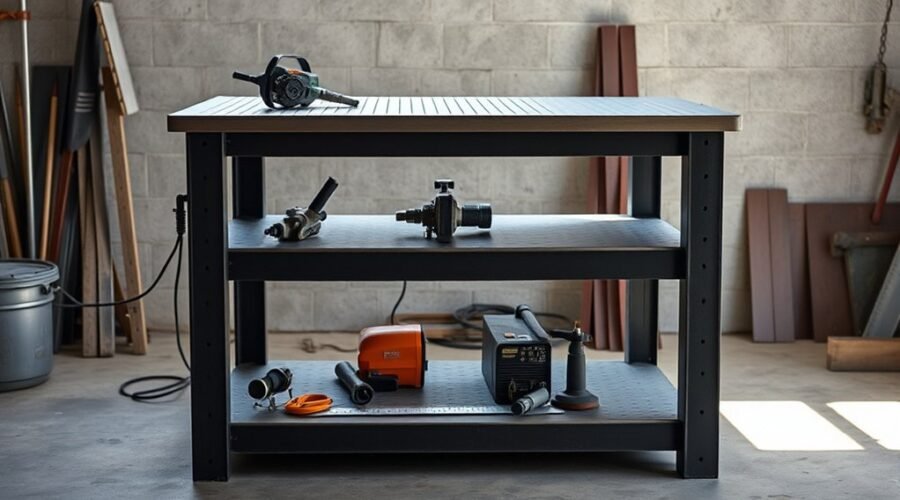
A DIY welding table can be built on a tight budget without giving up strength or accuracy. The best plans focus on a flat work surface, a rigid frame, and enough fixture points for real shop use. Material choice matters, since reclaimed steel can cut costs sharply. The frame layout, table height, and hole pattern all affect performance, but one detail often decides whether the table stays true over time.
Key Takeaways
- Choose a simple, flat welding table design with horizontal slats or 16 mm holes for flexible clamping.
- Use affordable materials like scrap steel, A572-50 plate, and tubing to keep the build near €250–€350.
- Build a compact, sturdy frame around 125 cm by 75 cm, and tack weld corners first to prevent distortion.
- Add fixture points, adjustable legs, and accurately spaced holes to improve workholding and ergonomics.
- Use pre-cut parts, laser-cut holes, and flatness checks to reduce labor, waste, and warping.
Choose the Best Cheap DIY Welding Table Design
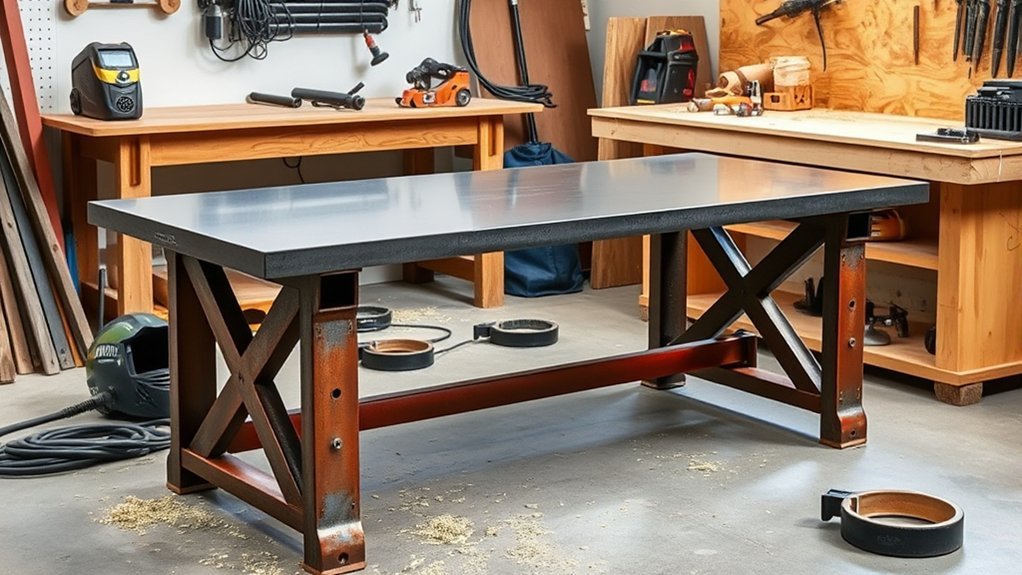
When choosing a cheap DIY welding table design, the builder should match cost, clamping needs, and construction complexity to the intended work.
A Beginner DIY Welding Table suits new builders because it uses basic resources and offers multiple clamping points with modest setup demands.
The Simple DIY Table adds horizontal metal slats, improving clamp access while keeping assembly direct and fast.
A Flat Surface With Holes Table is the most adaptable low-cost option; it delivers a flat surface, unlimited clamping points, and wheel-mounted mobility for mobile work.
For users needing higher capability, the Professional DIY Welding Fixture Table provides integrated functions and portability, but its paid price reflects greater complexity.
The Large Professional Welding Table Build supports heavy clamping and complex pieces with minimal tool requirements.
Each DIY Welding Table choice balances freedom of construction against labor, precision, and spending. Top welding tables enhance project outcomes by ensuring stability and repeatability.
Select the design that preserves independence without sacrificing accuracy or practical control.
Gather Cheap DIY Welding Table Materials
Cheap DIY welding table materials should be sourced first, with flat bars and steel tubing often available at scrap yards or metal supply stores at low cost. A practical welding table kit can be improvised from these stock pieces, reducing dependence on retail markup and preserving budget freedom.
Cheap DIY welding table materials can come from scrap yards and metal suppliers, keeping costs low and budgets flexible.
For the tabletop, ¼ inch A572-50 steel offers impact resistance and durability without excessive expense. Standard 16mm clamping holes should be planned in the layout, enabling fixtures and workholding flexibility on the DIY table.
- Flat bars for perimeter and bracing
- Steel tubing for legs or supports
- A572-50 plate for the work surface
- Cutoff stock for tabs, stops, and clamps
Free QCAD software can refine dimensions before cutting, improving yield and minimizing waste. Rising steel prices make cost control essential, so targeting about €250 in materials helps keep the project grounded. Additionally, using multi-process welders can enhance your welding capabilities and versatility.
Precise sourcing yields a sturdy, independent work platform.
Build the DIY Welding Table Frame
The frame should start with durable material selection, such as thick flat bar or steel tubing, preferably A572-50 steel for strength and stiffness. Components must then be cut to the specified dimensions and fitted precisely, with a compact layout such as 125 cm by 75 cm often providing practical versatility. Assembly should begin with corner tack welds to control distortion before the joints are fully welded for a rigid, level structure. Additionally, consider using a welder with steady arc performance to ensure quality welds throughout the assembly process.
Frame Material Selection
For a durable DIY welding table frame, A572-50 grade steel is a strong choice because it offers high impact resistance and is commonly used in ¼ inch thickness for structural rigidity.
A practical frame uses 4×4 steel tubing for the legs, keeping the structure steady under heavy loads. Adjustable height features support different welders, freeing the workspace from fixed ergonomics.
Standard 16mm hole patterns improve clamping flexibility without complicating the layout. Cost-conscious builders can source surplus steel or scrap from local suppliers.
- Thick steel rails, squared and ready
- Heavy 4×4 tubing legs, locked upright
- Adjustable-height supports, set for posture
- 16mm clamp holes, spaced for control
Cutting And Fit-Up
With the frame material selected, the next step is accurate cutting and fit-up so the welding table builds square and remains stable under load. Each steel member should be measured twice, then cut to the planned dimensions with clean, straight edges. Burrs and slag must be ground away to improve contact and joint quality.
During fit-up, a square and level should verify alignment on every side, reducing the chance of twist or warp. Temporary clamps can hold the frame while gaps are corrected and diagonals are checked. A disciplined cutting sequence keeps parts organized and limits error.
When the layout is true, the structure is ready for final welding, supporting a durable work surface that serves free, practical fabrication without wasted material or time.
Tack Weld Assembly
Once the frame parts are positioned on a flat surface, clamps hold each joint tightly to minimize gaps and keep the assembly aligned before welding. This tack weld assembly establishes the DIY welding table frame as square, flat, and ready for service. A professional welding table depends on disciplined setup, not guesswork.
- Lay the rails and legs in final position.
- Verify diagonal measurements to confirm square geometry.
- Place small spot welds at each corner and joint.
- Recheck alignment, then finish with full welds using even heat.
The heavy duty frame gains strength only after distortion is controlled.
Careful tacking preserves freedom from rework, waste, and crooked structure, allowing the builder to move forward with confidence and precision.
Add Clamping Holes and Fixture Points
Adding clamping holes to the welding table greatly increases its versatility, allowing workpieces to be secured at multiple angles and positions. Standard 16 mm or 5/8 inch clamping holes, set every 2 inches center-to-center, give broad control without wasted surface. Fixture points extend that freedom, supporting jigs, stops, and repeatable setups for complex assemblies. A laser cut layout improves accuracy, keeps edges clean, and helps the pattern align with tools already in use. This added functionality mirrors the multi-process capability found in machines like the Forney 140 MP, enhancing the overall efficiency of your welding projects.
| Feature | Benefit | Result |
|---|---|---|
| Clamping holes | More holding positions | Faster setup |
| Fixture points | Jig support | Repeatable work |
| Laser cut pattern | Precise placement | Better fit |
This pattern turns the table into a practical platform for disciplined fabrication. It lets the builder work with less dependence on improvised restraints and more confidence in each cut, clamp, and adjustment.
Weld the Table and Check Flatness
The table should be tack-welded at the corners first to hold alignment and limit distortion before the full welds are completed. During welding, each tack anchors the frame while the builder checks the table surface for gaps or twist. If a corner lifts, it should be corrected immediately, not after heat has spread.
High-quality steel such as A572-50 helps resist warping and supports a durable build that serves future work without constraint.
- Place a straightedge across the frame.
- Measure the corners and center.
- Check flatness with a level after each pass.
- Let the assembly cool naturally.
Full welds should be applied in short, balanced sections to reduce pull. Heat should be spread evenly, with pauses between beads.
After the welds are complete, the surface should be checked for flatness again from multiple directions. Small deviations can affect fixturing and accuracy, so correction is best done early, while the structure remains accessible and free. Additionally, using low-hydrogen rods can help minimize the risk of cracking in structural work.
Finish Your DIY Welding Table Cheaply
Budget control is central to finishing a DIY welding table cheaply, and a practical build typically favors A572-50 steel for its strength-to-cost balance. For many welding tables, a simple layout with pre-cut parts reduces labor and tool expense. Local laser-cutting shops can supply precise components, improving fit and limiting waste. That approach also supports Grade Welding accuracy without commercial markup. Table Kits may be useful when time matters, but a selective parts list often costs less.
| Item | Method | Cost effect |
|---|---|---|
| Top plate | A572-50 sheet | Low |
| Legs | Adjustable, simple | Moderate |
| Clamps | Custom tabs | Low |
| Cuts | Local laser shop | Low |
| Assembly | Pre-cut fit-up | Low |
A complete build can stay near 350 euros. The result is a durable, usable table that preserves financial freedom while avoiding dependence on overpriced store-bought systems. Additionally, considering the price-to-value assessment when selecting materials can enhance the overall project efficiency.
Frequently Asked Questions
How Can I Build a Cheap Welding Table?
A cheap welding table can be built from steel tubing and flat bar, using free plans and basic tools. Portable designs with locking casters improve mobility.
Material choices should prioritize salvaged or low-cost steel, while a thick flat top guarantees rigidity. Surface finishes may remain bare or lightly coated to resist rust.
Multiple clamp points increase utility. A simple rectangular frame keeps fabrication fast, affordable, and structurally dependable.
What Is the Best Affordable Welding Table?
The best affordable welding table is usually the simple DIY table, a workhorse with the punch of a mule and the price of a sparrow.
It uses basic welding table materials, offers solid clamping, and can be built from flat bar and steel tube.
Portable table options suit small shops, while table height considerations should match the user’s stance and project size.
For liberation-minded builders, it delivers independence without excess cost.
What Is the Best Thickness for a Welding Table?
A welding table is best built from 1/4 inch steel for light to moderate work, while 3/8 inch to 1/2 inch is better for heavy-duty fabrication.
Thicker welding table materials resist heat, warping, and vibration, improving precision.
Table height considerations should support comfortable posture and control.
Surface finish options such as flat mill scale or ground steel affect clamp grip and cleanup.
Stronger thickness grants working freedom and durability.
How Much Does It Cost to Build a Welding Table?
A welding table can cost about €250 in welding table materials, with total project expense near €350; fortune favors the prepared, not the reckless.
Cost saving tips include using free CAD software, shopping steel prices carefully, and reducing waste through efficient cuts.
Design considerations such as table thickness, height, and load capacity affect budget.
Additional riser blocks may add $129 to $179, depending on the required configuration and finish.
Conclusion
In the end, the table is more than steel and welds; it is the final test of planning, accuracy, and restraint. If the frame stays square, the surface remains flat, and the clamping points land where intended, the build has already paid off. Yet one detail still matters: the first heavy project will reveal whether the design was merely cheap, or truly built to last.