
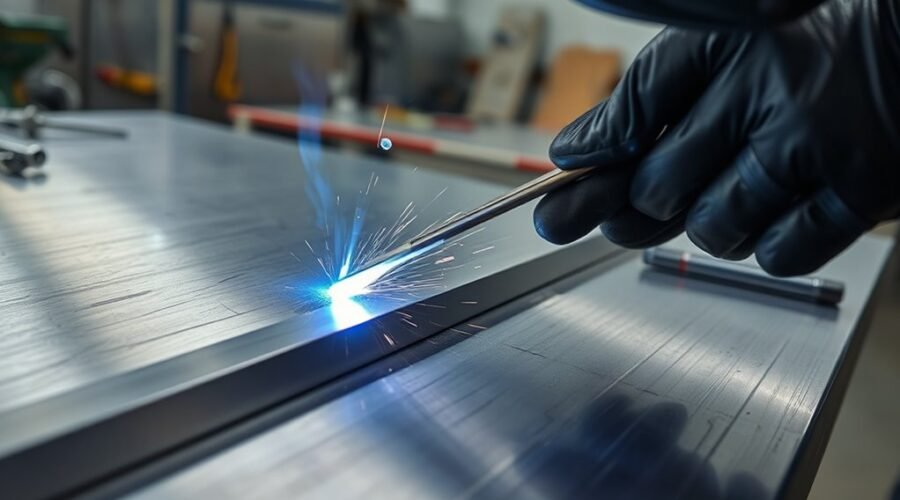
Gas welding aluminum requires clean metal, active flux, and careful flame control. A Victor-style medium-duty torch or DHC2000 can handle material up to 3/8 inch. Use a soft, neutral flame with a clear inner cone, then apply 1100 filler for soft work or 4043 for harder joints. Clean with a stainless brush, bevel thicker sections, and preheat as needed. Stable travel speed and close torch control reduce porosity and burn-through, while the next steps clarify the process.
Key Takeaways
- Use a Victor-style medium-duty torch or DHC2000 with leak-free hoses and connections for aluminum up to 3/8 inch thick.
- Apply brush-on or spray-on aluminum flux to suppress the oxide layer and keep the weld zone active.
- Use a neutral, soft just-off-feather flame with a clear inner cone and adequate ventilation for controlled heating.
- Clean metal thoroughly with a stainless-steel brush, bevel thicker sections, and preheat to 500–600°F when needed.
- Choose 1100 filler for soft work or 4043 for harder applications, and maintain steady travel speed to avoid porosity or burn-through.
What You Need for Gas Welding Aluminum
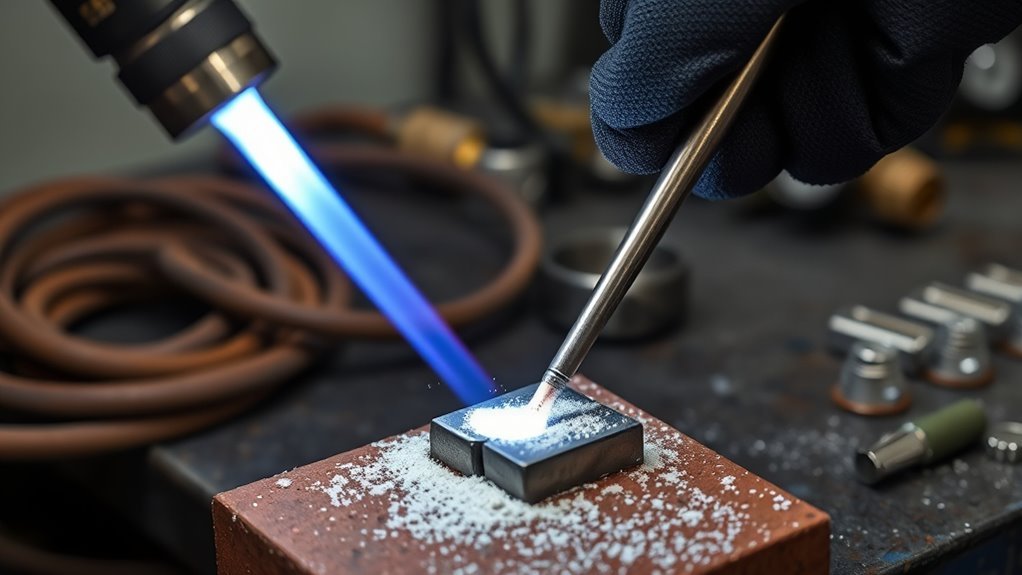
For gas welding aluminum, proper equipment selection is essential to maintain control over heat input and weld quality. A Victor-Style medium duty combo torch or DHC2000 provides the flame control required for gas welding aluminum on material up to 3/8 inch thick.
The welding process also depends on correct flux application, since aluminum’s oxide layer can rapidly reform and contaminate the puddle. Brush-on or spray-on flux helps suppress this reaction and keeps fusion zones active.
A suitable filler rod must be selected with intent: 1100 supports soft applications, while 4043 serves harder applications; ø1/16 inch is a common starting diameter.
Visibility is maintained with a Shade 5 green or Shade 6 cobalt blue lens, which allows disciplined observation of puddle behavior. Gloves and protective clothing remain necessary to prevent burns and preserve operator autonomy during the welding process.
Set Up Your Torch Safely
Before gas welding aluminum, the torch should be assembled exactly per manufacturer instructions, with all connections inspected for leaks and the flame set to a soft just-off-feather profile for controlled heat input.
A Victor-Style medium duty combo torch or DHC2000 is typically used to support stable flame characteristics and precise adjustment.
Adequate ventilation and appropriate PPE must be maintained, with a validated Type ABC extinguisher positioned nearby to manage fire risk.
Torch Inspection
A thorough torch inspection is essential for safe aluminum gas welding. The torch inspection begins with the welding torch hoses: they should be intact, securely connected, kink-free, and free of gas leaks so flow remains stable.
The torch tip must be clean and undamaged, because clogs disturb flame concentration and reduce control over filler metal placement. Pressure gauges on oxygen and acetylene cylinders require verification; settings should match recommended aluminum parameters, with acetylene typically near 5–7 psi.
The handle and valve assemblies must move smoothly and seal properly, confirming reliable operation. For ignition, a flint lighter is the controlled option, reducing hazard compared with matches.
Such disciplined checks support autonomy, protect the operator, and preserve the integrity of the welding process.
Flame Adjustment
The torch should be adjusted to produce a neutral flame, identified by a clear inner cone and a soft outer envelope, because this balance minimizes aluminum oxide formation during welding. The acetylene-to-oxygen ratio is usually set near 1:1, then refined until the flame stabilizes.
A slightly reducing flame, marked by a small feather, may further limit oxidation and improve fusion. Maintain welding temp near 3100°C so aluminum melts cleanly without overheating.
- Verify flame shape before welding
- Reject an oxidizing flame immediately
- Match heat to the filler material
- Clean torch tips to preserve flow
- Recheck the flame after each adjustment
With disciplined tuning, the torch becomes a controlled instrument, enabling precise, liberated work on aluminum.
Ventilation And PPE
Proper ventilation is essential during gas welding aluminum, since heated material can release harmful fumes that should not be allowed to accumulate in the workspace. A dedicated, well-ventilated area supports safety and reduces exposure to flammable gases and residues. PPE should include flame-resistant clothing, gloves, and safety goggles with a Shade 5 or Shade 6 lens. A validated Type ABC fire extinguisher should remain within reach.
| Control | Purpose |
|---|---|
| ventilation | limits fume buildup |
| PPE | shields skin and eyes |
| fire extinguisher | suppresses emergent fires |
| hose inspection | detects leaks and wear |
Torch setup must be checked regularly for leaks, valve integrity, and hose condition. Such disciplined preparation enables clean operation and helps preserve control, autonomy, and safe working conditions.
Pick the Right Aluminum Filler Rod
Selecting the correct aluminum filler rod directly affects weld strength, fusion quality, and resistance to cracking. In aluminum welding, the filler rod must match the base metal and the service demand.
Soft, ductile work calls for 1100 filler; harder joints needing higher strength generally favor 4043. Where corrosion resistance and lower thermal expansion matter, 4047 is a rational choice. The usual starting diameter is ø1/16″, though trial and error may refine the selection for bead control and deposition rate.
Flux-coated rods are preferred because the coating suppresses oxidation and supports sound metallurgical bonding.
- 1100: soft, forgiving filler
- 4043: higher strength option
- 4047: corrosion-resistant, stable
- ø1/16″: common initial diameter
- Flux coat: limits oxidation
Compatibility between filler rod and base metal remains critical, especially with higher-strength alloys, because mismatch can produce poor fusion or cracking.
Precise selection expands welding freedom.
Clean, Bevel, and Preheat the Joint
A sound aluminum weld begins with meticulous surface preparation: the workpiece should be scrubbed with a stainless steel brush to remove contamination and the tenacious oxide layer, which melts at 3722°F (2050°C) and otherwise impedes fusion.
After the clean, the joint must remain free of grease, dust, and residue so flux can function effectively and the arc or flame is not compromised.
Sections thicker than ¼ inch should be beveled between 60 and 120 degrees, a geometric adjustment that improves penetration and produces a more secure fusion zone.
Before welding, the metal should be preheat to 500–600°F, particularly on heavier stock, to reduce thermal stress and lower crack risk. A pine-stick char test can verify the temperature: a darker mark indicates greater heat.
Such disciplined preparation liberates the weld from avoidable defects and gives the operator a controlled, technically sound starting point for gas welding aluminum with confidence and consistency.
How to Weld Aluminum Step by Step
To begin gas welding aluminum, the operator first cleans the workpiece with a stainless steel brush to remove oxide and contamination, since aluminum reforms oxide quickly and flux must be present to limit reoxidation in the puddle.
- Select a compatible ø1/16″ filler rod for aluminum welding.
- Set a just-off-feather soft flame, neutral or slightly reducing.
- Establish the puddle, then dip the filler rod immediately.
- Move steadily, using brief torch withdrawal for heat dissipation.
- Let the bead cool, then inspect for cracks, holes, and penetration.
This sequence supports a controlled weld by limiting oxidation and preserving metal integrity.
The operator must keep the flame focused and the filler rod clean, because impurity lowers fusion quality. Each step serves material liberation: aluminum is joined without excess distortion, and the finished joint can be judged by bead uniformity and continuity.
Control Heat to Prevent Burn-Through
Controlling heat during gas welding aluminum begins with managing torch distance to keep energy concentrated on the joint without overheating adjacent metal.
Travel speed must remain steady and appropriately paced so the weld pool can dissipate heat and solidify before burn-through occurs.
When these variables are held within a narrow range, thermal input stays predictable and the aluminum remains stable enough for a sound bead.
Manage Torch Distance
Maintaining torch distance is critical in gas welding aluminum because heat input changes rapidly with small positional shifts. To manage torch distance, the operator holds the torch 1/8 to 1/4 inch above the workpiece, preserving control over heat concentration and protecting the weld puddle from collapse.
- Increase spacing on thicker sections
- Use the push technique for gas shielding
- Pull back briefly if melting accelerates
- Read a shiny, wrinkled puddle as stable
- Treat dulling as a burn-through warning
This disciplined spacing supports clean fusion without surrendering control. It does not replace travel speed; it complements it by stabilizing thermal delivery.
Precise distance gives the welder freedom to shape the joint deliberately, rather than reacting to runaway heat.
Adjust Travel Speed
Travel speed governs heat input in gas welding aluminum, and even slight changes in pace can shift the weld from sound fusion to burn-through.
Because aluminum has high thermal conductivity, adjusting travel speed becomes a primary control in the weld area. Recommended pace usually falls between 4 and 12 inches per minute, with thickness and joint geometry setting the exact target.
Too rapid a pass leaves incomplete fusion; too slow a pass concentrates heat and weakens the joint. A stable, uniform speed supports consistent bead width and limits porosity or cracking.
The puddle offers direct feedback: shiny and fluid suggests correct motion, while boiling or wrinkling signals overheating.
In disciplined welding processes, practice on scrap builds freedom through control.
Finish, Cool, and Inspect the Weld
Once the weld is complete, the bead should be allowed to cool naturally to avoid thermal shock and the cracking that can result from rapid temperature change in aluminum. This finish stage protects the joint’s structure and preserves freedom from avoidable failure.
After cooling, the operator should inspect the weld with disciplined attention:
- check both sides for full penetration
- verify fusion across the joint line
- note cracks, holes, or excess build-up
- clean residue with a stainless-steel brush
- assess shine, uniformity, and minimal distortion
A proper visual inspection should confirm a consistent surface and sound bonding with the welding rod. Any irregularity suggests incomplete fusion or contamination that can weaken the assembly.
Post-cooling cleaning removes flux residue, reducing corrosion risk and improving the final finish. In disciplined aluminum welding, the ability to cool, inspect, and verify the bead is the difference between a constrained repair and a durable, liberated structure.
Fix Common Gas Welding Problems
Common aluminum gas welding faults usually trace back to surface contamination, poor shielding, or unstable heat input.
In gas welding, aluminum alloys demand disciplined preparation: brush the joint with stainless steel to aid removing the oxide, then keep oil and moisture away to limit porosity. Torch angle must preserve an even gas envelope; if shielding breaks, gas pockets form and fusion suffers.
Warpage is reduced by clamping, tack welding, and preheating thicker sections so thermal stress stays controlled.
Brittle welds often indicate excess heat or a filler rod mismatched to the base metal; select rod chemistry carefully and avoid too much dwell at the puddle. A smaller nozzle concentrates heat near the joint, reducing loss and keeping temperature steady for cleaner bonding.
Each correction is practical and liberating: the operator gains control, the alloy responds predictably, and the weld becomes stronger, flatter, and more reliable under inspection and service.
Frequently Asked Questions
What Gas Mixture Is Best for Aluminum Welding?
Pure argon is best for most aluminum welding; helium-argon suits thicker sections when higher flame temperature and welding speed are needed. The argon balance must match the filler rod and thickness for stable, clean fusion.
Can I Use Flux to Weld Aluminum?
Yes—flux can help aluminum welding, like a shield clearing fog. Its flux properties break oxide films on aluminum alloys, improving fusion. Proper welding safety, heat control, and residue removal remain essential to prevent corrosion.
Where Should the Flux Be Applied When Oxyacetylene Welding Aluminum?
Flux should be applied directly to the cleaned aluminum base metal, and optionally onto the filler rod, using precise flux application techniques. This addresses aluminum welding challenges, supports safety precautions needed, and improves equipment maintenance tips.
What Is the Trick to Welding Aluminum?
The trick is coincidence: clean oxide-free aluminum, then align Aluminum preparation techniques with correct Welding torch settings, Joint design considerations, and Safety precautions tips. A neutral flame, rapid filler addition, and preheat together free the weld from failure.
Conclusion
In gas welding aluminum, success depends on disciplined control of flame, flux, filler, and heat. When the torch is set correctly and the joint is cleaned, the molten puddle behaves with remarkable sensitivity, almost as if it were a living mirror of the welder’s judgment. Proper technique prevents collapse, contamination, and weak fusion. In the end, a sound aluminum weld is not accidental; it is the engineered result of careful preparation, measured heat, and exact timing.