
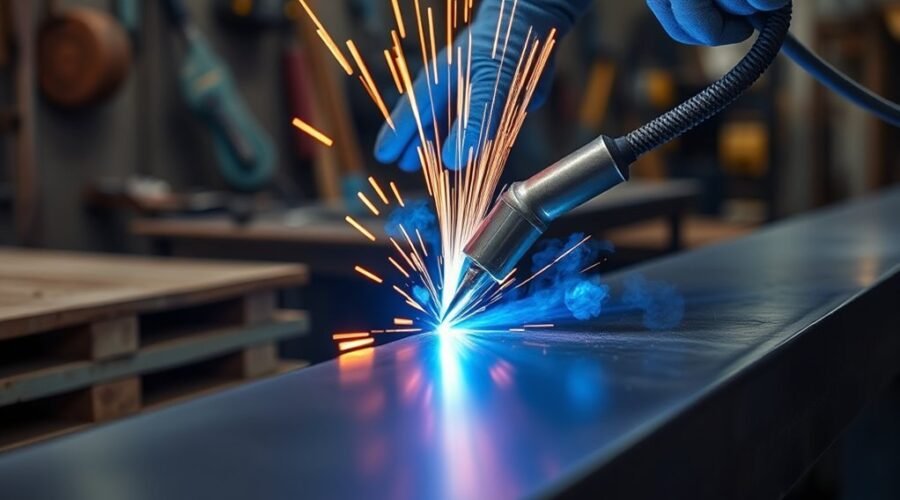
Good MIG welds start with clean metal, steady gun control, and the right machine settings. Beginners should match voltage, wire speed, and gas flow to the material thickness, then hold the gun at a 10 to 15 degree angle. Travel speed should stay consistent so the bead is neither too narrow nor too wide. Scrap practice helps reveal bad settings fast, and the next steps show how to tune each detail for better welds.
Key Takeaways
- Clean the metal first; rust, oil, and dirt cause porosity and weak MIG welds.
- Start with balanced settings: 17–22V, 100–200 IPM wire speed, and 15–25 CFH gas flow.
- Use the right wire size: 0.030-inch for thin metal and 0.035-inch for thicker sections.
- Hold a 10–15-degree gun angle and keep travel speed steady for smooth, even beads.
- Practice on scrap metal, then adjust heat and wire speed based on bead width, ripples, and penetration.
What Makes a Good MIG Weld?
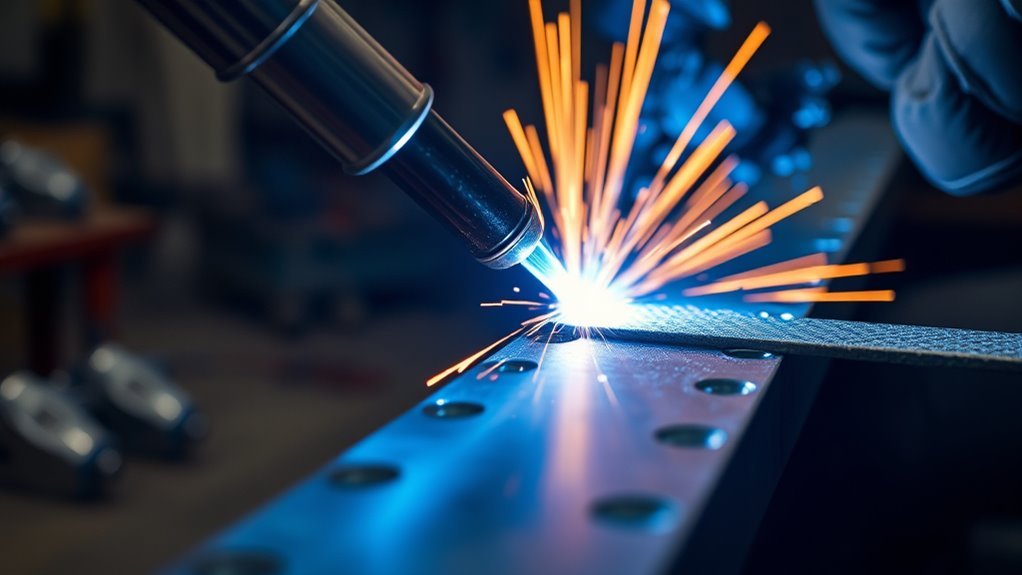
A quality MIG weld has a uniform width and a consistent appearance, showing that the welder has used proper settings and steady technique.
A good weld displays weld beads with evenly feathered ripples that blend smoothly into the base metal, revealing sound fusion and controlled travel.
Adequate penetration is essential; the joint must tie in deeply without undercut or lack of fusion.
The surface should remain clean, with no cracks, porosity, gas pockets, or inclusions that could weaken the structure.
Clear edges and a stable profile indicate disciplined control and dependable welding parameters.
When the bead looks uneven or too high, the welder should adjust the voltage and review other settings to restore balance.
Careful observation of color, shape, and texture helps the welder free the work from defects and produce strong, reliable results.
Set Voltage, Wire Speed, and Gas Flow
Dialing in voltage, wire speed, and gas flow is the next step toward a clean MIG weld. A MIG Welder should set voltage between 17 and 22V, choosing the lower end for thin stock and the higher end for thicker material to secure penetration and a smooth bead.
Wire speed must then be matched to that voltage, usually 100 to 200 inches per minute, until the arc sounds steady and feeds without hesitation. The shielding gas flow should stay near 15 to 25 CFH, enough to guard the puddle without causing turbulence.
Wire diameter also matters: 0.030-inch wire suits thin sections, while 0.035-inch wire supports heavier work. Practice welds reveal the correct balance, and each small adjustment brings better control, cleaner fusion, and a more liberated path toward consistent results.
Clean Metal Before You Strike an Arc
Clean metal is the starting point for a sound MIG weld, because rust, oil, dirt, and other contaminants can trap gas and create porosity or weak fusion. The welding process depends on a prepared base metal, free from oxidation and debris, so the arc can transfer energy cleanly and support a strong weld.
A wire brush or grinder should be used to strip the surface before any arc is struck. For aluminum or stainless steel, a dedicated solvent or cleaner helps remove oxides that resist fusion. A tidy work area also improves arc stability and reduces erratic bead formation, giving the operator more control and less frustration.
- Remove rust, paint, oil, and dirt
- Clean until bare base metal is exposed
- Use proper cleaners for aluminum and stainless steel
- Keep tools maintained and effective
- Inspect the work area before welding
Hold the MIG Gun at the Right Angle
The MIG gun should be held at a 10 to 15-degree angle from vertical to support arc stability and proper penetration.
This angle also helps the shielding gas cover the weld area effectively, reducing contamination and improving weld quality.
Beginners should keep the travel angle steady and adjust it only as needed for the joint position and weld direction.
Gun Angle Basics
Holding the MIG gun at a slight 10 to 15-degree angle from vertical, aimed toward the direction of travel, helps promote proper penetration and a cleaner bead profile.
In MIG welding, this gun angle supports steadier control, improving bead appearance and consistency. The welding gun should stay about 1/4 to 1/2 inch from the workpiece to keep the arc smooth and spatter low.
- Use a slight push angle for butt joints.
- Use a pull angle for fillet welds.
- Keep the gun steady.
- Avoid erratic wrist motion.
- Practice angles in controlled settings.
A disciplined gun angle gives beginners room to build skill without confusion.
With repetition, muscle memory grows, and the weld path becomes more reliable, precise, and free.
Travel Angle Control
A travel angle of about 5 to 15 degrees from vertical helps the MIG gun produce steady penetration and a more even bead profile. This travel angle gives the arc room to work while keeping the puddle under control.
A consistent angle supports smoother movement, lowers spatter, and helps avoid undercutting. If the gun is held too steep, heat input drops and fusion suffers. If it is too flat, overheating can cause burn-through on thin material.
During practice, the welder can test small changes and adjust your welding to match joint type and thickness. Watch the bead closely; uneven edges or erratic width signal the need to correct the angle. Small, deliberate corrections lead to better penetration and cleaner results.
Match Travel Speed to the Bead Shape
Bead width offers a clear sign of whether travel speed is correct, since a narrow bead often means the gun is moving too fast and a heavy bead suggests it is moving too slowly.
The operator should adjust gun speed to keep the arc steady and the heat spread evenly across the weld. A consistent ripple pattern then confirms that the bead is forming evenly as the weld progresses.
Reading Bead Width
Travel speed leaves a clear fingerprint on bead width: slower movement usually creates a wider weld, while faster travel produces a narrower one.
In MIG Welding, this reading helps the welder judge whether welding motion is balanced and free. A useful target for bead width is about 1.5 to 2 times the wire diameter.
- Wider than target: increase travel speed.
- Narrower than target: slow slightly or inspect settings.
- Keep hand steady.
- Hold a constant distance from the workpiece.
- Inspect bead shape often for immediate feedback.
Consistent bead width reflects disciplined travel speed and technique.
If the bead looks too wide, adjustment may restore proper penetration and cleaner control.
Adjusting Gun Speed
Matching gun speed to bead shape is a key part of controlling MIG weld quality, since moving too fast can leave a narrow bead with poor penetration, while moving too slowly can cause excess buildup and a wider bead.
To achieve a Good MIG Weld, the operator should adjust the MIG welding gun so the travel speed suits the joint and metal thickness. A typical range is 10 to 20 inches per minute, but the ideal speed depends on settings and practice.
A steady 15 to 30 degree gun angle helps spread heat evenly and keeps the bead uniform. During trial runs, a convex bead often signals proper travel speed, while flat or concave results call for correction.
A steady crackling arc also suggests control and consistency throughout.
Watching Ripple Pattern
With the gun speed set, the next cue comes from the weld itself: the ripple pattern. In welding processes, this visual trace shows whether travel speed matches the bead shape. A steady pace gives uniform ripples and a quality bead. Observe the melt and adjust with purpose.
- Even, feathered ripples suggest balanced travel speed.
- Tight ripples can mean moving too slowly.
- Excessive heat may follow too-slow motion.
- Wide ripples can signal moving too fast.
- Uneven ripples reveal erratic hand movement.
The goal is smooth flow, with molten metal blending cleanly into the base metal.
Regular practice trains the eye to read the ripple pattern quickly, freeing the welder from guesswork and building control over every pass.
How to Read MIG Weld Beads
Reading a MIG weld bead starts with checking its shape, surface, and consistency. A sound MIG weld bead shows even width, with ripples feathered smoothly into the base metal. That pattern signals steady travel and proper settings.
Surface condition matters too: a good bead looks smooth and shiny, with no porosity, cracks, or discoloration, which points to adequate shielding gas coverage.
Heat can also be read from the bead. Undercut or heavy spatter often means too much heat, while a narrow bead may indicate too little heat or travel speed that is not matched to the joint.
Bead height offers another clue. A flat bead usually suggests good penetration, while a rounded bead may reveal weak fusion.
Practice MIG Welding on Scrap First
Starting on scrap metal gives a beginner a low-pressure way to practice MIG welding before moving to a final project. It lets the welder refine technique, build confidence, and make adjustments without risking valuable material.
Scrap also shows how voltage and wire speed change bead shape and penetration, which supports informed choices later. Varying thicknesses and metal types improves adaptability and familiarity with the machine.
After each pass, the weld should be inspected for consistency, appearance, and strength so each practice session becomes useful feedback.
- Use clean scrap metal for repeatable results
- Test one setting change at a time
- Practice different joint types
- Try thin and thick pieces
- Record the settings and results
This routine reduces waste and cost while creating a safe space for learning. With steady practice, the beginner gains freedom from guesswork and moves toward stronger welds with clearer control.
Fix the Most Common MIG Welding Mistakes
After practicing on scrap, a beginner can begin correcting the errors that most often weaken MIG welds. A good welding machine setup starts with clean metal; remove rust, paint, and oil before striking an arc. Wear protective equipment, then match voltage and wire speed to material thickness so the bead penetrates without burning through. Keep a steady travel speed and torch angle; rushing leaves thin, irregular beads and poor fusion.
| Mistake | Cause | Fix |
|---|---|---|
| Porosity | Dirty surface | Clean metal first |
| Weak bead | Wrong settings | Adjust voltage and wire speed |
| Uneven weld | Inconsistent motion | Slow, steady travel |
Regularly inspect welds for cracks, discoloration, and uneven shape. Those signs reveal errors in technique or settings. Feedback from instructors and peers can help identify what the eye misses, allowing the learner to correct each pass and build skill with discipline, confidence, and freedom.
Frequently Asked Questions
How Can I Achieve a Perfect MIG Weld Bead?
A perfect MIG weld bead comes from correct weld setup, steady wire feed, controlled travel speed, and careful joint preparation. Clean metal, match voltage to thickness, hold a consistent angle, and adjust by bead appearance.
What Is the Best MIG Welding Technique for Beginners?
The best beginner MIG technique is a controlled stringer bead, with steady travel speed, correct wire feed, proper shielding gas, and a slight gun angle. It adapts well across welding positions, helping learners build confidence and freedom.
What Are Some Tips for Beginners Who Are Starting With MIG Welding?
Like a steady compass, beginners should prioritize welding safety, equipment maintenance, and material preparation. They should avoid common mistakes by checking settings, cleaning metal, maintaining travel speed, seeking feedback, and learning from reliable communities.
How to Weld the Perfect Bead?
The perfect bead comes from steady welding speed, consistent wire feed, and careful joint preparation. Clean metal, correct settings, and a fixed gun angle improve bead appearance, producing smooth, even ripples and reliable penetration.
Conclusion
Good MIG welding begins with understanding the basics: clean metal, proper settings, steady gun angle, and controlled travel speed. Each bead serves as a signal, revealing whether heat, wire feed, or technique needs adjustment. Like tuning an instrument, small changes can turn rough results into smooth, consistent welds. With regular practice on scrap and attention to common mistakes, a beginner can build confidence quickly and produce stronger, better-looking MIG welds.